91239 7 08/20
4
Translation of the Original Operating Manual
Übersetzung der Originalbetriebsanleitung
2 Initiation
2.1 Scope of application
CAUTION!
Damage to the cutting mechanism!
The machine must only be used to shred
paper!
Shredding of other types of data carriers
and also of staples and paper clips with the
models with cutting width 0.03x0.47 in.
(CP6/CC5) or 0.03x0.18 in. (CP7/CC6) may
lead to injuries (for example due to splinte-
ring of hard materials etc.) and damage to
the machine (for example destruction of the
cutter etc.).
Exception: Single CD’s or 3.5” computer dis-
kettes can also be shredded with 0.15 in.,
0.23 in., 0.16x1.57 in., 0.07x0.59 in. mo-
dels.
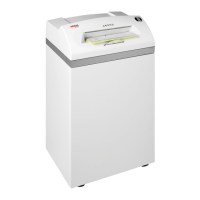
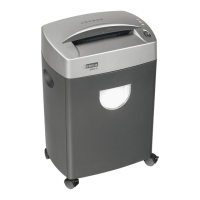
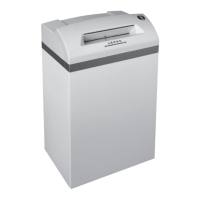
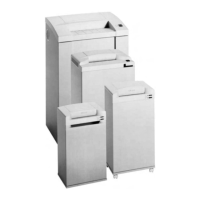
The document shredder intimus 175SP2(SC2)/
CP4(CC3)/CP5(CC4)/CP6(CC5)/CP7(CC6) is a machi-
ne for the destruction of common written material.
2.2 Installation
1. Unpack and set machine upright.
2. Place plastic sack into the receptacle.
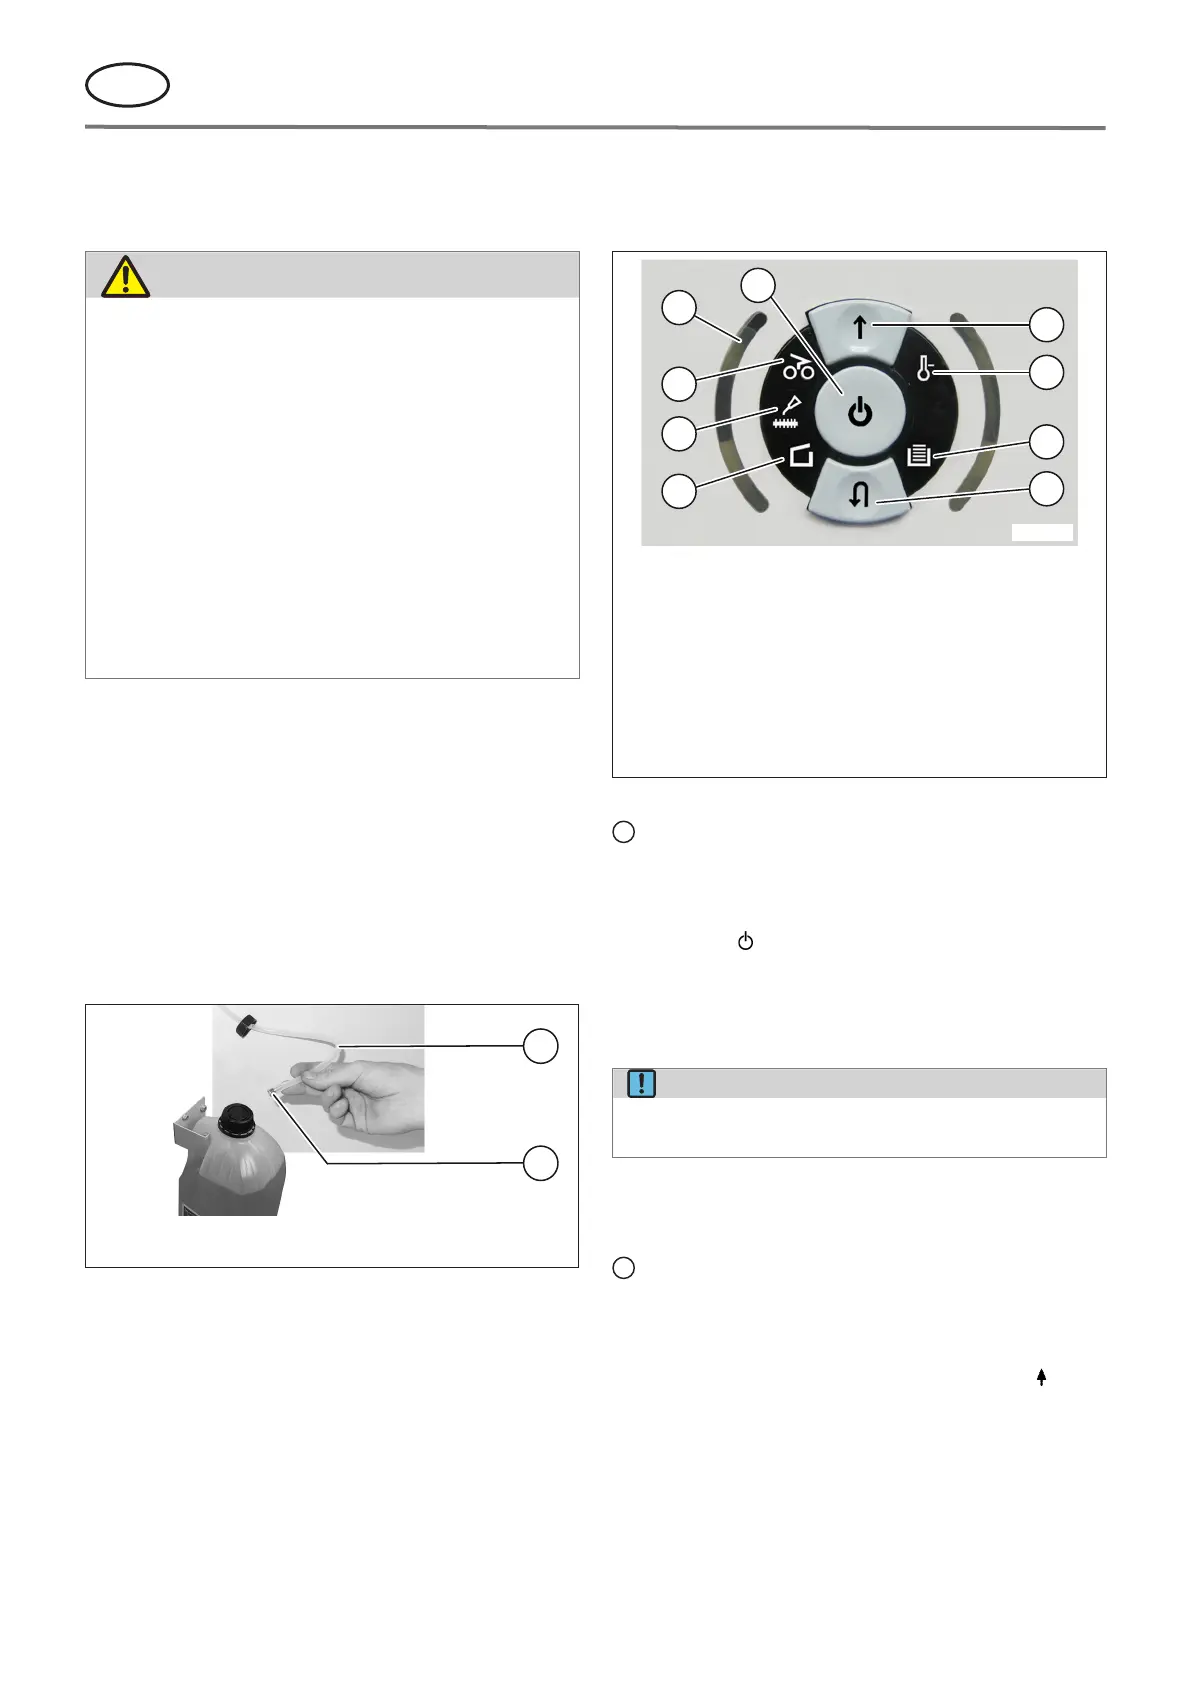
3. Machines with automatic oil system: For oiler in-
stallation remove the screw (g. 1/2) from the oil
hose (g. 1/1).
2
1
000174
1 Oil hose
2 Screw
g. 1 Oiler installation
4. Connect the machine to the power with the plug.
(For information on the right fuse for the plug see
„Technical Data“, p.18).
3 Operation
3.1 Controls
000152
2
3
4
5
1
6
7
8
9
1
Functions button
2
Forwards button
3
Control display „Motor overload“ / „Electrical fault“
4
Control display „Collection bin full“
5
Reverse button „Stop“ / „Reverse“
6
Control display „Door open“ / „Door malfunction“
7 Control display „Oil cutters“ / „To change the oil con-
tainer“
8
Control display „Material jam“
9
Control display „Load level of the motor"
g. 2 Controls „i-control“
= Functions button (g. 2/1)
a) „Ready“
The machine changes to “Ready” if you press this
button briey. At the same time the integral LED
display comes on.
b) „O“
The machine switches o if it is in the “Ready”
mode and the button is held down for about
3seconds.
NOTE!
The machine switches o automatically if it is
not used for about 15 minutes.
c) „Stop“
If you press this button briey when the cutters
are running they switch o and stop.
= Forwards button (g. 2/2)
If this button is pressed, the cutting mechanism
runs forwards for a few seconds, e.g. to remove re-
maining material from the cutting mechanism. At
the same time the integrated LED display lights
up.
By pressing and holding this button when the mo-
tor has stopped, the cutting mechanism runs for-
wards.