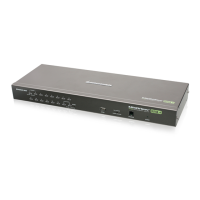
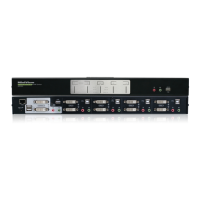
8-Port USB DVI KVM Switch
AUTO SCAN K/M RESET
1
2 3 4 5 6 7 8
9
1
2
3
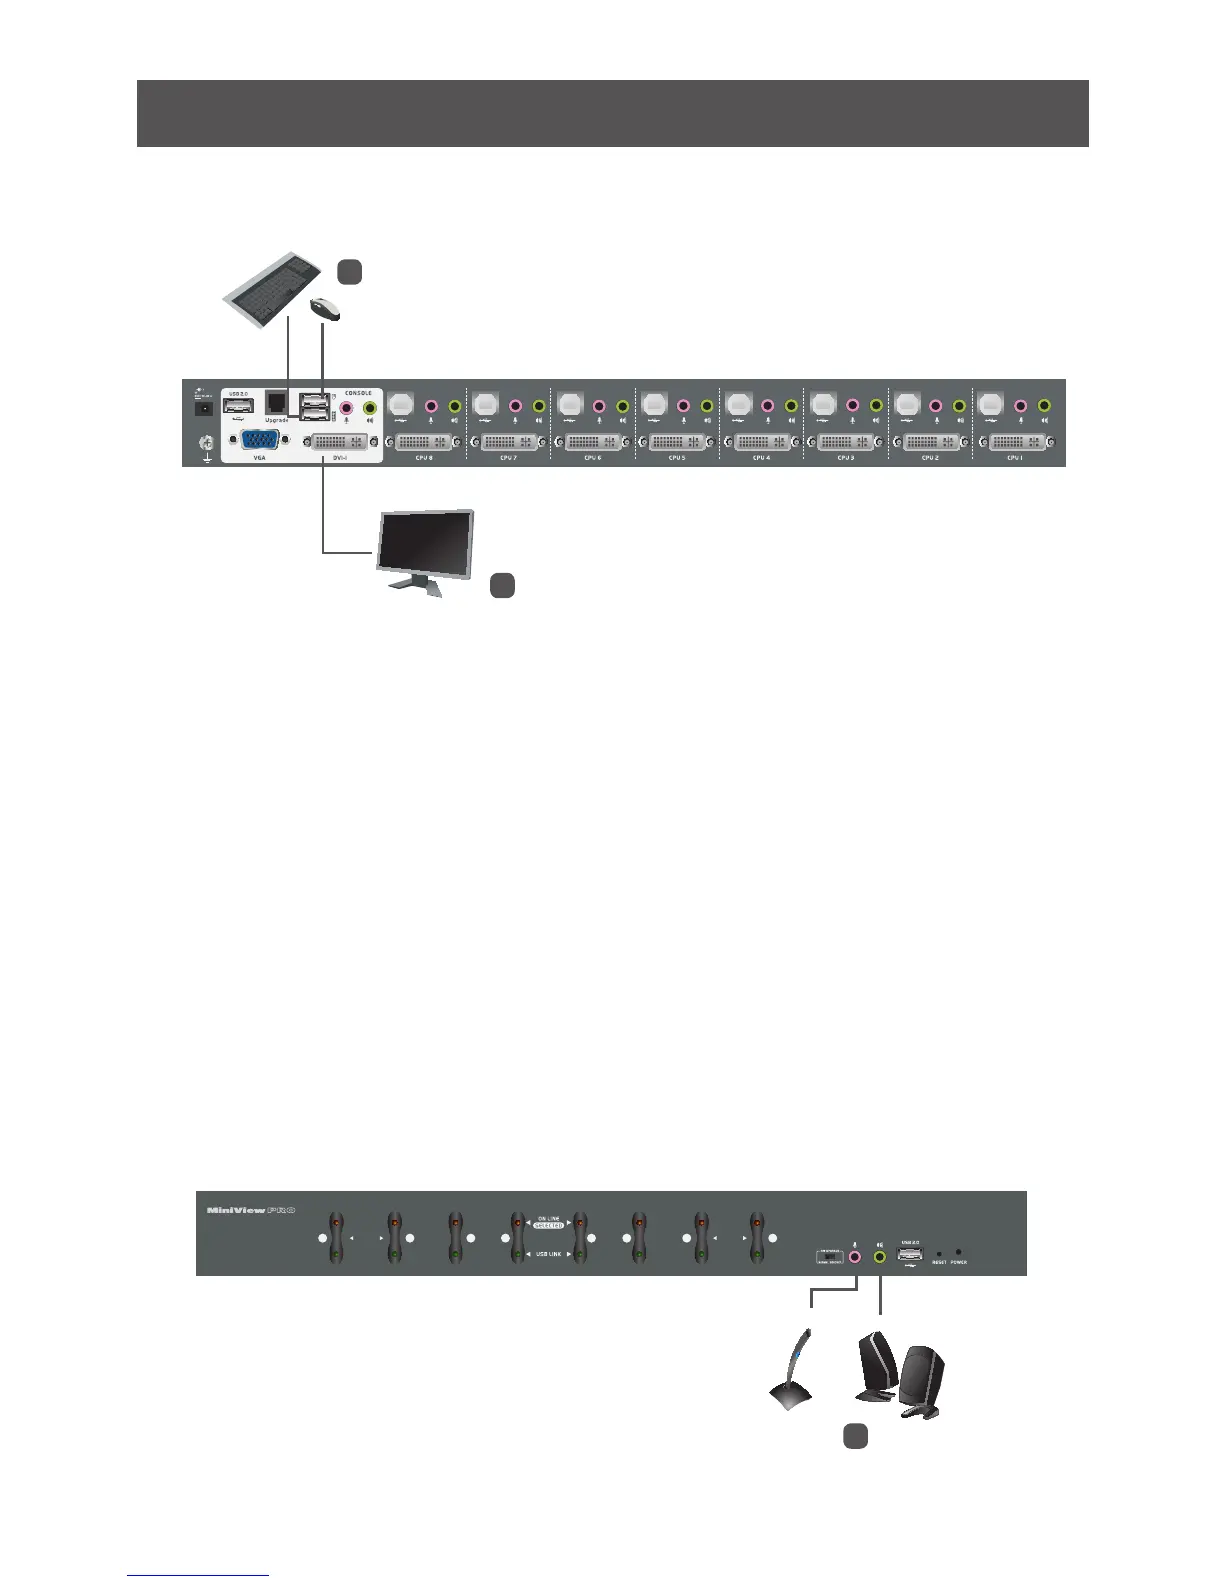
Single Level Installation
1. Plug your USB keyboard and USB mouse into the USB console ports located on the
unit’s rear panel.
2. Depending on your console monitor’s interface, connect your monitor using one of the
following methods (see Console Monitor Connection Options, page 8), and power
on:
Note: The GCS1108 supports DVI, VGA, and dual interface monitors, but only one video
signal (DVI or VGA) can be displayed at a time – the signal will display on either the DVI
monitor or the VGA monitor, depending on the OSD settings.
See Set Computer Viedo Input, page 26 for details about setting the correct video
input and output for your video requirements.
a. One DVI monitor (DVI-I) – plug your DVI console monitor into thhe DVI console
port located on the unit’s rear panel;
b. One DVI (DVI-D + VGA) monitor – plug your dual-interface console monitor into
both the DVI and VGA console ports;
c. Two Monitors (1 x DVI; 1 x VGA) – plug your DVI monitor into the DVI console
port, and plug your VGA monitor into the VGA console port.
3. Plug your main microphone and speakers into the console microphone and speaker jacks
located on the unit’s front panel. The microphone and speakers plugged into this panel
have priority over those in the rear panel.
 Loading...