103
Step 6: Batch Group
1. Choose AP Management > Modify AP.
2. Select the APs that need the SSID policy and click "Batch Group".
3. Group: In this example, select "VIP".
4. Click Save.
End: After the configuration is complete, when the users connect to the "VIP" WiFi network, they can
automatically obtain IP address information. Network segment: 192.168.100.0, gateway: 192.168.100.1,
DNS: 202.96.134.133.
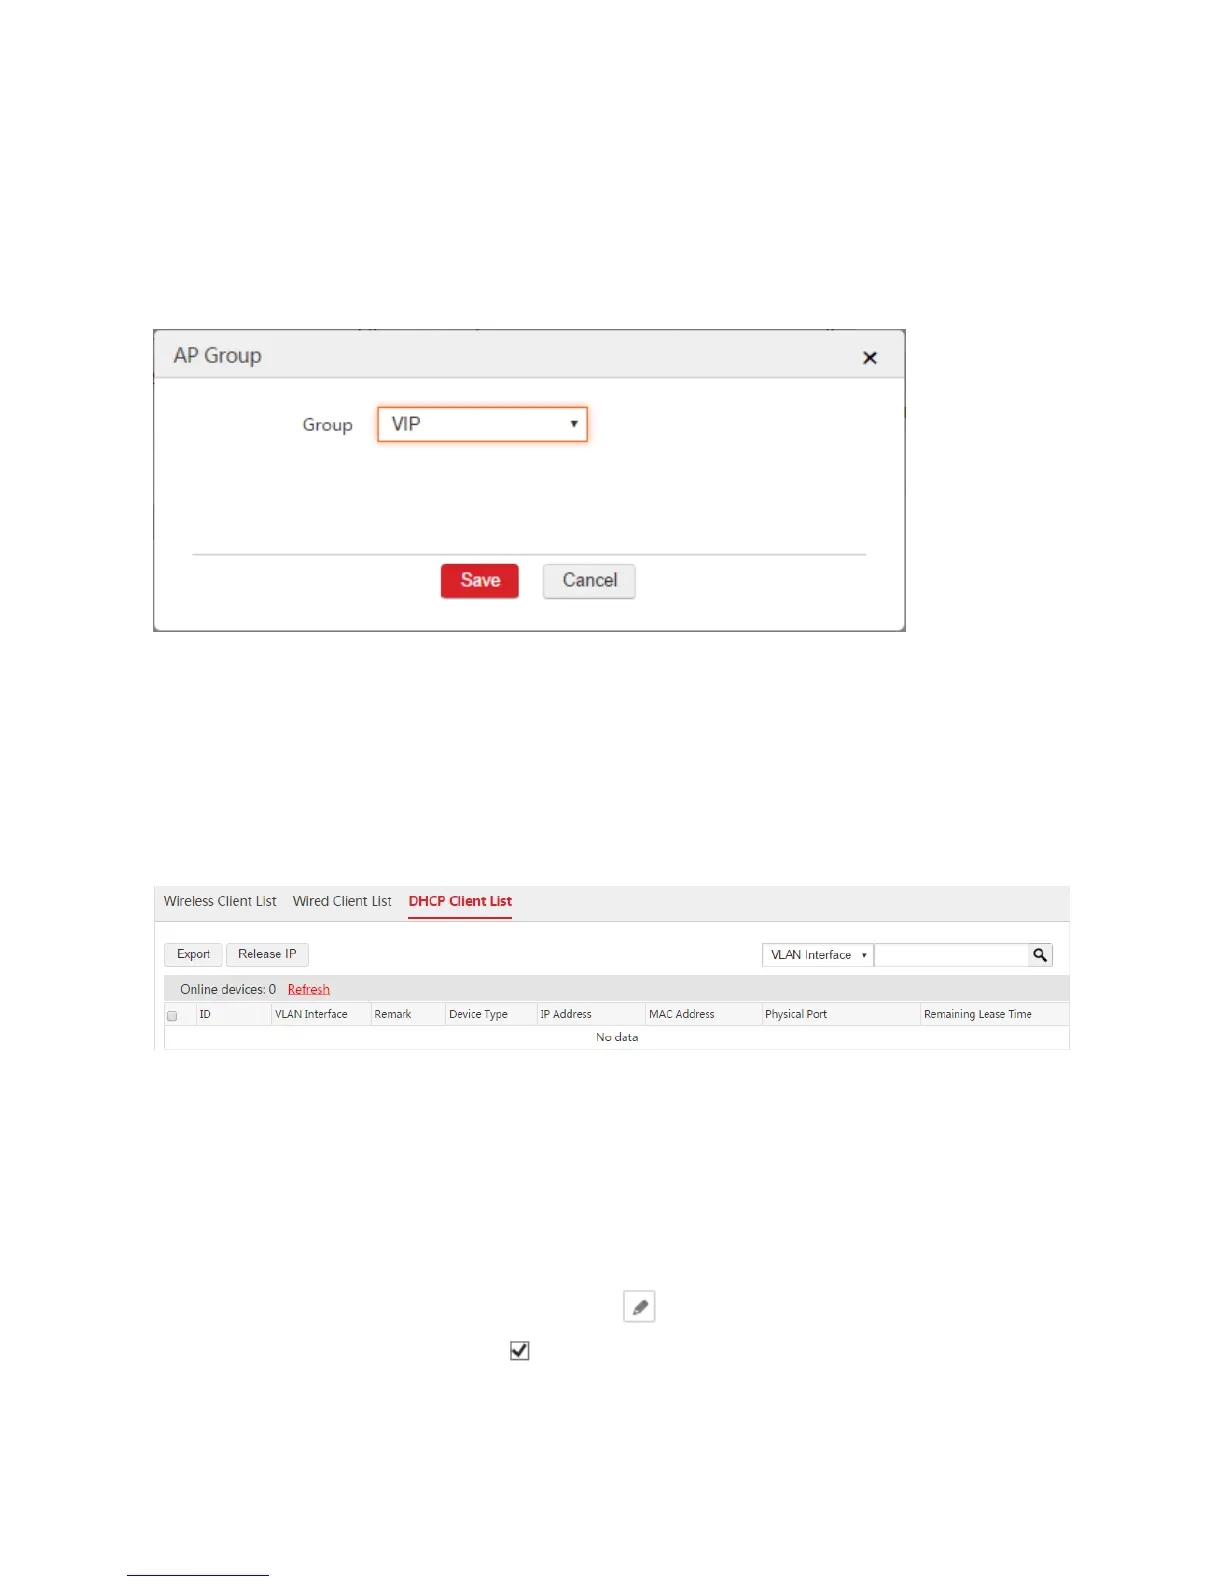
You can view the user information on the Monitoring > Client List > DHCP Client List page. See the
following figure.
III. Configure Internet Settings and IP Routing
Step 1: Create WAN Interface
1. Remove the physical port as a WAN interface from the previous VLAN interface.
1) Choose Network Setting > Network Setting > Interface Settings.
2) Find the VLAN interface such as "default" and click .
3) Physical Port: Unselect the box of the physical port as a WAN interface. In this example, the
physical port is "eth3".
4) Click Save.