85
Step 6: Batch Group
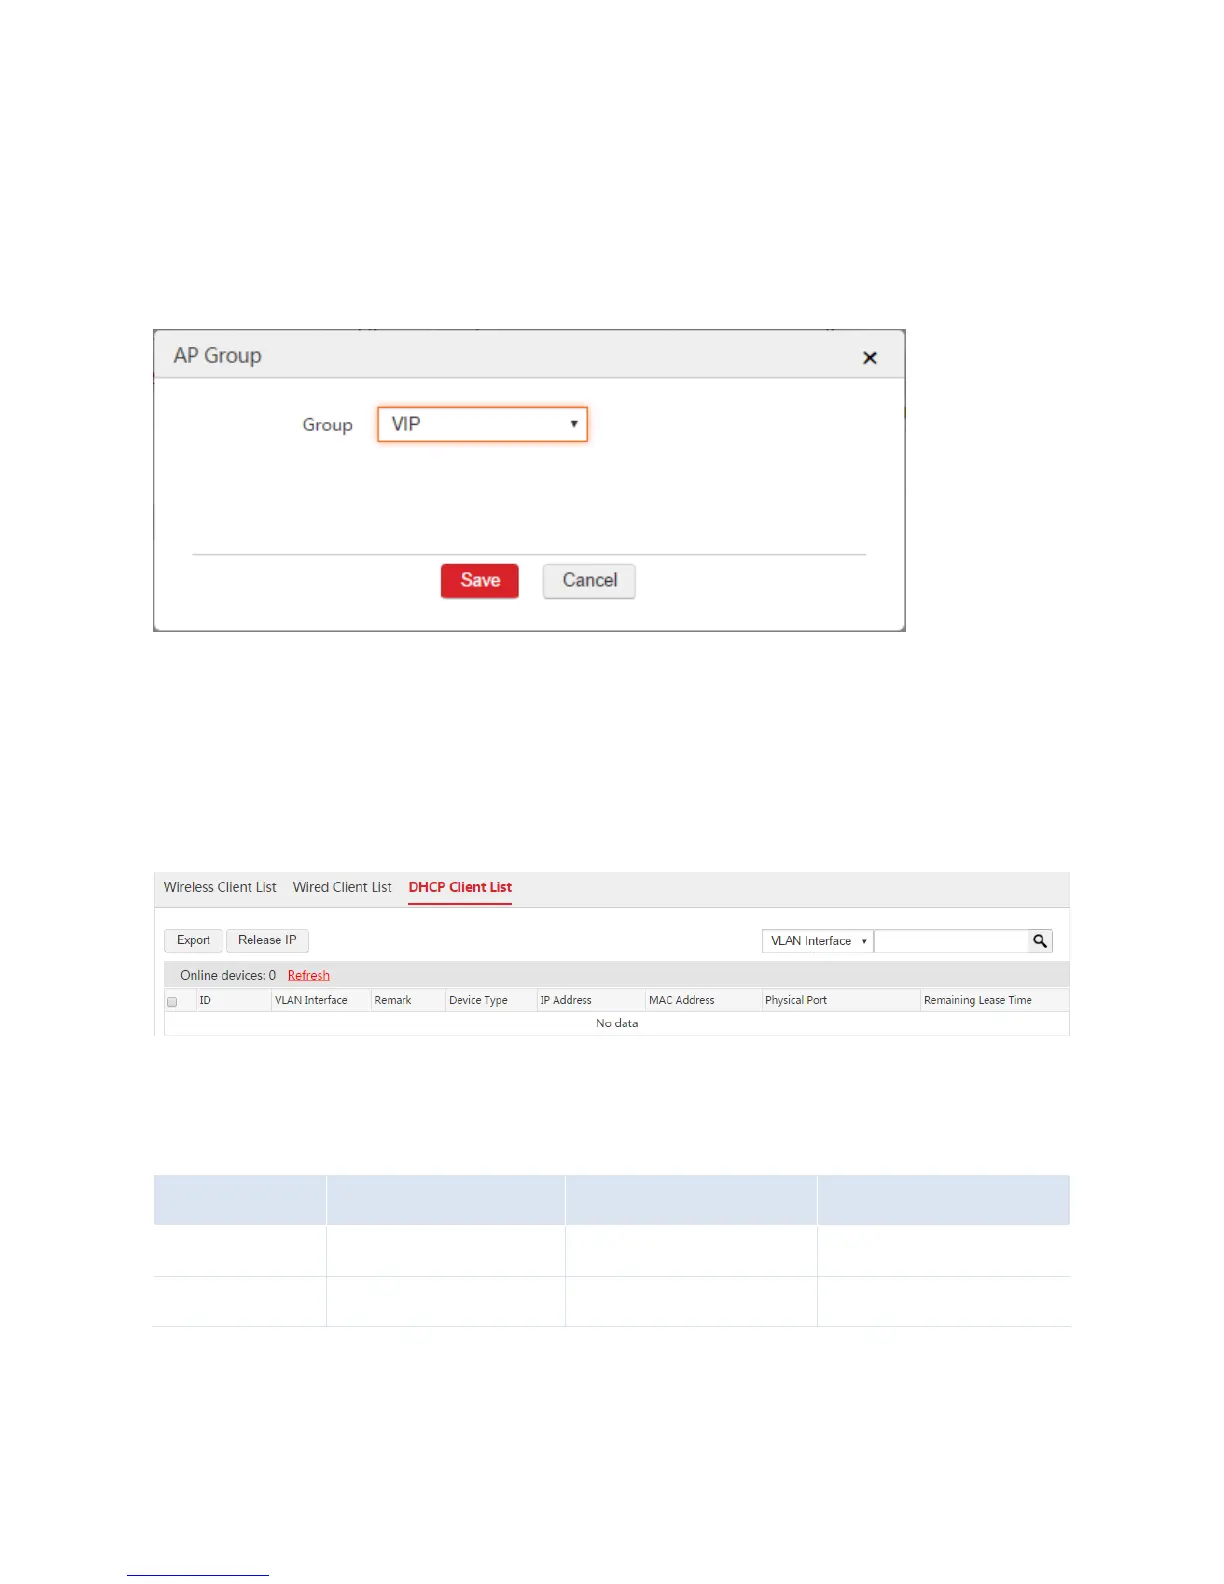
1. Choose AP Management > Modify AP.
2. Select the APs that need the SSID policy and click "Batch Group".
3. AP Group: Select the configured AP group from Step 5, which is "VIP".
4. Click Save.
End: After the configuration is complete, when the users connect to the "VIP" WiFi network, they can
automatically obtain the IP address information from the AC. Network segment: 192.168.6.0, gateway:
192.168.6.1, and DNS: 192.168.200.100.
You can view the user information on the Monitoring > Client List > DHCP Client List page. See the
following figure.
III. Configure Router
1. Configure IP routing rules on the two routers.
2. Configure NAT rules on the two routers to allow the users to access the internet and the internal
server of the enterprise.
Note: If the users need to access the internet and the enterprise network, both the two routers must