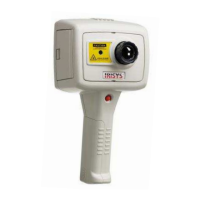
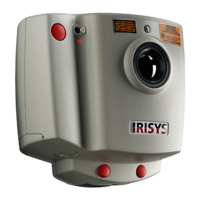
IPU 40108
Page 12 of 29
• Reflected T – When the emissivity is set to values less than 1.0, measurement accuracy can be
further improved by setting the reflected temperature compensation. The reflected temperature is
the temperature being “seen” by the object being imaged. The value entered must be within the
range -20ºC to 200ºC or equivalent in ˚F or K.
• Spot X - Toggle the second temperature cursor (SPX) display on/off the screen. When SPX is
displayed the temperature difference (∆) between SP+ and SPX is also displayed.
• Area – This removes the temperature measurement cursors from the image, and instead displays
a small rectangle in the centre of the image. The cursor measurement readout changes to display
the maximum and the minimum temperature within the rectangle. When a saved image is
browsed in area analysis mode, the average temperature for the rectangle ( x
¯
) is also displayed.
• Temperature Units – Select between degrees Celsius, degrees Fahrenheit and Kelvin.
3.4.7.2 Camera Settings
• Colour Palette – The user can select one of four possible colour options. They are Rainbow,
Ironbow, Greyscale (monochrome) or HC Rainbow (high contrast).
• Auto Power – Turns the imager off if it has been left on without a button press for 20 minutes.
• Factory Settings – For the convenience of the user, many settings are persistent, i.e. the settings
and values are remembered when the IRI 4010 is switched off. Selecting the factory settings
function restores the imager to its factory default settings.
• Image only - This option displays the image and the hot button labels only.
• Brightness & Contrast – This option selects whether the advanced user function of brightness
and contrast control is available on hotkey 3 when in auto mode (see Section 3.4.9.1).
• Cursor Reset – Select this option to restore the cursor (or 2 cursors) to their default positions.
3.4.7.3 Image Browser Menu
• This browser shows a list of file numbers found on the SD memory card, starting with the most
recent image. It is possible to scroll through the list and choose to view images or to delete
image files.
3.4.7.4 Clock/Calendar Settings
• Set Clock – The clock can be set so images are saved with the time and date of image capture.
• Date Format – choose between dd/mm/yy or mm/dd/yy.
• Time Format – 12 Hour / 24 Hour clock