Do you have a question about the Isotherm Classic Compact 2017 and is the answer not in the manual?
Check unit contents for signs of shipping damage and contact carrier immediately if found.
Ensure all circuits are off and follow ABYC standards for electrical installations.
List of necessary tools like drills, wire cutters, screwdrivers, and wrenches.
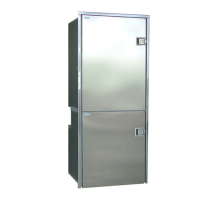
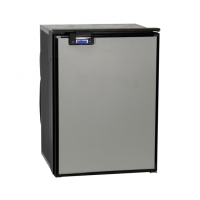
Proper installation and box insulation are crucial for efficient performance and power consumption.
Carefully plan tubing and wire runs, ensure adequate air circulation, use a dedicated circuit breaker.
Mount compressor in a well-ventilated area with cool air inlet at bottom and warm air outlet at top.
Ensure minimal voltage loss with a dedicated circuit, proper wire gauge, and clean connections.
Use a regulated battery charger of at least 5 amps, connected to the battery, not directly to the unit.
Connect directly to the battery or main switch using correct cable dimensions.
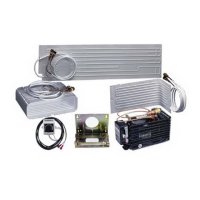
Mount unit horizontally in a well-ventilated, dry location, within 6 feet of the evaporator.
Mount evaporator horizontally or vertically near the box top, ensuring proper routing of refrigerant lines.
Install in a dry area, ensure capillary tube reaches evaporator, connect wiring to electronic unit.
Connect self-sealing couplings carefully to complete the refrigeration circuit without refrigerant loss.
Turn on the circuit, compressor should start within 30 seconds; adjust thermostat for desired temperature.
System protects compressor from overload and low/high battery voltage, shutting it off when necessary.
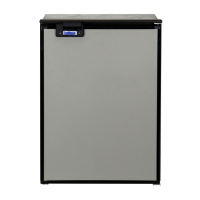
| Model | Classic Compact 2017 |
|---|---|
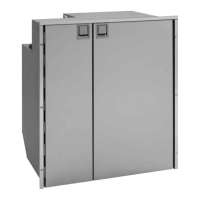
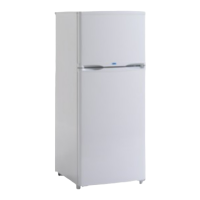
| Type | Refrigerator |
| Power Consumption | 45 W |
| Voltage | 12/24V DC |
| Refrigerant | R134a |
| Installation | Built-in |
| Door Opening | Right |
| Energy Source | DC |