Page 10 of 32 IS2303VSP3J Rev-A
4.9. Wiring
WARNING – All electrical wiring MUST conform to local codes, regulations, and National Electric Code
(NEC)
1. Pump MUST be permanently connected to circuit. If other lights or appliances are also on the same circuit, be sure to
add their amp loads before calculating wire and circuit breaker sizes. Use the circuit breaker as the master On-Off
switch.
2. If this VS pump is being used to replace an existing pump that was controlled by a separate mechanical time clock, it
should be connected directly to the line power supply, bypassing the time clock. The time clock can then be used to
power other equipment (such as a heater, heat pump, or booster pump) that requires the filter pump to be operating
when used. If the time clock is used in this manner, it should be set to power the equipment during a time cycle when
the VS pump is operating at an appropriate flow rate to operate the other equipment, as defined by the timers set in
the Timer Menu. See section 6.7
4.10. Remote Control Wiring/Operation
The 1.65 THP VS pump family can be controlled as described below:
1. They can operate by themselves in Stand-Alone Mode using their built-in programmable timers.
2. They can also be controlled from third party controls (i.e. another manufacturer’s control) using relay contacts. See
section 5.3 for more information regarding connecting this pump and third party/non-software compatible controls.
3. They can communicate with and be controlled by Hayward pool and spa controls. See section 5.4 for more
information regarding connecting this pump to Hayward pool and spa controls.
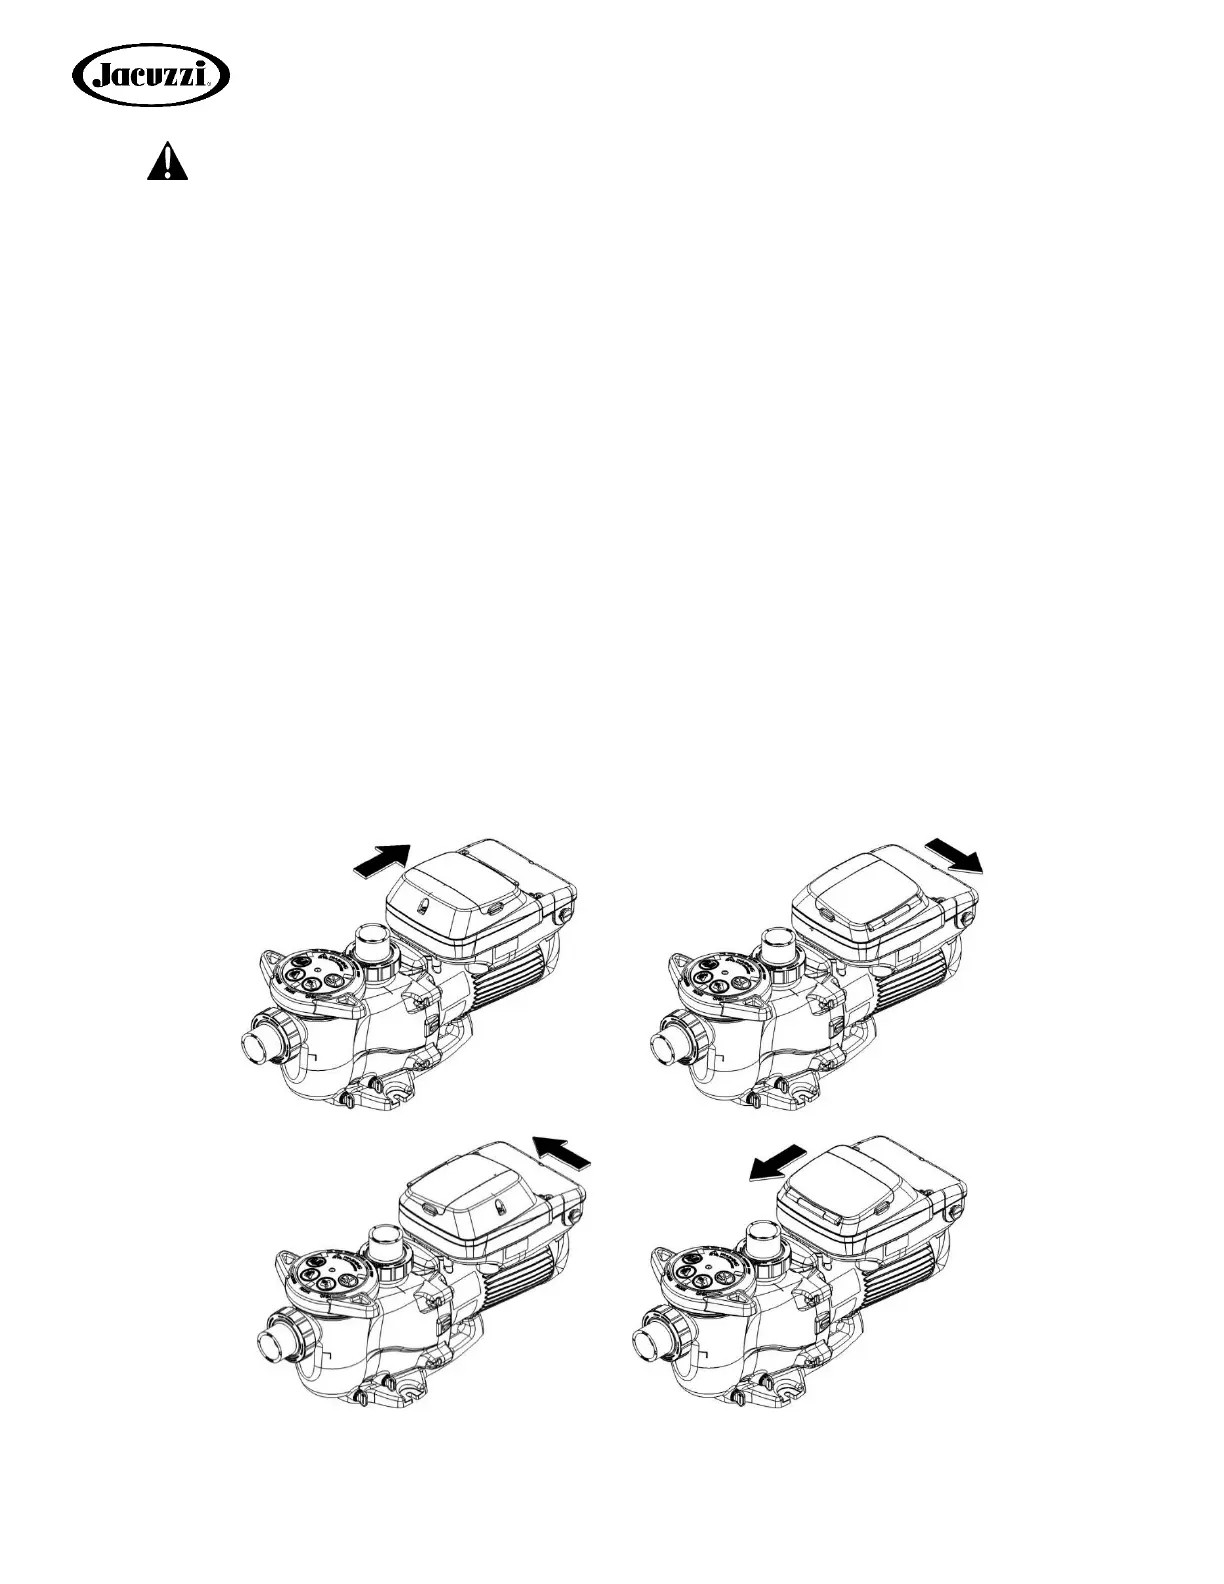
4.11. Digital Control Interface Orientation
The Digital Control Interface can be rotated to any of four desired positions after installation by loosening the two screws
securing the user interface to the motor drive, lifting the user interface and rotating it to the desired position, and
tightening the two screws in the new position.
4.