Page 10
Jandy
®
Pro Series, WaterColors LED Lights
|
Installation Manual
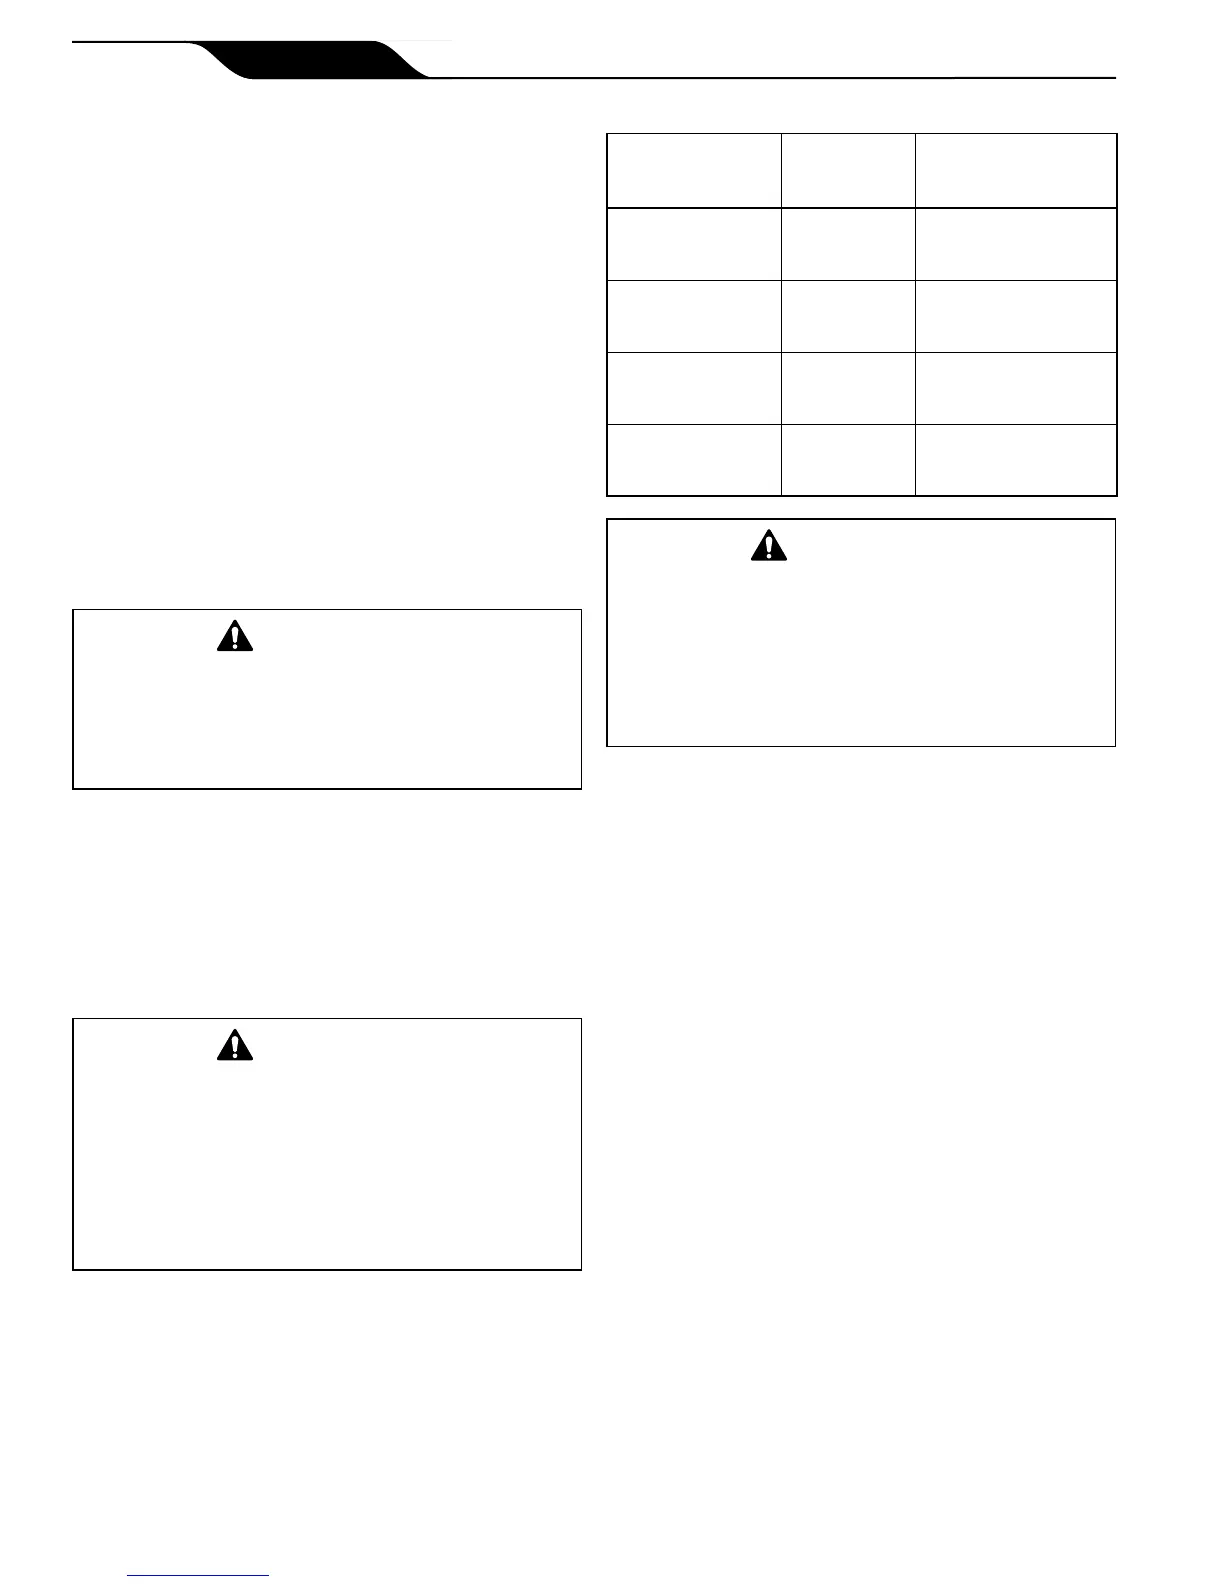
12VoltAC R0474000
120VoltAC R0474100
12VoltAC R0473900
120VoltAC R0473900
Besuretokeepthespecialpilotscrewfromthis
underwaterlight.Thisscrewmountsandelectrically
groundsthehousingsecurelytothemountingring
andwetniche.Failuretousethescrewprovidedcould
createanelectricalhazard,whichcouldresultindeath
orseriousinjurytopoolorspausers,installersor
othersduetoelectricalshock.
4. Pool Clamp Removal.
a. Loosen the Phillips head screws (six (6) for
small light, eight (8) for large light) to allow
the bottom clamp to be removed from the face
ring assembly. Do not remove the screws or the
retaining rings. The retaining rings prevent the
screws from falling free from the bottom clamp
and also aid in ease of assembly.
b. Remove the bottom clamp, the face ring
assembly, the glass lens, and the gasket from the
xture. Remove the gasket from the lens. Refer
to Section 9, Exploded View and Replacement
Parts.
5. Light Engine Replacement
a. 12V Small Light Engine (PCB) Replacement
1. Remove two (2) nuts and two (2) washers.
2. Unplug the quick disconnect terminals from
the light engine.
3. Remove the light engine from the light
xture.
4. Place new light engine into the xture with
the orientation shown in Figure 7.
5 Secure the light engine with one (1) nylon
washer and one (1) nut. Torque to 12 in-lbs.
6. Place a nylon washer on the other stud and
place the green ground wire terminal on the
nylon washer and secure both with the nut.
Torque to 12 in-lbs.
Turn the light OFF, wait four (4) to ve (5) seconds, then
turn ON, the light will return to the beginning of the color
cycle (Alpine White).
IfanAquaLinkRScontrolsystemisbeingusedthe
colorsetcanbeselectedusingtheindoorcontroller.
TosynchronizecolorsonmultipleJandyProSeries
WaterColorsLightsystemswiredtoseparateswitches,
performtheaboveactionsonalloftheirswitches
simultaneously.AllJandyProSeriesWaterColors
Lightswillsynchronizeautomaticallyifactivatedbythe
sameswitch.Nootheraccessoriesarerequired.
Alwaysdisconnectpowertothecolorlightatthe
circuitbreakerbeforeservicingthelight.Failuretodo
socouldresultindeathorseriousinjurytoinstaller,
serviceman,poolorspausersorothersdueto
electricalshock.
1. Turn off the main electrical switch or circuit
breaker, as well as the switch, which operates the
underwater light.
2. Be sure to have the following items:
• A new lens gasket, P/N R0451101 for the large
light or P/N R0400501 for the small light.
• A light engine. See Table 2 for specication.
Replacelightenginewiththesametype.Failure
toreplacethelightenginewiththesametypewill
damagethelightassemblyandmaycausean
electricalhazardresultingindeathorseriousinjuryto
poolorspausers,installers,orothersduetoelectrical
shock,andmayalsocausedamagetoproperty.Be
surethepowerisswitchedOFFbeforeremovingor
installingPCB.AllowPCBtocoolbeforereplacing.
3. To remove the light assembly, unscrew the special
pilot screw at the top of the face ring, remove
light assembly from niche and gently place
assembly on the deck. It is not necessary to drain
down the pool. See Figure 6.
 Loading...