5
w
e
r
q
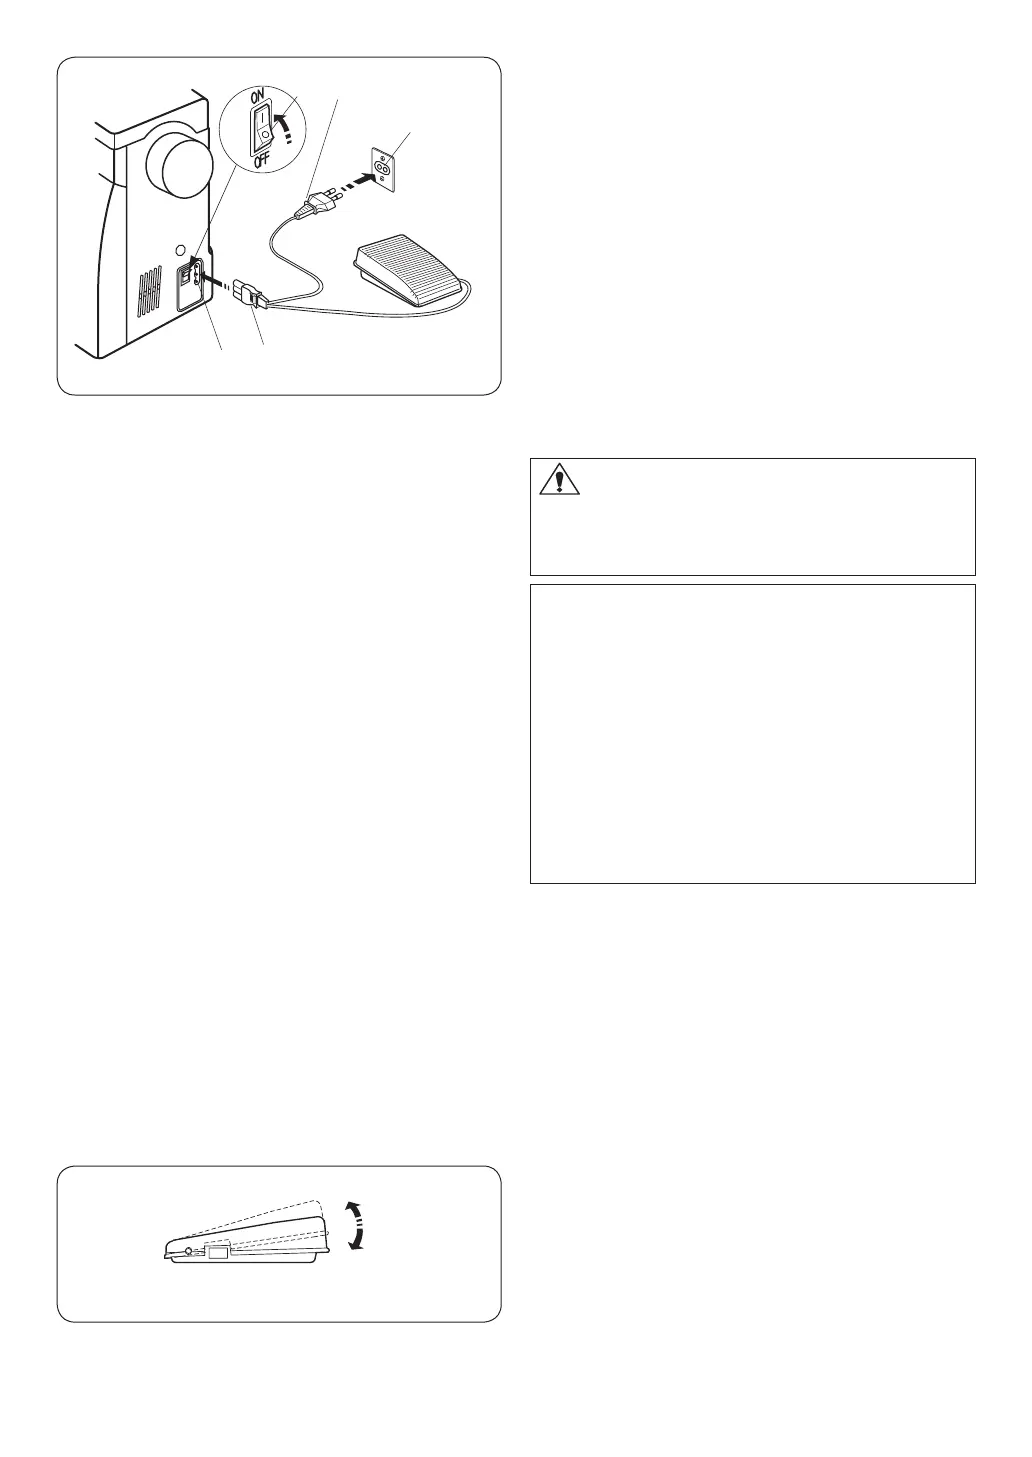
Connecting the Machine to the Power
Supply
z Turn off the power switch.
x Insert the machine plug into the machine
socket.
c Insert the power supply plug into the outlet.
v Turn on the power switch to activate the power
and sewing light.
q Power supply plug*
w Power switch
e Outlet
r Machine socket
t Machine plug
* The power supply plug included may differ from
the illustration.
t
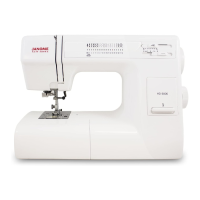
Controlling Sewing Speed
Sewing speed can be varied by the foot control.
The harder you press on the foot control, the
faster the machine runs.
CAUTION:
Before connecting the power cord, make
sure the voltage and frequency shown on the
machine conform to your electrical power.
NOTE:
While in operation, always keep your eyes
on the sewing area, and do not touch any
moving parts such as the thread take-up lever,
handwheel or needle.
Always turn off the power switch and unplug
from the power supply:
– when leaving the machine unattended.
– when attaching or removing parts.
– when clearning the machine.
Do not place anything on the foot control,
otherwise the machine will run inadvertently.
GETTING READY TO SEW