4-5
Any service or warranty coverage on tires is to be handled by the tire store
representing the brand installed on your RV. They are not to be returned to
your dealer or Jayco.
If you have questions regarding your tires, contact the tire manufacturer or
Jayco Customer Service.
SPARE TIRE CARRIER (IF SO EQUIPPED)
Bumper mount:
The spare tire bracket can be released and extended down to access a storage
compartment at the rear of the trailer without removing the tire.
To extend the tire down:
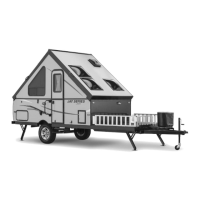
1. Remove the cotter key from the pin holding the tire
carrier in place.
2. Remove the pin and extend the tire carrier away from
the trailer.
3. Always return the tire carrier to the upright position and
lock it in place while traveling.
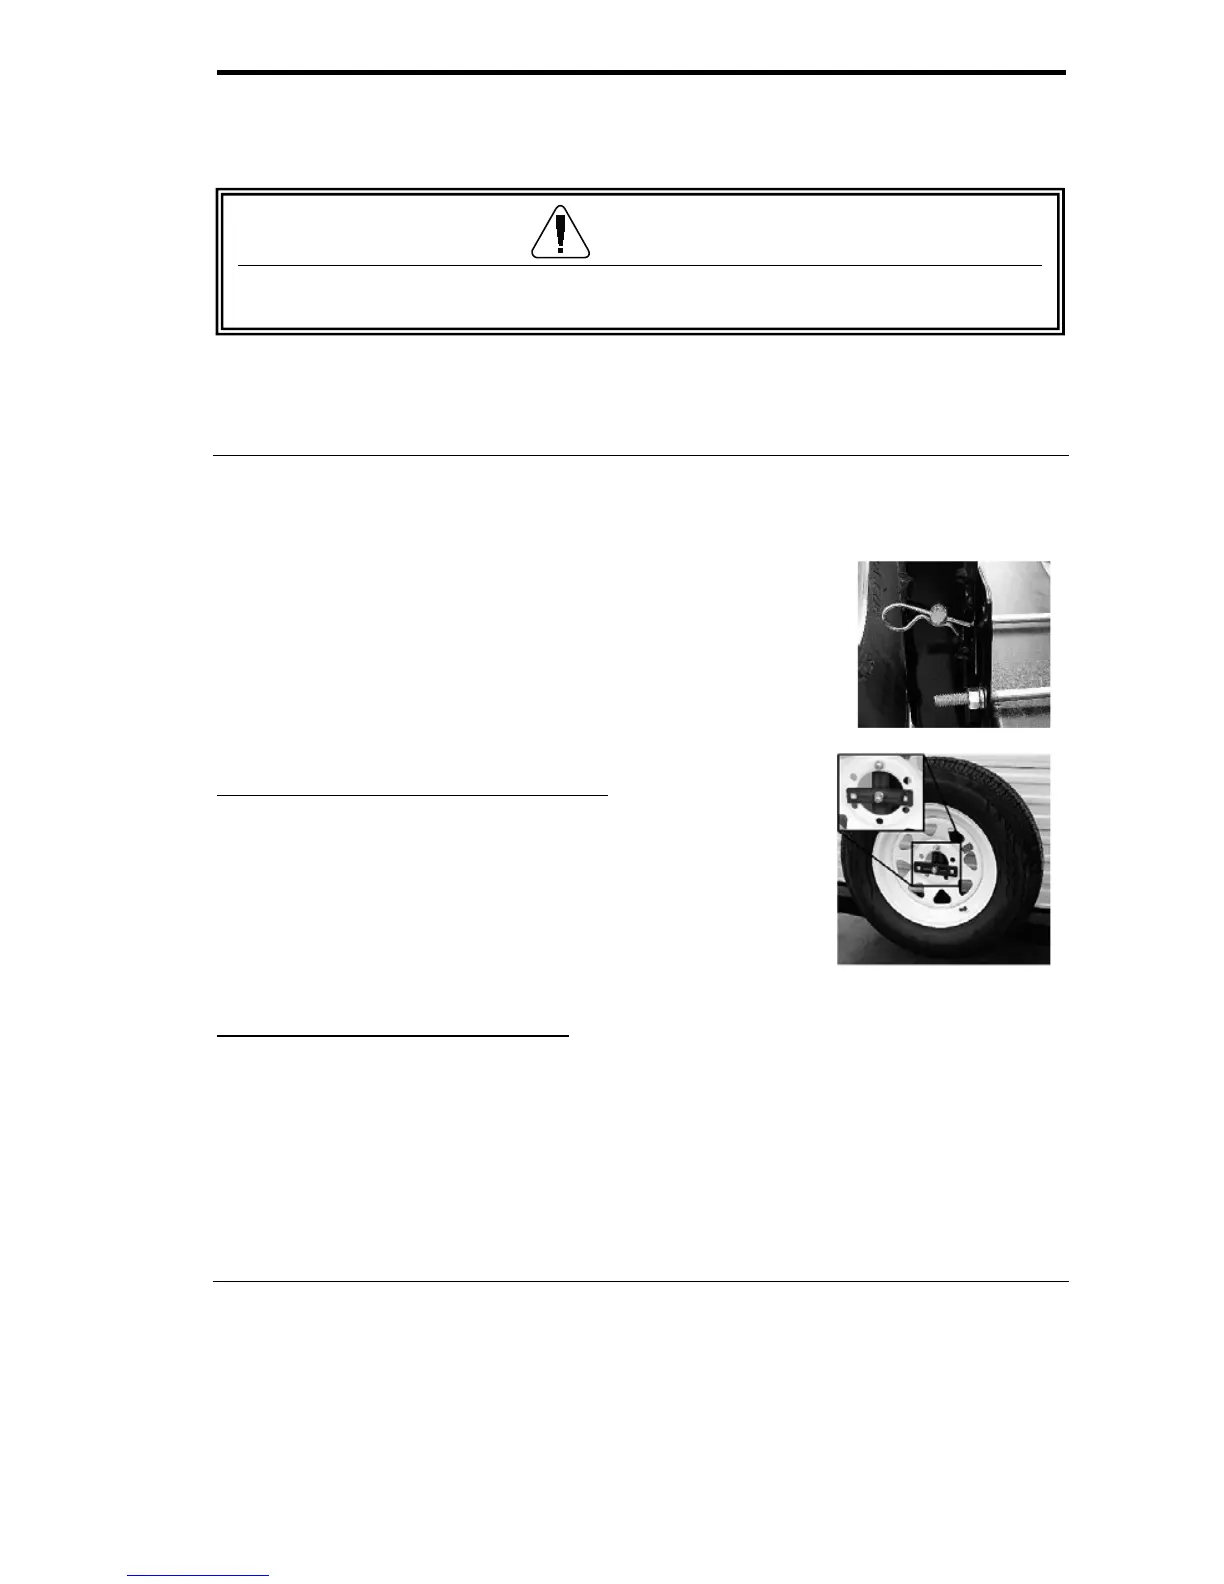
To remove the tire from the tire carrier
1. Remove the lug nuts holding the tire in place.
2. Remove the support bracket from the bottom lug.
3. Pull the tire from the tire carrier.
Fig 4.5 Bumper mount
To install the tire on the tire carrier
1. Place the tire on the carrier with the top lug bolt inserted into one of the holes
in the tire rim and the bottom lug bolt in the center of the rim.
2. Install the top lug nut.
3. Place the support bracket over the bottom lug bolt across the center of the
rim.
4. Install the bottom lug nut over the support bracket.
5. Make sure the lug nuts are tightened securely before returning to travel.
WHEEL LUGS & TORQUE CHART
After your first trip, check the wheel lug torque periodically for safety. Check the
wheel lugs after winter storage, after a wheel removal, before starting a trip or
following extensive braking. Use the correct star pattern sequence to attach the
RV wheels (see Wheel Lug Torque Chart.)
1. Start all nuts by hand to prevent cross threading.
2. Tighten the nuts in the sequence shown.
3. Tighten the lug nuts equally in stages as indicated for your trailer's wheels
(see Wheel Lug Torque Chart).