SCT HS 14-9
SETTING UP THE SCREEN ROOM
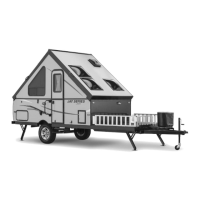
Step 1
Begin by pulling the canopy over the peak of the front wall, and securing the
Velcro sewn on the canopy to the Velcro applied to the edges of the front wall.
NOTE: There is a plastic socket on the exterior side of the wall at the peak.
This socket needs to be centered at the peak so the Ceiling Support Pole can be
plugged in to it.
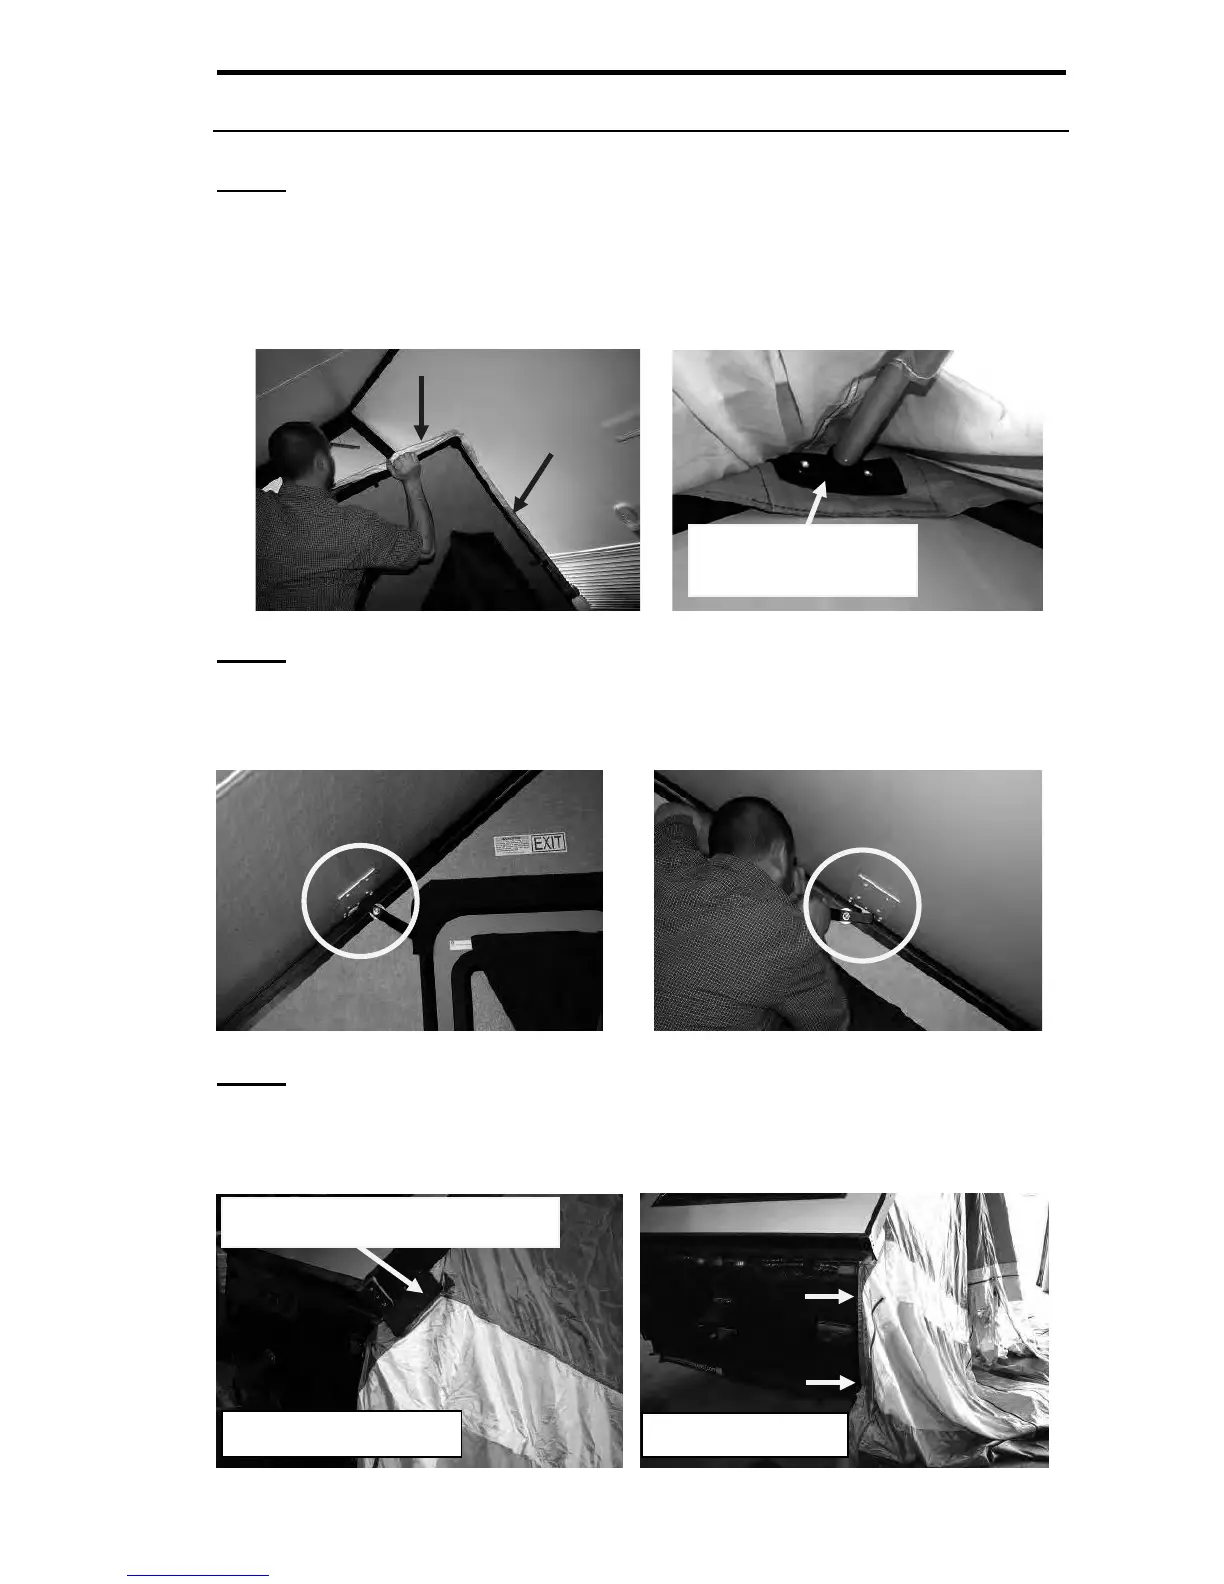
Step 2
Raise the front wall into place and latch it using the levers on each side of the wall.
Have a second person on the outside of the unit making sure all the fabric is
pulled fully to the outside of the trailer as the wall is raised into place.
Step 3
Carefully work the canopy under the rectangular flaps on each end of the roof. The
canopy will then be pulled around the front and rear corners and attached to the
30” strips of Velcro on the front & rear of the trailer (arrows).