7
. SETTING UP FOR PUNCHING 16
7.1 Start up the machine as in Section 6.
STARTING UP PROCEDURE
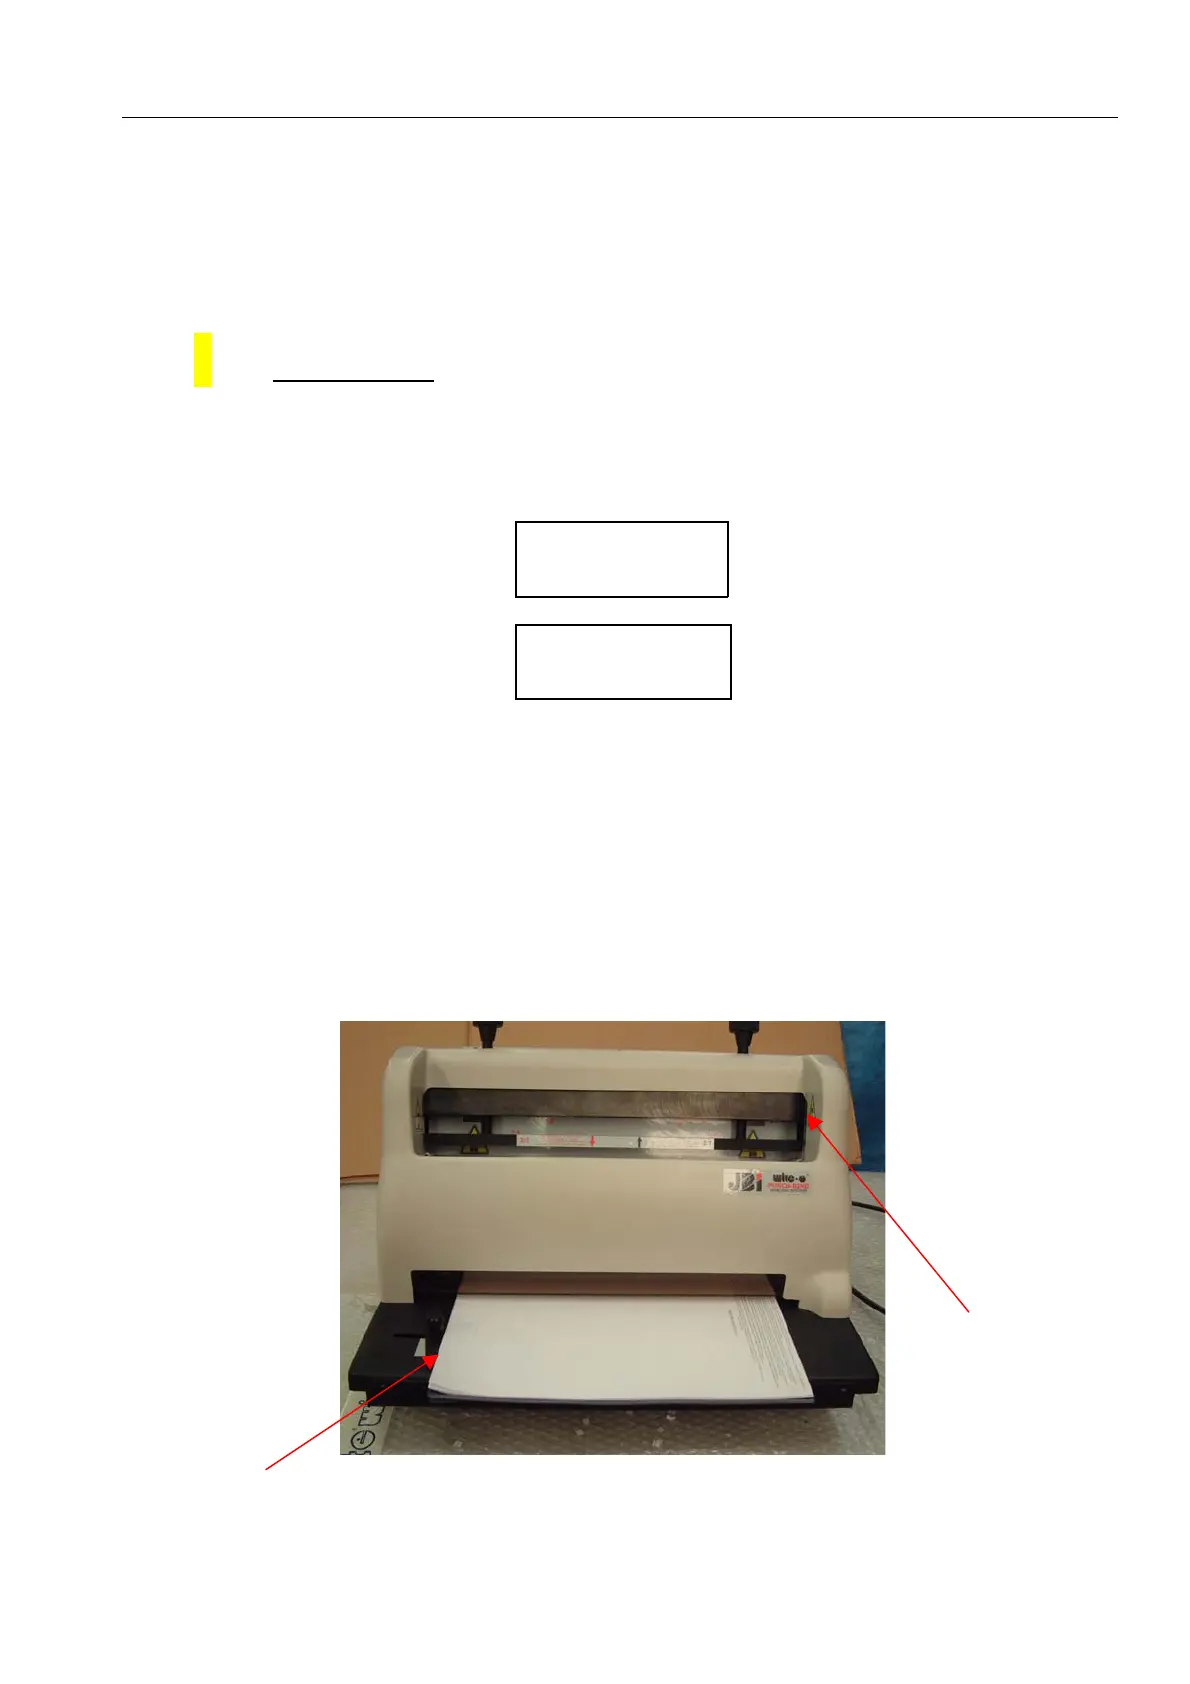
7.2 Place a sample sheet of paper fully into the punching slot so that it contacts the back of
the slot squarely.
! -IMPORTANT :
Always centre the punching area in the middle of the tool to avoid having an irregular
pressure and a premature wear both of the tool and the machine.
CORRECT
INCORRECT
7.3 Align the sheet so that the holes will be centrally positioned on the sheet, by using the
graduation on the table.
7.4 Slide lay gauge (rep.D) by loosening the knurled knob until it contacts the sheet. Then
retighten the knurled knob.
7.5 Remove the sheet, fold it in half and check punched holes are aligned with each other.
If not, make minor adjustments to the lay gauge and repeat above procedure.
LED
Laygauge