Do you have a question about the JBL EON ONE PRO and is the answer not in the manual?
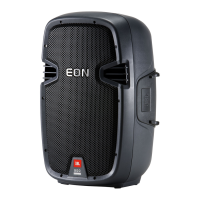
Describes the basic setup with the speaker unit alone for audio output.
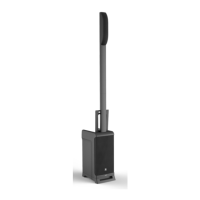
Details the setup using one spacer unit for extended reach and coverage.
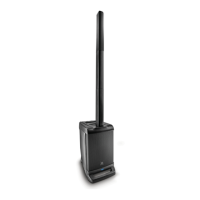
Explains the setup with two spacer units for maximum extension and coverage.
Instructions for connecting the power cord and monitoring the charging status via the Battery Level Meter.
Guide to connecting devices, selecting Mic/Line, and engaging Hi-Z for optimal input signal.
Steps to activate the unit, ensuring power LEDs illuminate correctly.
Instructions for pairing and connecting a device for Bluetooth audio streaming.
Procedure for adjusting channel and master volume controls for desired mix balance.
Identification and function of all rear panel controls, inputs, and outputs.
| Power source type | AC, Battery |
|---|---|
| AC input frequency | 50 - 60 Hz |
| Battery life (max) | 6 h |
| Speaker type | - |
| Built-in amplifier | Yes |
| Speaker grille material | Steel |
| Number of mixer channels | 6 channels |
| Number of woofer drivers | 1 |
| Product color | Black |
| Housing material | Polypropylene (PP) |
| Sensitivity | 118 dB |
| Amplifier class | D |
| Frequency range | 37.5 - 18500 Hz |
| RMS rated power | - W |
| Amplifier output power | 250 W |
| Quantity per pack | 1 pc(s) |
| Depth | 401 mm |
|---|---|
| Width | 266 mm |
| Height | 594 mm |
| Weight | 17000 g |
| Package depth | 421 mm |
| Package width | 541 mm |
| Package height | 772 mm |
| Woofer diameter | 203.2 mm |
| Woofer diameter (imperial) | 8 \ |