9
5.6 Installing dust chute
Mount dust chute (D, Figure 5-3) with four screws
(HP4).
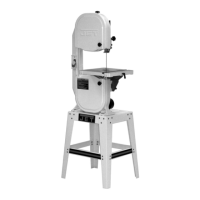
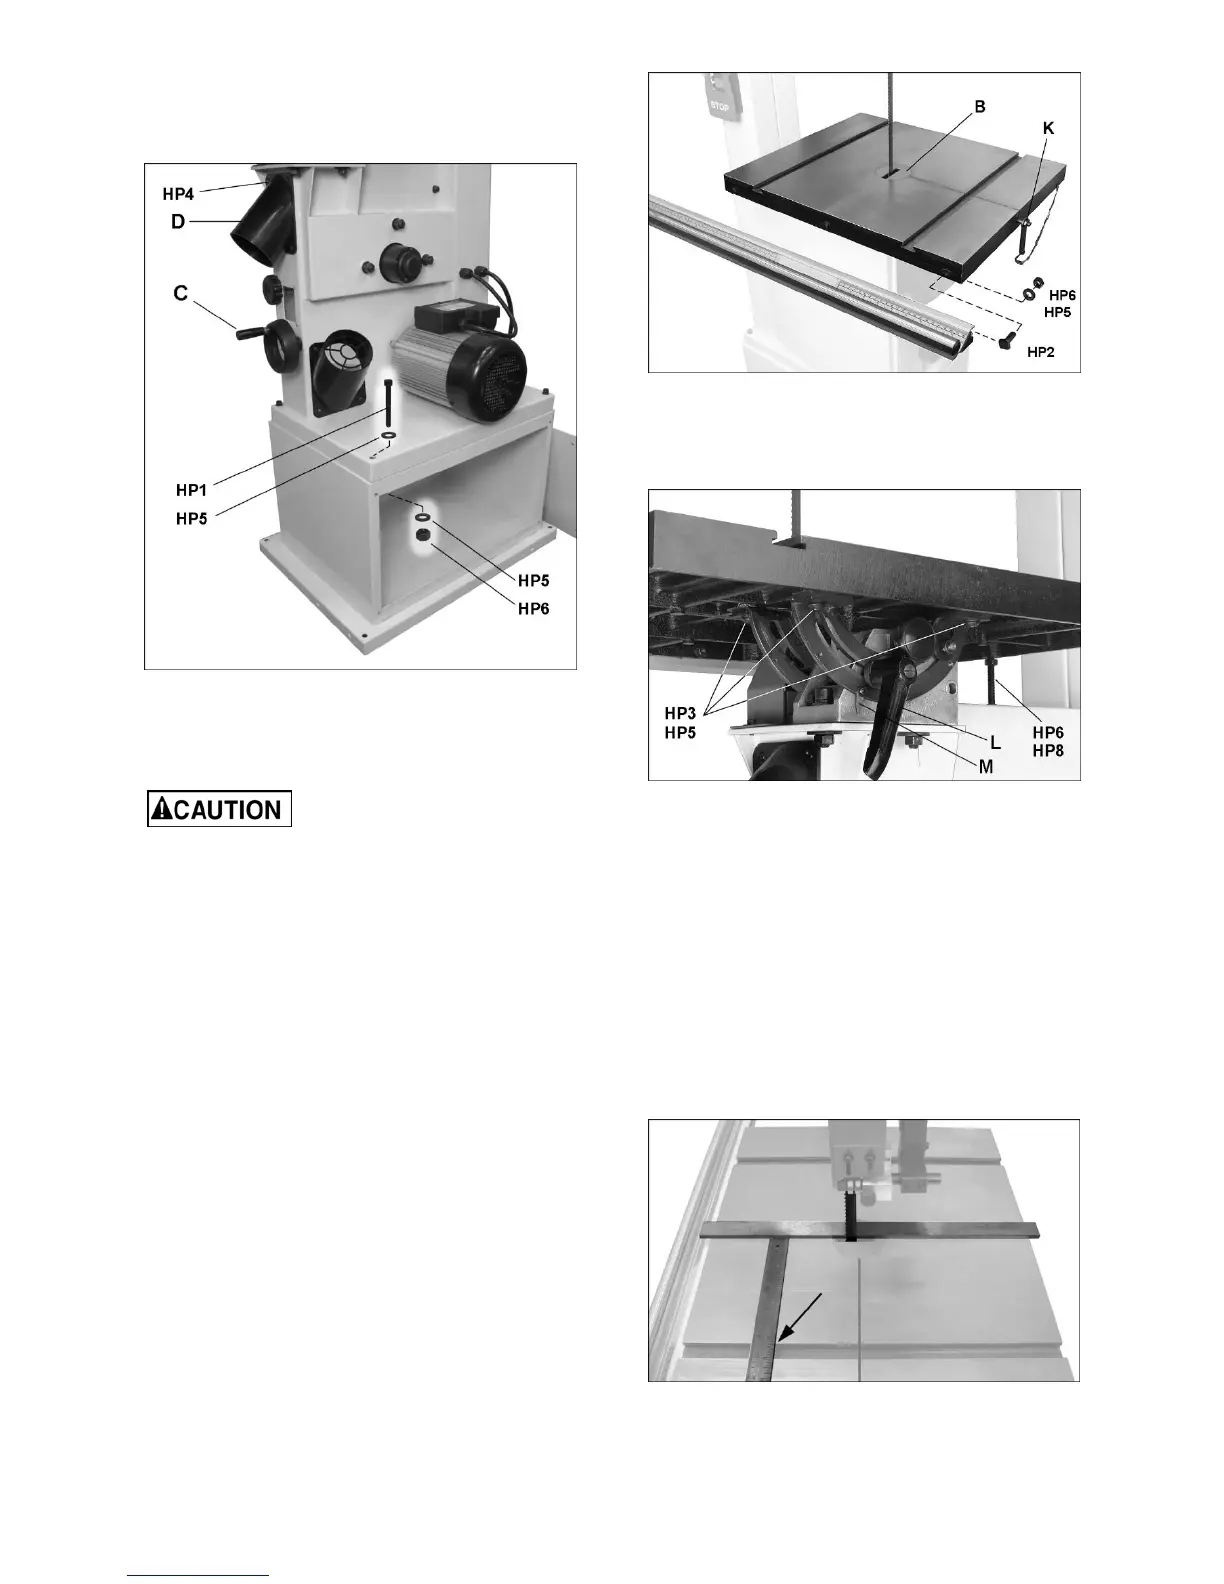
Figure 5-3
5.7 Installing and aligning table
Refer to Figures 5-4 through 5-6.
Table is heavy; an assistant is
recommended.
The table must be mounted so that:
• Blade runs through center of table insert.
• Table is aligned with blade.
• Table is square to blade at 90° scale
reading.
1. Remove insert (B, Figure 5-4).
2. Lower blade tension lever (see D, Figure 7-5) to
tension position.
3. Slide table from behind the blade toward the
front, allowing blade to pass through table slot,
then rotate table counterclockwise into final
position, as shown in Figure 5-4.
4. Slide pin (K, Figure 5-4) into table edge; this
prevents any deflection of table along blade
slot.
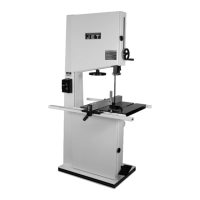
Figure 5-4: table and guide rail installation
5. Line up table to trunnion slots and insert screws
and washers (HP3/5, Figure 5-5). Only hand
tighten screws at this time.
Figure 5-5: table installation
6. Install table insert (B). Blade should be
positioned at center of insert opening. If it is not,
push table left or right as needed to center it.
Table must now be aligned with blade, and surface
set square to blade at 90° scale reading, as follows.
5.7.1 Table-to-blade alignment
7. With blade tension lever in tension position,
place a long straightedge flush against blade,
making sure it evenly contacts both front and
back of blade. See Figure 5-6. Do not deflect
blade by pushing into it.
Figure 5-6
 Loading...