10
Figure 2
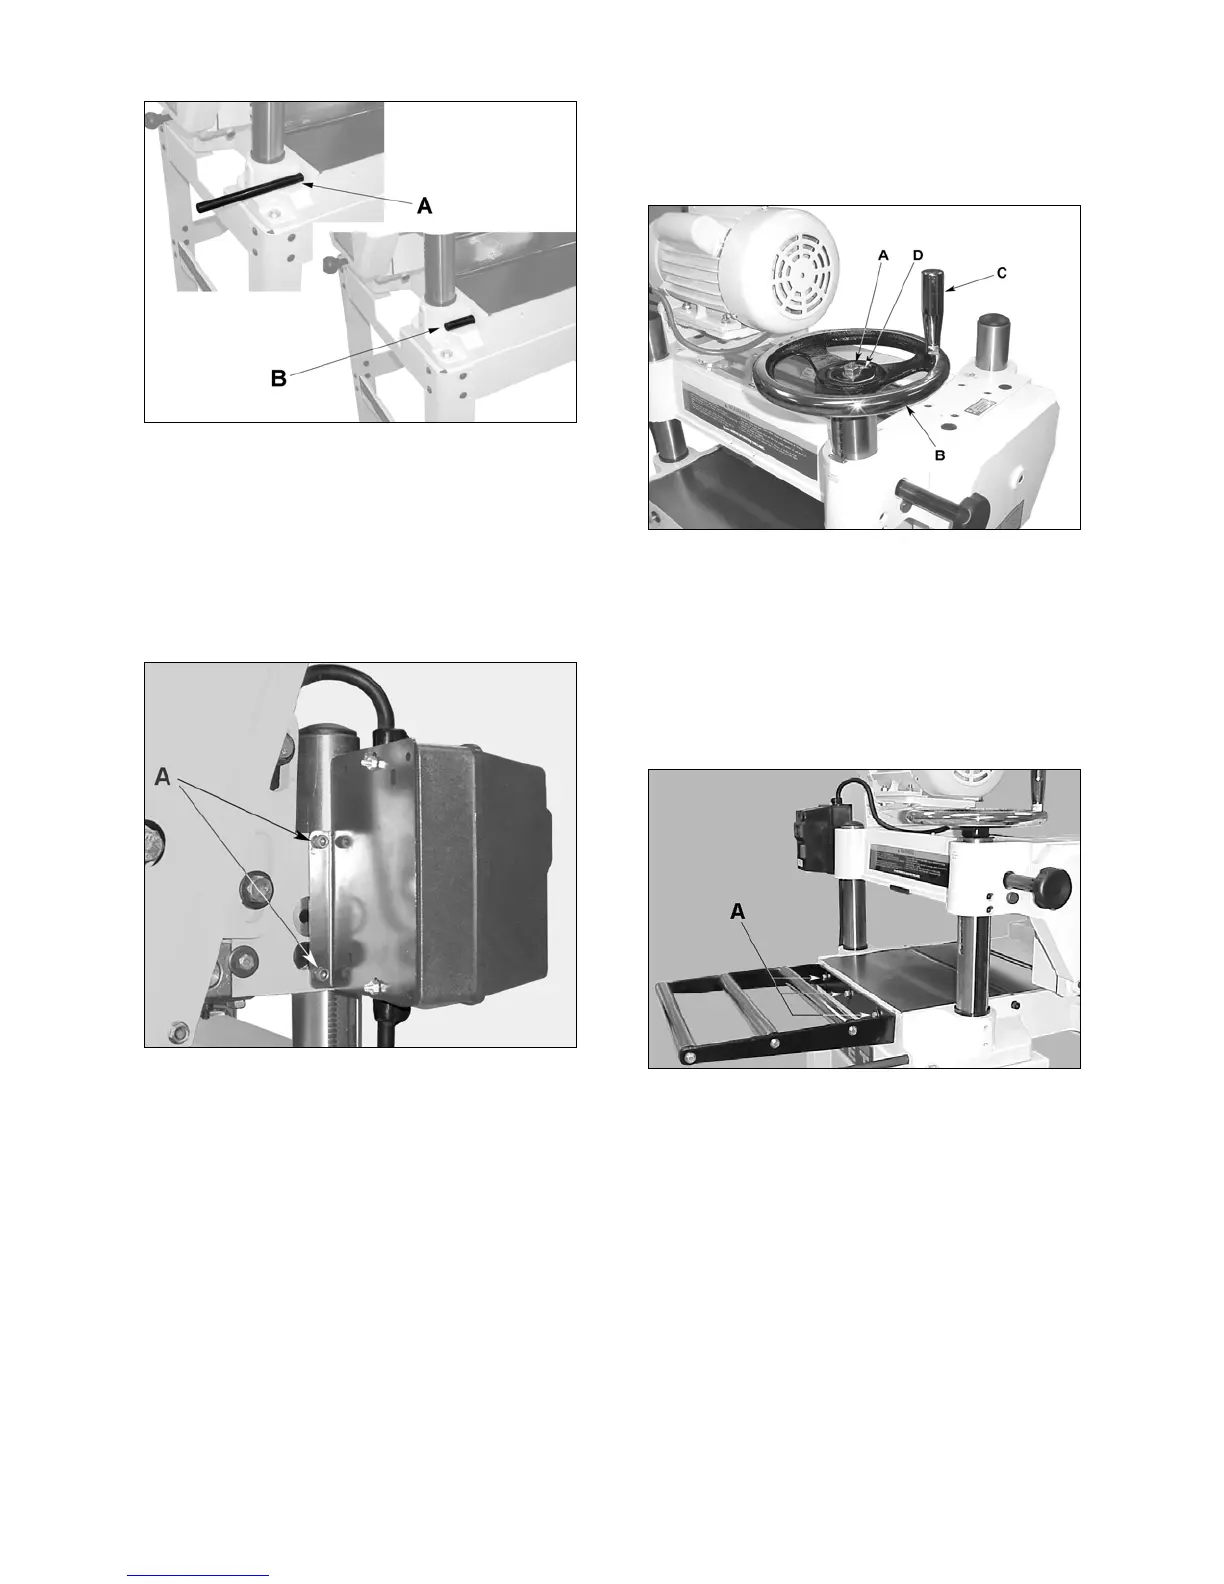
Starter Box
The switch assembly (starter box and bracket) is
pre-assembled at the factory and simply needs
to be mounted to the head casting on the left
side of the machine with two socket head cap
screws (A, Fig. 3) already in place the head
casting.
Figure 3
Handwheel
1. Remove the tape holding the key in the
shaft.
2. Place the handwheel (B, Fig. 4) onto the
shaft; making sure it is oriented so the
handwheel slips over the key.
3. Remove the adhesive backing from the
direction label supplied with the hardware
bag for the handwheel. Place the label onto
the shaft and press it on the handwheel (D,
Fig. 4).
4. Place flat washer and hex nut on shaft and
tighten with wrench.
5. Mount the handle (C, Fig. 4) for the
handwheel in the threaded hole in the
handwheel, and tighten with a wrench
placed over the flat (12mm) on the handle.
Figure 4
Extension Rollers
Mount two extension rollers to the table using
the provided 6 ea M8 x 20 hex cap screws
(12mm), 6 ea M8 flat washers, and 6 ea M8 x 12
set screws (A, Fig. 5). The rollers should be
adjusted before operating the planer (this will be
explained later in the Adjustment section).
Figure 5
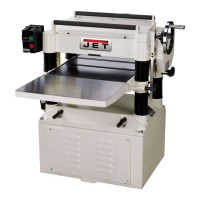
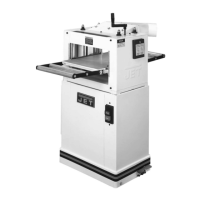
Dust Collection Hood
Referring to Figure 6:
The dust collection hood (A) comes standard
with the model JWP-16OS planer, and helps
maintain a clean and safe work area. It is
assembled to the planer (B) with six hex head
screws (C) as shown.