Electrical connections
General information and grounding
Note: This unit uses discrete thermostat wiring. Do
not interface with TTSCC, Hx
™
, or Hx
™
3 thermostat
communication connections. It is possible to
interface with Hx
™
or Hx
™
3 conventional terminals.
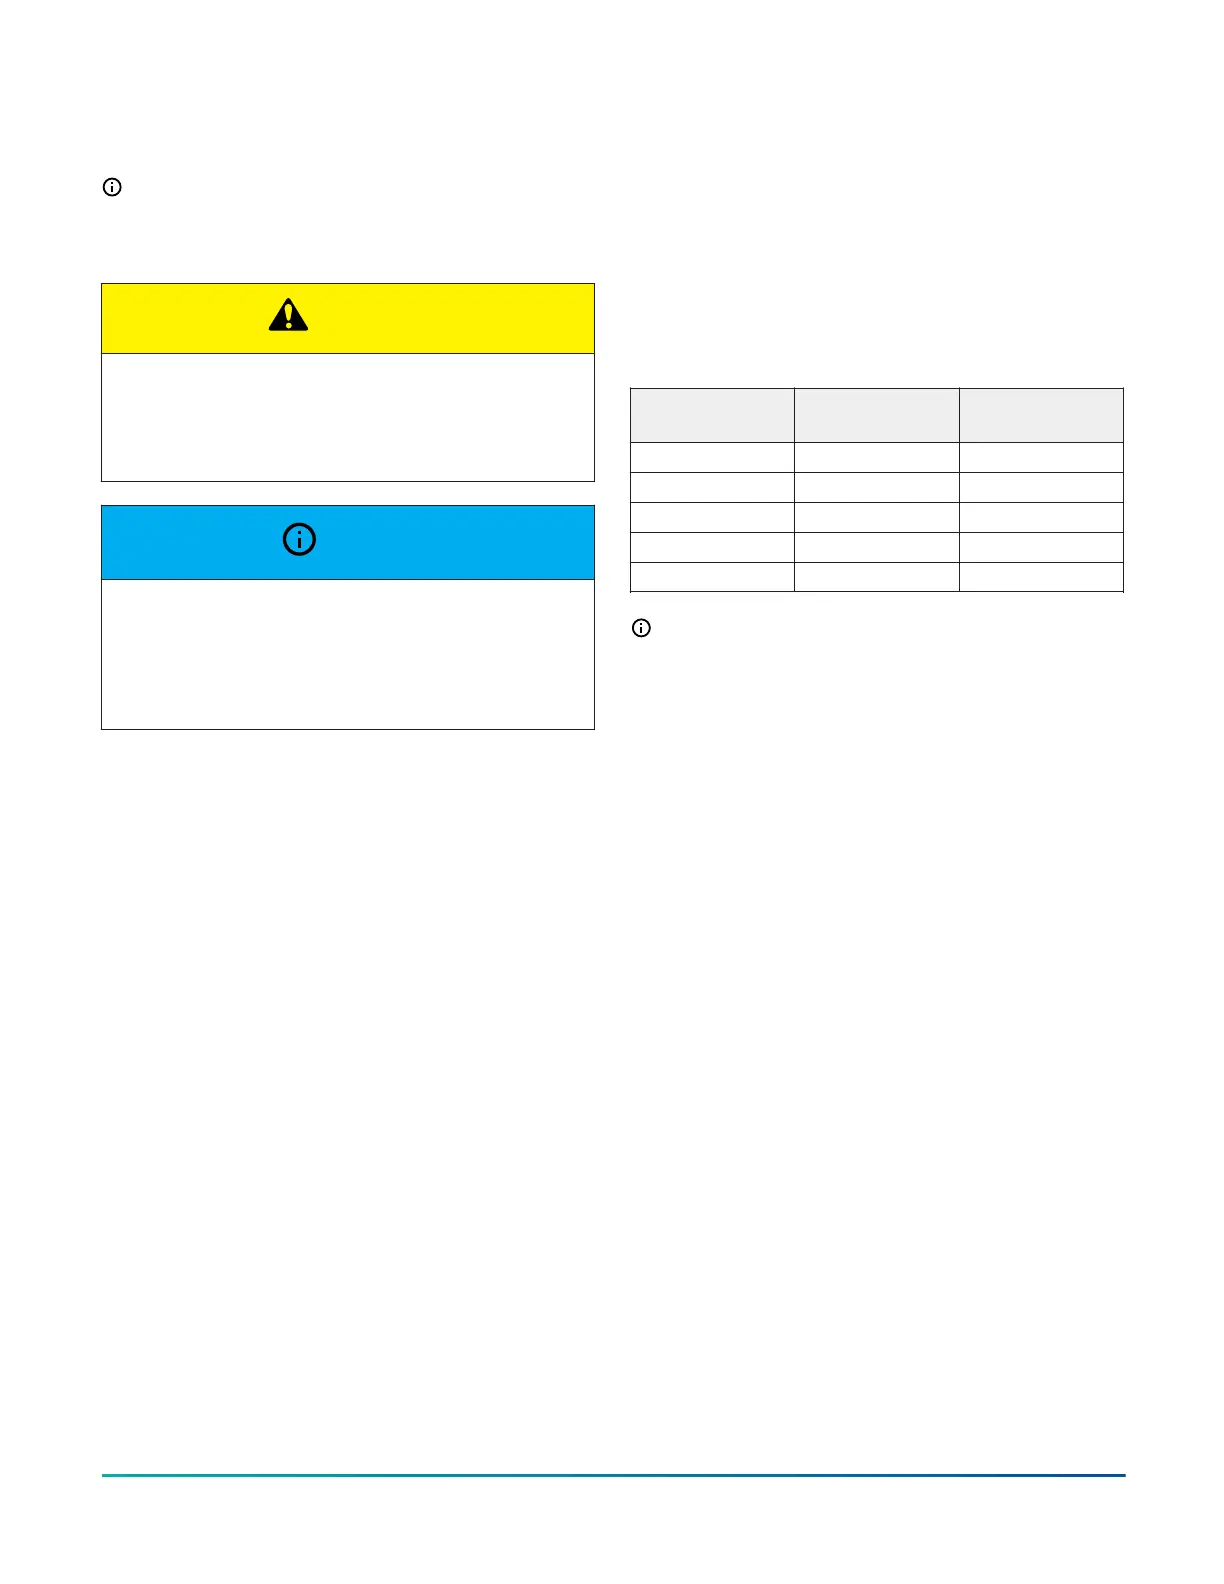
CAUTION
This equipment uses an inverter drive that stores
hazardous energy up to 5 min after power is removed.
Wait for more than 5 min before performing electrical
work after power is removed.
NOTICE
Local codes may require use of an ELB (Earth
Leakage Breaker) or RCD (Residual Current Device)
breaker. When required, use a breaker capable of
handling harmonics to prevent failure of the ELB or
RCD breaker.
Field connections wiring
About this task:
All field wiring must be in accordance with national
electrical codes (NEC) and local city codes.
1. Install the correct size weatherproof disconnect
switch outdoors and within sight of the unit, per
local codes.
2. Run the power wiring from the disconnect switch to
the unit.
3. Route the wires from the disconnect through the
power wiring exit provided and into the unit control
box as shown in Figure 15, Figure 16, Figure 17, and
Figure 18 for the various models.
4. Make the power supply connections to the supplied
terminal block.
5. Mount the thermostat 5 ft above the floor, where
it is exposed to normal room air circulation. Do not
place it on an outside wall or where it is exposed to
the radiant effect from exposed glass or appliances,
drafts from outside doors, or supply air grilles.
6. Route the 24-V control wiring (NEC Class 2) from
the outdoor unit to the indoor unit and thermostat.
Keep the low-voltage wiring 4 in. or more away from
the high-voltage wires that are leaving the control
box.
7. Wrap tape along the wire and seal any wiring holes
to prevent entry of condensate water and insects.
Tightly secure the power source wiring using the
cord clamp inside the unit.
8. See the unit-specific connection instructions below.
Table 4: Tightening torque of each screw
Screw
Minimum [lb·ft
(N·m)]
Maximum [lb·ft
(N·m)]
M4 0.7 (1.0) 1.0 (1.3)
M5 1.5 (2.0) 1.8 (2.5)
M6 3.0 (4.0) 3.7 (5.0)
M8 6.6 (9.0) 8.1 (11.0)
M10 13.3 (18.0) 21.7 (23.0)
Note: Apply adhesive to rubber bushings when not
using conduit tubes to the outdoor unit.
General electrical checks
• Ensure that the field-selected electrical components
(main power switches, circuit breakers, wires,
conduit connectors, and wire terminals) have
been properly selected according to the electrical
data. Ensure that the components comply with the
National Electrical Code (NEC).
• Ensure the voltage of the power supply is within 10%
of nominal voltage and the ground is contained in
the power supply wires. If not, electrical parts may
be damaged.
• Ensure that the capacity of the power supply is of
sufficient size. If not, an abnormal voltage drop
when starting the unit may prevent the compressor
from operating.
• Ensure that the ground wire is connected.
• Ensure that the electrical resistance is more than
2 MΩ, by measuring the resistance between the
ground and the terminal of the electrical parts. If
the electrical resistance is not more than 2 MΩ, do
not operate the system until the electrical leakage is
found and repaired.
Installation Manual: HMH7 Series - 17 SEER Horizontal Discharge Modulating Heat Pump 13
Johnson Controls Ducted Systems