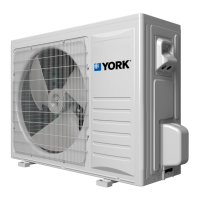
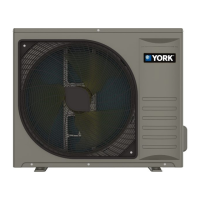
Installing the outdoor unit
1. Use washers when fastening the outdoor section at
the foundation bolts.
2. When fastening the outdoor section with the
foundation bolts, ensure that the anchoring
locations are as shown in Figure 8.
3. Fasten the outdoor section as shown in Figure 9.
4. Make sure to fasten the outdoor unit tightly and in
a horizontal position to prevent noise.
5. Do not drain condensate onto public places as this
may lead to slippery surfaces.
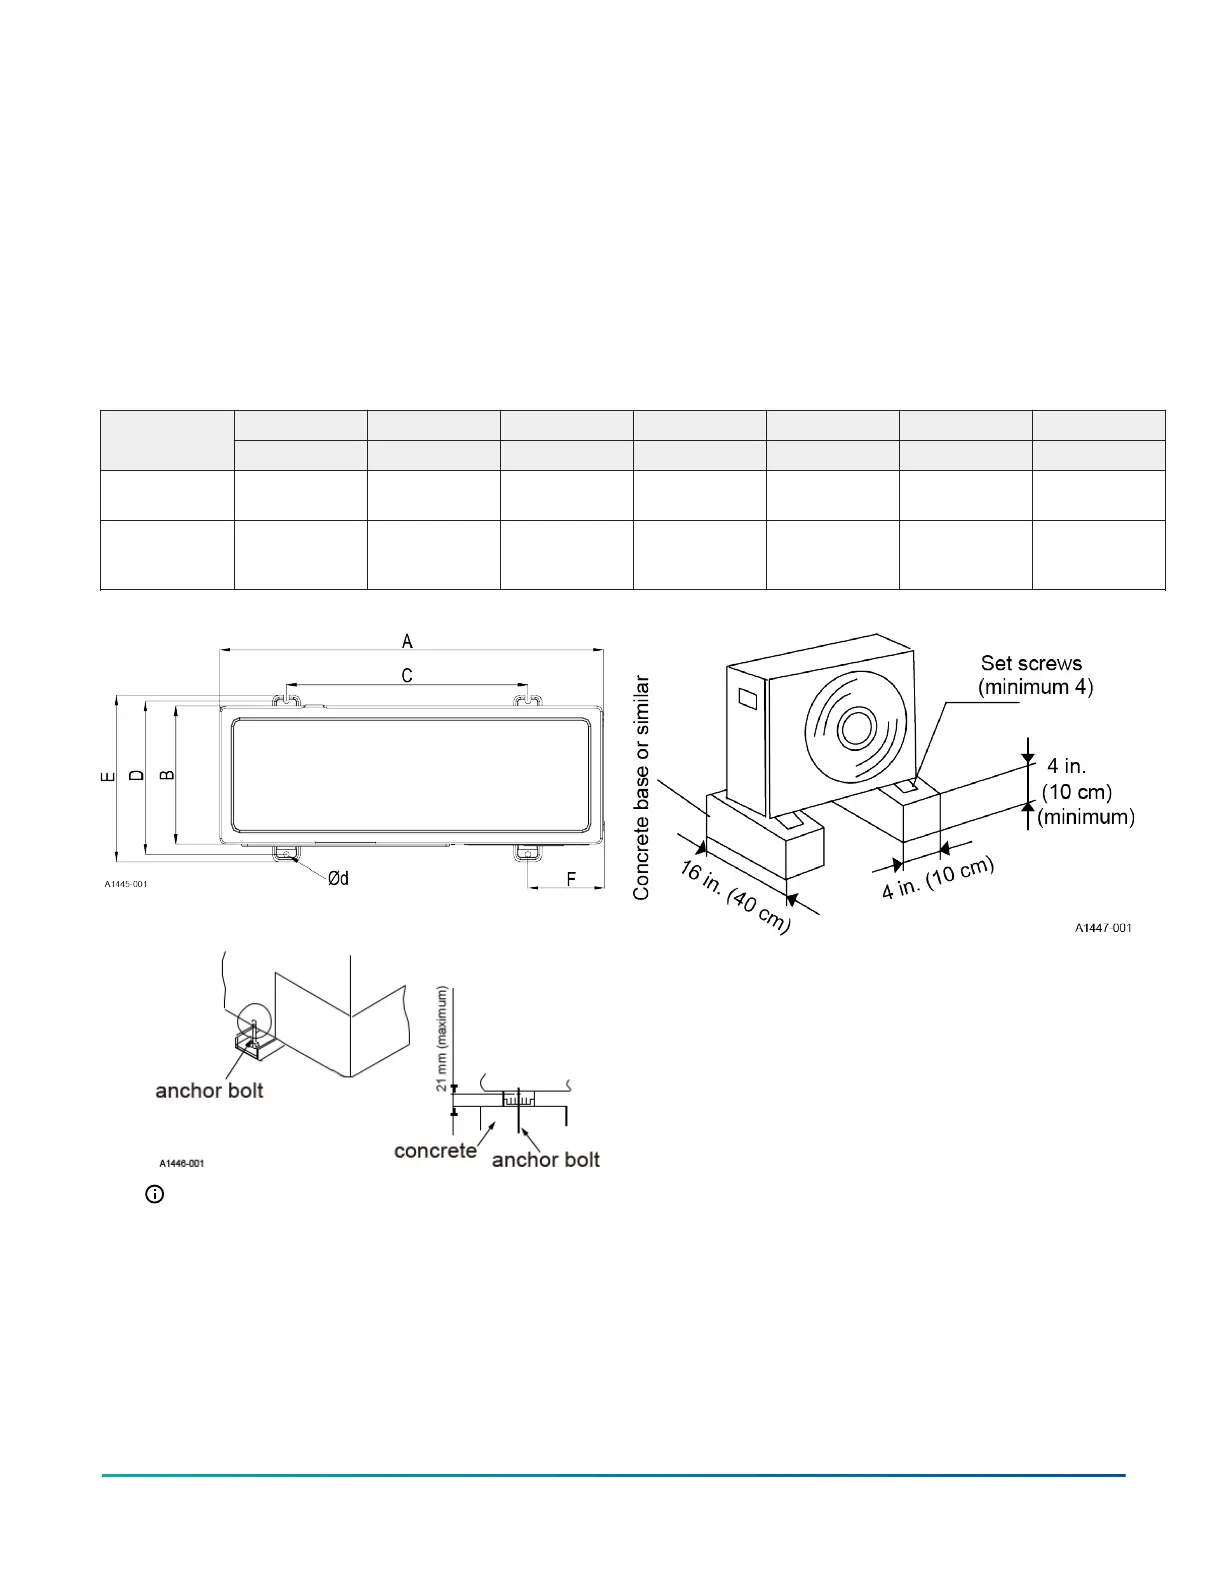
6. Use a strong base, made of concrete or similar, that
positions the outdoor section at least 2 in. from
the ground. This keeps the outdoor section dry
and reduces the chance of corrosion, which could
reduce the life span of the outdoor section. See
Figure 10.
Table 3: Anchoring locations
A B C D E F d
Model
in. (mm) in. (mm) in. (mm) in. (mm) in. (mm) in. (mm) in. (mm)
HMH72B24 33 7/8 (860) 12 3/16 (310) 21 11/32 (542) 13 7/16 (341) 14 1/2 (368) 6 5/8 (168)
7/16–11/16
(11–17)
HMH72B36,
HMH72B48,
HMH72B60
37 3/8 (950) 13 3/8 (340) 22 7/8 (580) 14 15/16 (380) 16 1/4 (414) 7 1/4 (185) 5/8 (15)
Figure 8: Anchoring locations
Figure 9: Securing the unit
Note: If the bolt is too long or impedes any
future movement of the unit, cut it to a more
appropriate length.
Figure 10: Concrete base
Affixing the brand label
1. Find the brand label in the plastic bag attached to
the unit carton.
2. Remove the label backing and affix the brand label
in the area marked A in Figure 11, centered 1/2 in.
immediately below the tooling mark on the front
panel.
Installation Manual: HMH7 Series - 17 SEER Horizontal Discharge Modulating Heat Pump10
Johnson Controls Ducted Systems