Canada
This Class (A) digital apparatus meets all the
requirements of the Canadian Interference-Causing
Equipment Regulations.
Cet appareil numérique de la Classe (A) respecte toutes
les exigences du Règlement sur le matériel brouilleur
du Canada.
Installation
Observe these guidelines when installing a
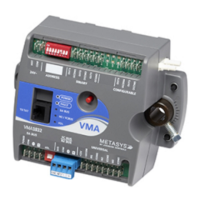
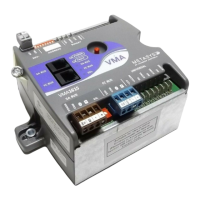
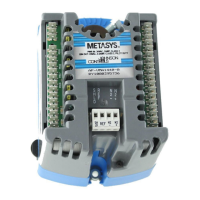
VMA1615/1626/1628/1630 controller:
• Transport the VMA controller in the original container
to minimize vibration and shock damage to the VMA
controller.
• Do not drop the VMA controller or subject it to physical
shock.
Parts Included
• one VMA1615/1626/1628/1630 controller with
removable SA bus and power terminal blocks
• one installation instructions sheet
• one self-drilling No. 10 x 25 mm (1 in.) screw
Materials and Special Tools Needed
• several 6 mm (1/4 in.) female spade terminals for
input and output wiring, and crimping tool for spade
mounted terminal blocks
• small, straight-blade screwdriver for securing wires
in the terminal blocks
• 8 mm (5/16 in.) wrench or 10 mm (3/8 in.) 12-point
socket to tighten the square coupler bolt
• several shims or washers to mount the VMA
• power screwdriver, 100 mm (4 in.) extension socket,
punch, drill, and 3.5 mm (9/64 in.) drill bits to mount
the VMA
• pliers to open and close the damper
• required length of 3.97 mm (5/32 in.) ID pneumatic
tubing and barbed fittings
Mounting
Observe these guidelines when mounting a VMA:
Important: When the air supply to the VAV box is below
10°C (50°F), make sure that any
condensation on the VAV box, particularly
on the damper shaft, does not enter the
VMA electronics. Mount the VMA vertically
above the damper shaft to allow any shaft
condensation to fall away from the VMA.
Additional measures may be required in
some installations.
• Ensure that the mounting surface can support the
VMA and any user-supplied enclosure.
• Mount the VMA on a hard, even surface whenever
possible.
• Use shims or washers to mount the VMA securely
and evenly on the mounting surface.
• Mount the VMA in an area free of corrosive vapors
that matches the ambient conditions specified in the
Technical Specifications section.
• Provide sufficient space around the VMA for cable
and wire connections and adequate ventilation
through the controller (at least 50 mm [2 in.] on the
top, bottom, sides, and front of the controllers).
• Do not mount the VMA in areas where
electromagnetic emissions from other devices or
wiring can interfere with controller communication.
• Avoid mounting the VMA on surfaces with excessive
vibration.
• When using the VMA1615/1626/1628/1630 to replace
a VMA1610 or VMA1620 controller, plug the unused
open hole in the duct work from the original VMA
mounting if possible. Plug the hole using the sheet
metal screw from the original installation (preferred
option).
On panel or enclosure mount applications, observe these
additional guidelines:
• Do not install the VMA in an airtight enclosure.
• Mount the VMA so that the enclosure walls do not
obstruct cover removal or ventilation through the
controller.
• Mount the VMA so that the power transformer and
other devices do not radiate excessive heat to the
controller.
To mount the VMA1615/1626/1628/1630 controllers:
1. Set all the switches on the field controller to their
known settings.
2. Place the VMA controller in the proper mounting
position on the damper shaft so that the wiring
2VMA1615/1626/1628/1630 VAV Controllers Installation Instructions
 Loading...