6 ©2015 Johnson Level & Tool
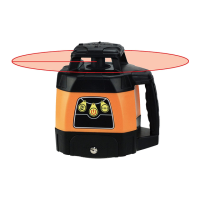
6. Operating Instructions
IMPORTANT: It is the responsibility of the user to verify the
calibration of the instrument before each use.
Battery Installation
Note: Always check to be sure that the laser is off before removing
and replacing battery packs.
Alkaline Battery Pack Installation
1. Put 4 “C” batteries into the battery pack
according to polarity direction.
2. Attach the battery pack to the laser.
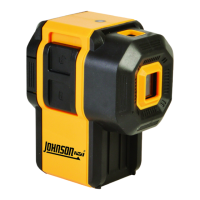
Ni-MH Rechargeable Battery Charging
Using the 6.4V battery adapter (included), charge the
rechargeable battery pack directly to the battery pack
(Fig 1.) or while the battery pack is connected to the
laser (Fig. 2). When the charge indicator LED turns
from red to green (after approximately five hours) on
the 6.4V battery adapter (Fig. 3), the Ni-MH recharge-
able battery pack has been fully charged.
Note:
(1) For the first two charges of new
rechargeable batteries, it is recommended
to charge for 12 plus hours.
(2) The unit can still work during charging
with the adapter.
(3) Do not charge alkaline batteries to avoid explosion.
Fig. 1
Fig. 2
Fig. 3
Charging
Indication LED
8488H-English_Manuals 11/11/14 2:36 PM Page 6