AXLE ASSEMBLY REPLACEMENT PROCEDURE (JPE5100)
Tools required:
u Philips
screwdriver
u C-clip pliers
u puller
u Hex key (6mm)
u Hexagonal
socket wrench
(19&13mm)
u Adjustable
wrench
Procedure:
1 Remove all of the covers.
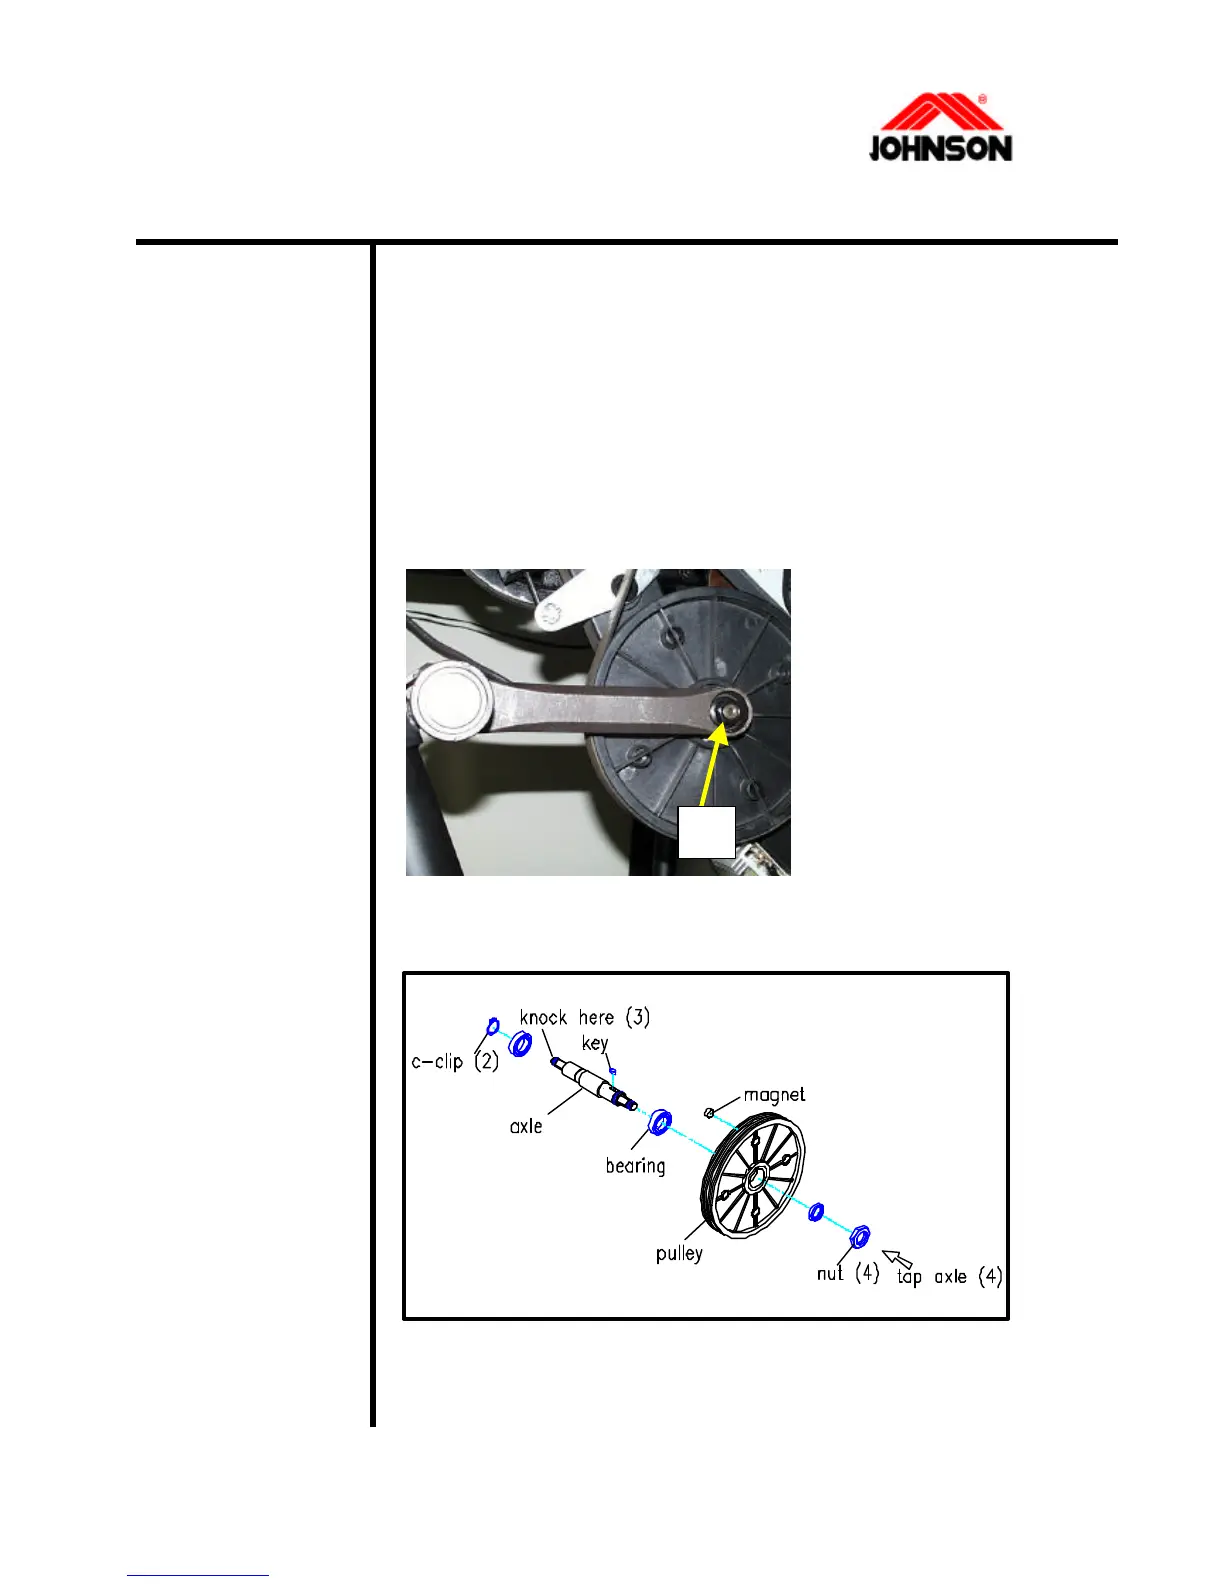
2 Loosen the nut (A) and remove it ,another side is same
3 Loosen the tension adjustment screw of idler pulley, then
remove the poly v belt
4 Follow the
procedures below to
install the axle.
Step1: pull crank out
Step2: remove the c-
clip.
Step3: tap axle assy out
Step4: remove the nut
then tap axle out
Step5: replace the axle with a new one
Step6: reverse all of the steps to install the parts
A
3-23 Revision: 1.0 Date: 2001/06/01
 Loading...