IV.
HOW
TO
USE
AND ADJUST THE
SWITCH-BACK
BUTTON
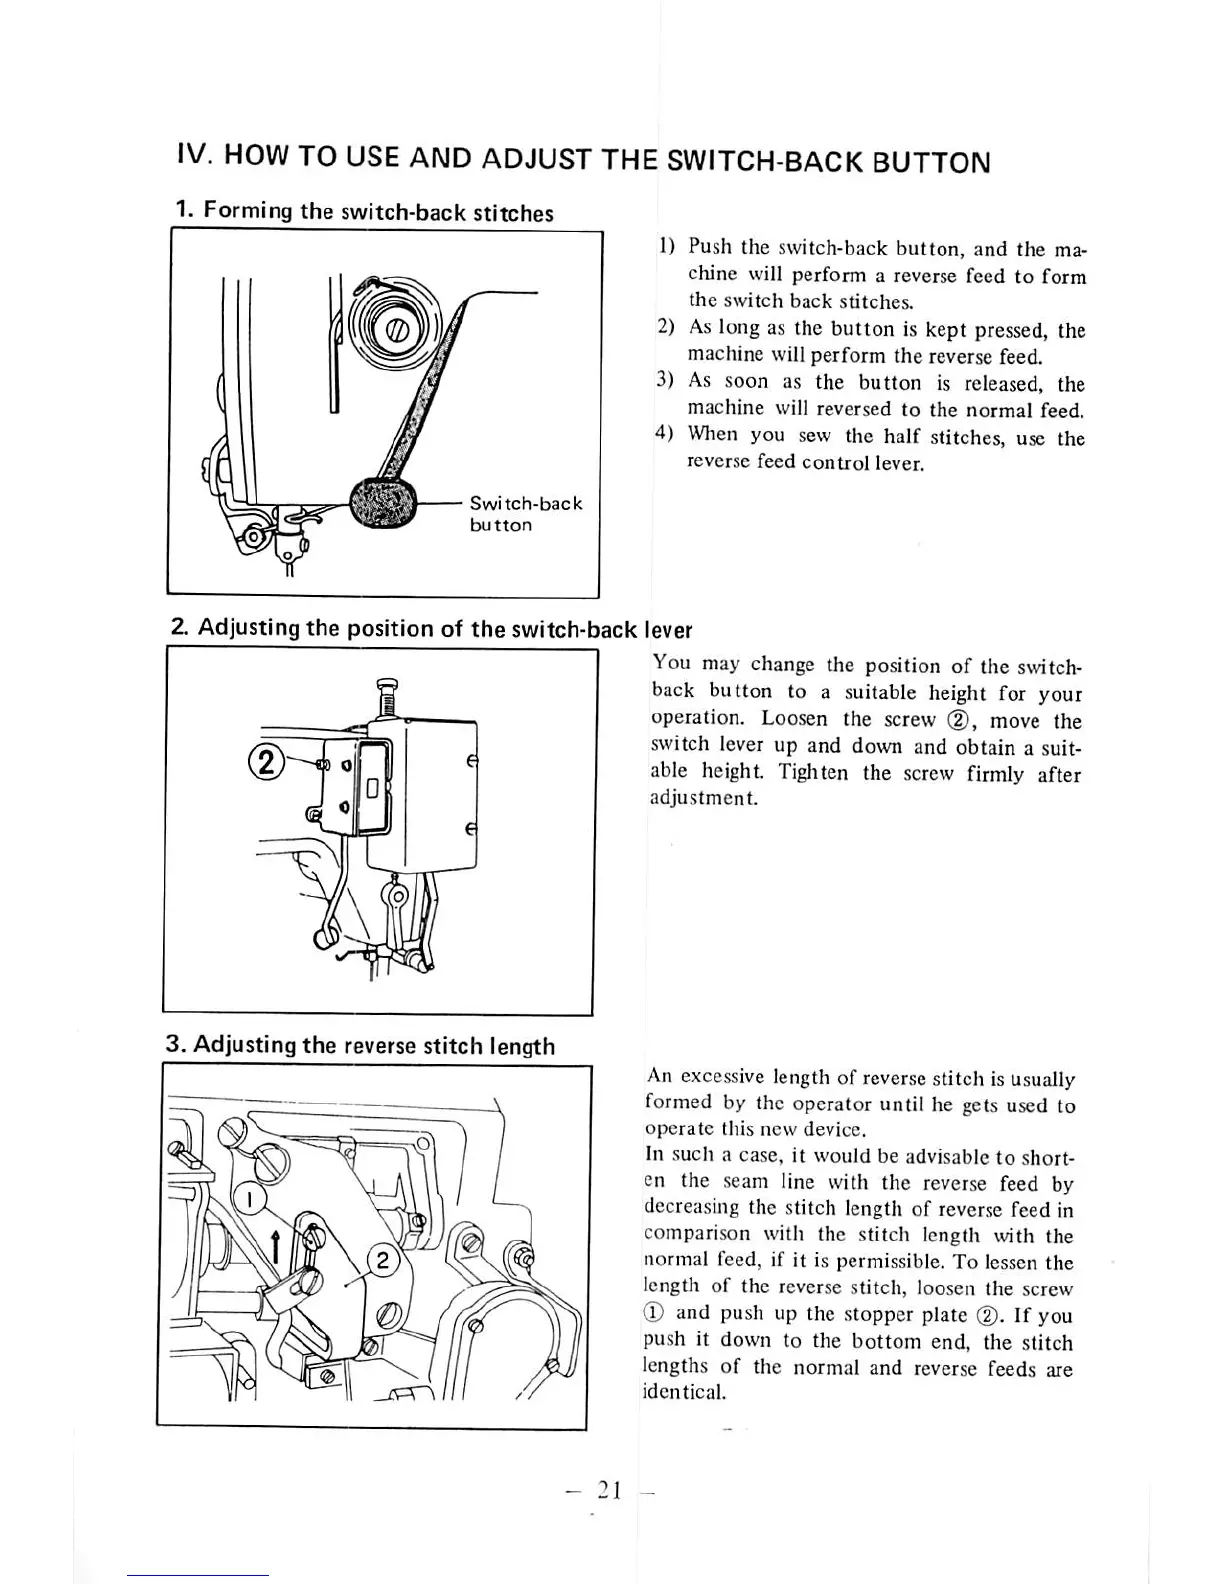
1.
Forming
the
switch-back
stitches
Switch-back
button
1) Push the switch-back button, and the ma
chine will perform a reverse feed to form
the
switch
back
stitches.
2)
As
long as the button is kept pressed, the
machine will perform
the
reverse feed.
3)
As
soon as the button is released, the
machine
will reversed to the
normal
feed.
4)
When
you sew the half stitches, use the
reverse
feed
control
lever.
Z Adjusting
the
position of
the
switch-back lever
I
You
may
change
the
position
of
the
switch
back button to a suitable height for your
operation. Loosen the screw (D, move the
switch lever up and down and obtain a suit
able height. Tighten the
screw
firmly after
adjustment.
3. Adjusting
the
reverse
stitch
length
An excessive length of reversestitch is usually
formed
by the operator until he gets
used
to
operate
this
new
device.
In such a case, it
would
be advisable
to
short
en the seam line with the reverse feed by
decreasing the stitch length of reverse feed in
comparison with the stitch length with the
normal feed, if it is permissible. To lessen the
length of the reverse stitch, loosen the screw
(D
and
push
up the
stopper
plate
(2).
If
you
push it
down
to the
bottom
end. the stitch
lengths
of
the
normal
and
reverse
feeds
are
identical.
-
21
-