- 5 -
7
Teaching switch
8
Information switch
9
Material edge sensor switch
!0
One-shot automatic
sewing switch
!1
With/without automatic
thread trimmer switch
!2
Thread trimming
prohibiting switch
!3
Counter value setting
switch
!4
Max. speed limitation variable
resistor
!5
Power display lamp
!6
Media slot cover
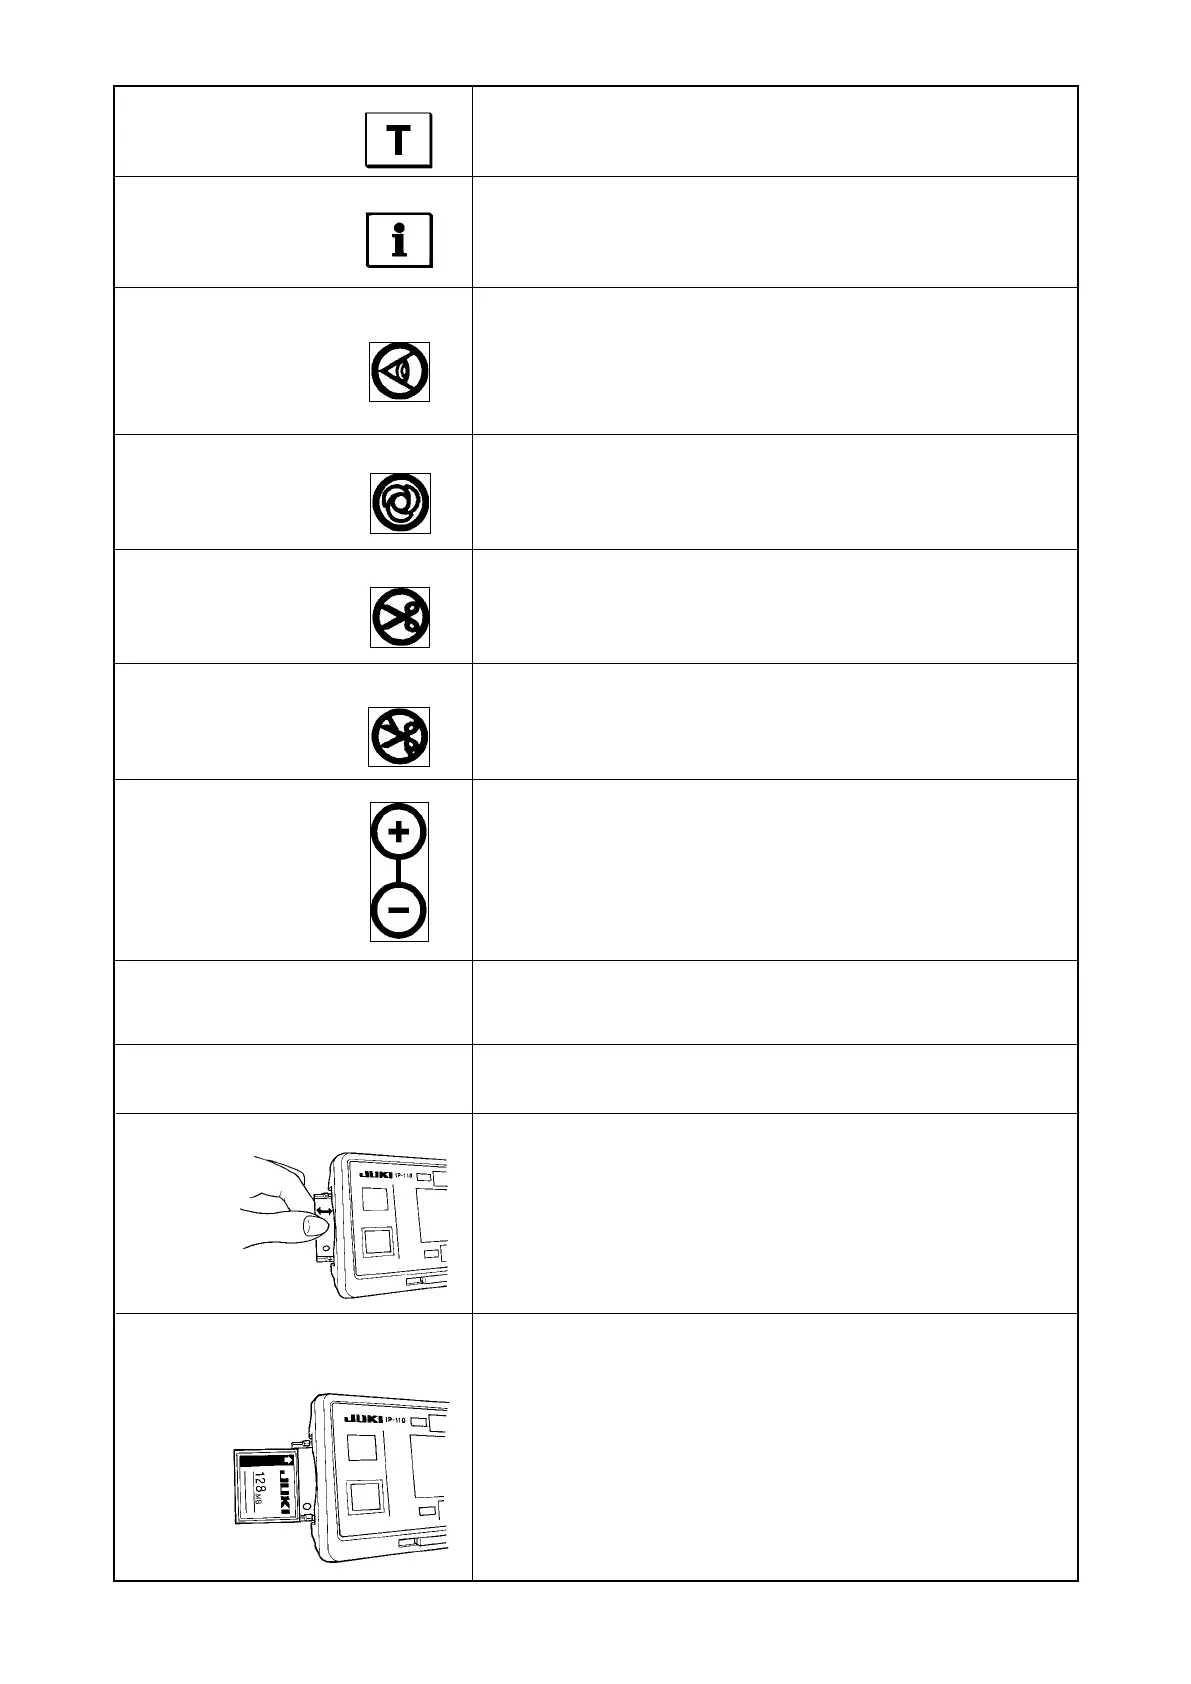
!7
Media slot
(Media inserting opening)
This is the switch to set the setting of the number of stitches with
the value of number of stitches which has been actually sewn.
This is the switch to perform various function settings.
Rendered effective when the material edge sensor is installed on
the machine.
Used for selecting whether or not the material edge sensor is
used during sewing.
When this switch is set to effective at the time of program
stitching, the sewing machine automatically operates up to the
specied number of stitches.
When this switch is set to effective at the time of using the
material end sensor for the reverse feed stitching pattern, the
thread trimmer automatically trims the thread upon completion of
sewing the specied number of stitches.
This switch prohibits all thread trimmings.
* This switch cannot be used with the sewing machine which is
not provided with the automatic thread trimming device.
This is the switch to set the value of bobbin thread counter or No.
of pcs. counter.
When moving the resistor in the left direction, max. speed is limited.
This lamp lights up when the power switch is turned ON.
This is the cover for media inserting opening.
To open the cover, place your nger on the notch located on the
side of the cover as shown in the gure and push the cover in the
direction of left slanting rear.
* There are some functions that are not able to be operated
with the cover opened. Do not close the cover unless the
CompactFlash(TM) is completely inserted.
To set CompactFlash(TM), place the label face of the
CompactFlash(TM) to the front and insert the part that has a
small hole (place the notch of the edge to the rear) to the panel.
To remove the CompactFlash(TM), hold it between your ngers
and draw it out.
* When the inserting direction of the CompactFlash(TM) is wrong,
the panel and the CompactFlash(TM) may be damaged. Do not
insert anything other than the CompactFlash(TM).