Step 2: Install the Router
•
Tools Required to Install the ACX500 Indoor Router in a Rack on page 8
•
Install the Mounting Brackets on page 8
•
Install the ACX500 Indoor Router in a Rack on page 9
Tools Required to Install the ACX500 Indoor Router in a Rack
To install the router in a rack, you need the following tools:
•
Phillips (+) screwdriver, number 2
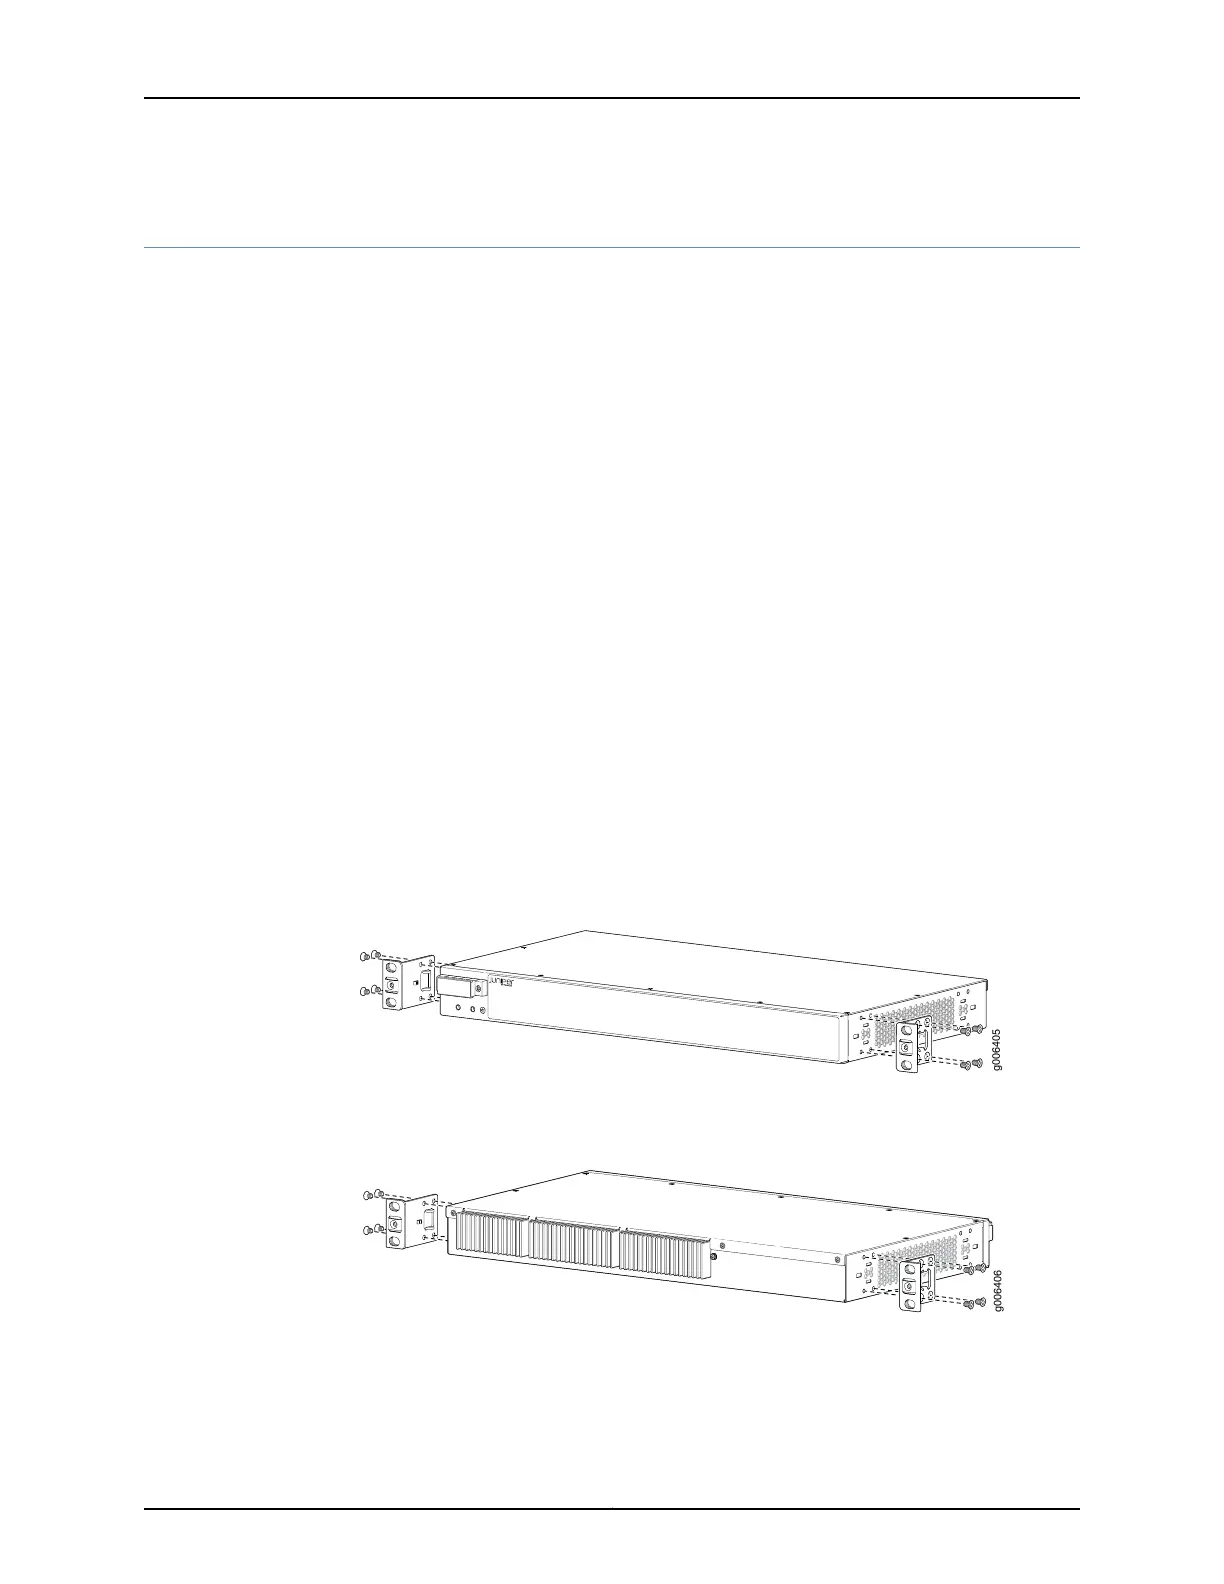
Install the Mounting Brackets
Two mounting brackets for front or rear mounting ship with the router (see
Figure 4 on page 8 and Figure 5 on page 8).
Attach both mounting brackets to either the front or rear of the chassis:
1. Align the bracket with the two sets of mounting holes of the chassis.
2. Insert the four screws at the top and bottom of the bracket and tighten each screw
partially.
3. Tighten the four screws completely.
4. Repeat the procedure for the other bracket.
Figure 4: Installing the Mounting Brackets to the Front of the ACX500
Indoor Router
Figure 5: Installing the Mounting Brackets to the Rear of the ACX500
Indoor Router
8
ACX500 Universal Access Routers Quick Start—ACX500 Indoor Routers