Step 2: Up and Running
IN THIS SECTION
Plug and Play | 7
Perform Inial Conguraon | 7
Now that the MX304 is powered on, let’s do some inial conguraon to get it up and running on the network. It’s
simple to congure and manage the MX304 using the CLI.
Plug and Play
The MX304 router ships with factory-default sengs that enable some zero touch provisioning (ZTP) funcons. These
sengs load as soon as you power on the switch. In our case we congure the router manually, so we remove the ZTP
sengs as part of our inial conguraon.
Perform Inial Conguraon
You can easily customize the factory-default conguraon with just a few commands. When you commit changes to the
conguraon, a new conguraon le is created. This becomes the acve conguraon. You can always revert to the
factory-default conguraon anyme you want.
When ZTP is not used you must perform the inial conguraon of an MX304 router through the console port (CON)
using the Junos OS command-line interface (CLI). If your MX304 has dual Roung-Engines, you should perform these
steps on each Roung-Engine, being sure to specify a unique management IP address for the management interface on
each Roung-Engine. See "Step 3: Keep Going" on page 12 for informaon on how to use conguraon groups to
share a single conguraon le between both Roung-Engines.
Have the following informaon ready before you begin the inial conguraon:
• The router's host and domain name
• IP address and subnet mask for the management Ethernet interface
• IP address of a default gateway for the management network
• IP address of a DNS server
• The root user's password
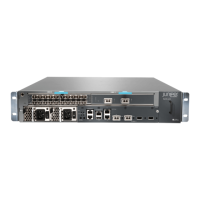
1. Verify that the router is powered on.
7