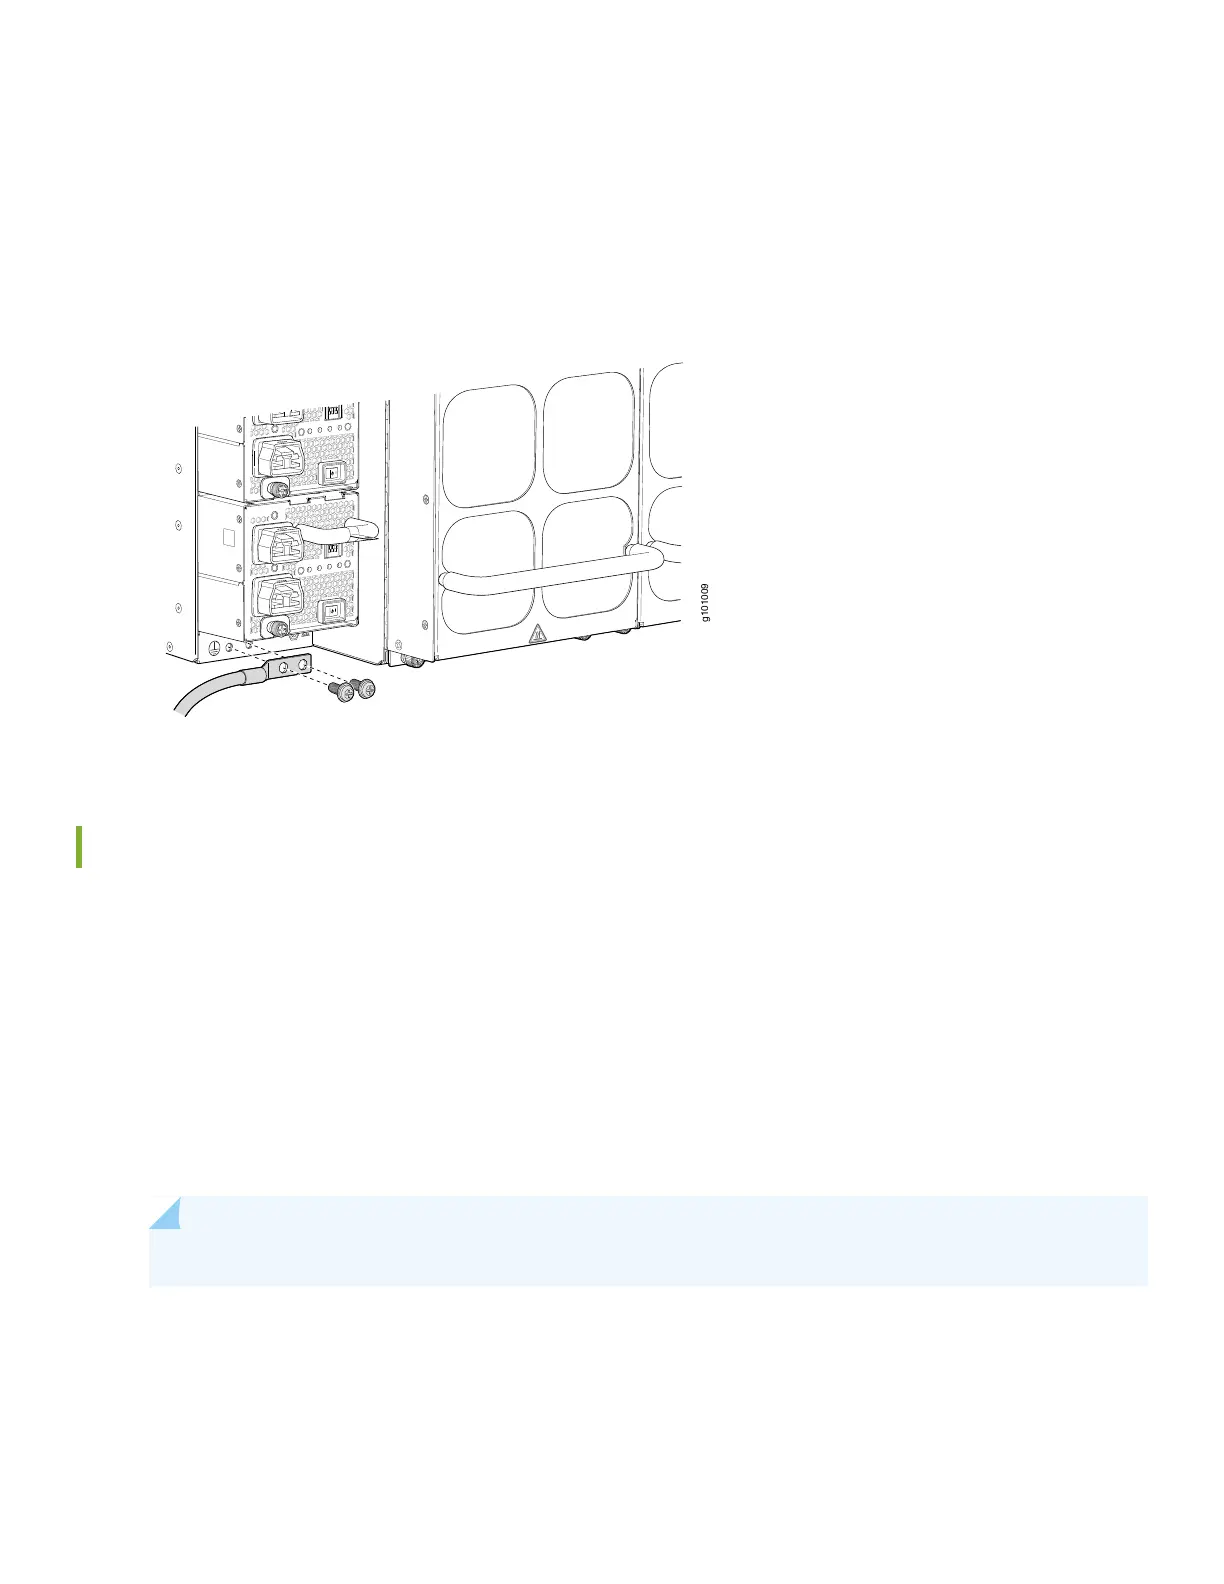
11. Remove the two M6 screws with attached washers below the bottom power supply using a Pozidriv or Phillips
screwdriver.
12. Place the chassis grounding lug and cable over the screw holes with the cable connection pointing to the left. Place
the two screws with attached washers over the grounding lug and grounding cable. Tighten the two M-6 screws using
a Pozidriv or Phillips screwdriver.
Power On
Now that you’ve installed your PTX10004 in the rack and grounded the chassis, you’re ready to connect it to power.
The PTX10004 supports AC, DC, high-voltage alternating current (HVAC), and high-voltage direct current (HVDC). In this
guide, we show you how to connect AC power for AC, HVAC, and HVDC installations. See the PTX10004 hardware guide
for information on other power options.
1. Wrap and fasten one end of the electrostatic discharge (ESD) grounding strap around your bare wrist, and connect the
other end to a site ESD point.
2. If the AC power source outlet has a power switch, set it to the off (O) position.
NOTE: If you need power source redundancy, you can attach each power cable to separate power sources.
3. Set the power switch on the power supply to the off (O) position.
4. Attach each power supply to a dedicated power source.
6