6. Attach the restraint to the rack by installing eight mounting screws through the flange holes and rack holes. Tighten
the screws with the Phillips screwdriver.
7. Install the line cards.
a. Remove the line card cover by grasping the handles and pulling straight out to expose the slot for the line card.
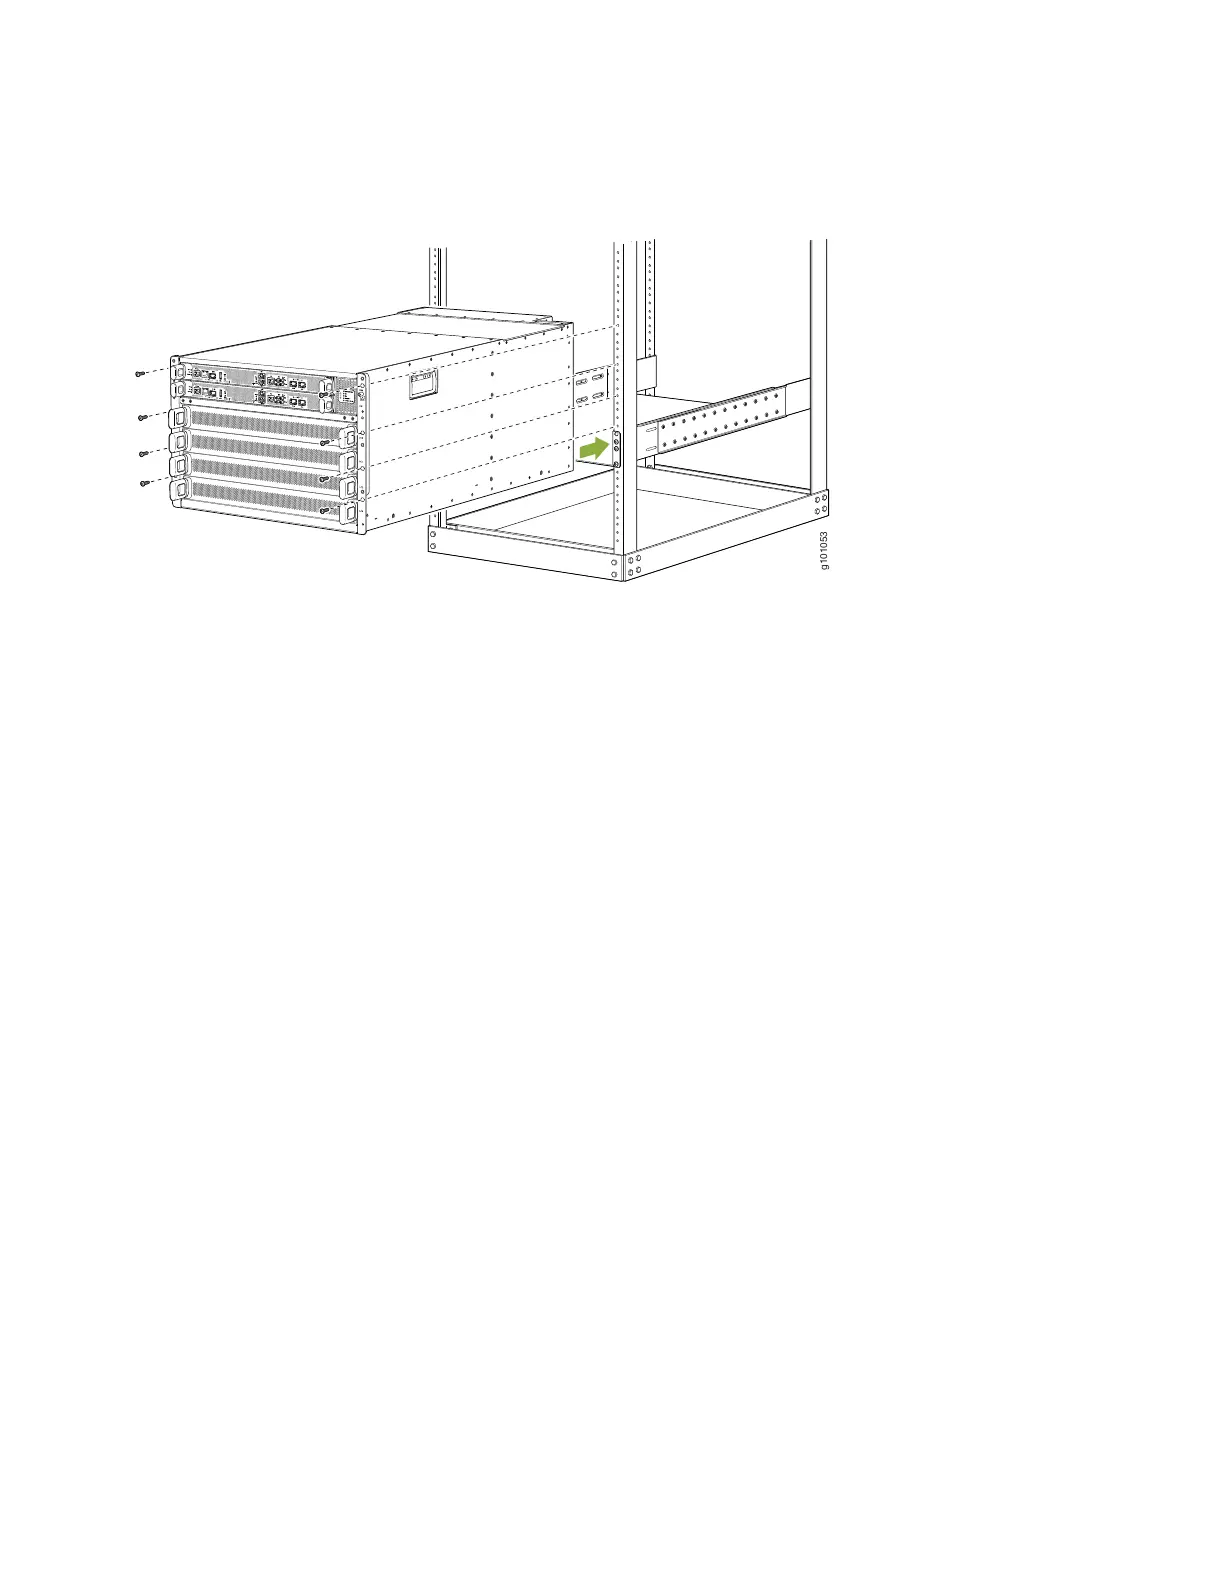
b. Slide the line card all the way into the slot until the handle holes line up.
c. Rotate the handles simultaneously into the chassis until the card is fully seated and the handles are vertical.
8. Install the optics and optional cable management system.
9. Lift the EMI front door and line up the captive screws in the door with the holes in the chassis flange. Attach the door
to the chassis and rack using the captive screws. Turn the screws until they are finger tight.
10. Verify that a licensed electrician has attached the cable lug (provided in the accessory kit) to the grounding cable.
5