1. Wrap and fasten one end of the electrostatic discharge (ESD) grounding strap around your bare wrist, and connect the
other end to a site ESD point.
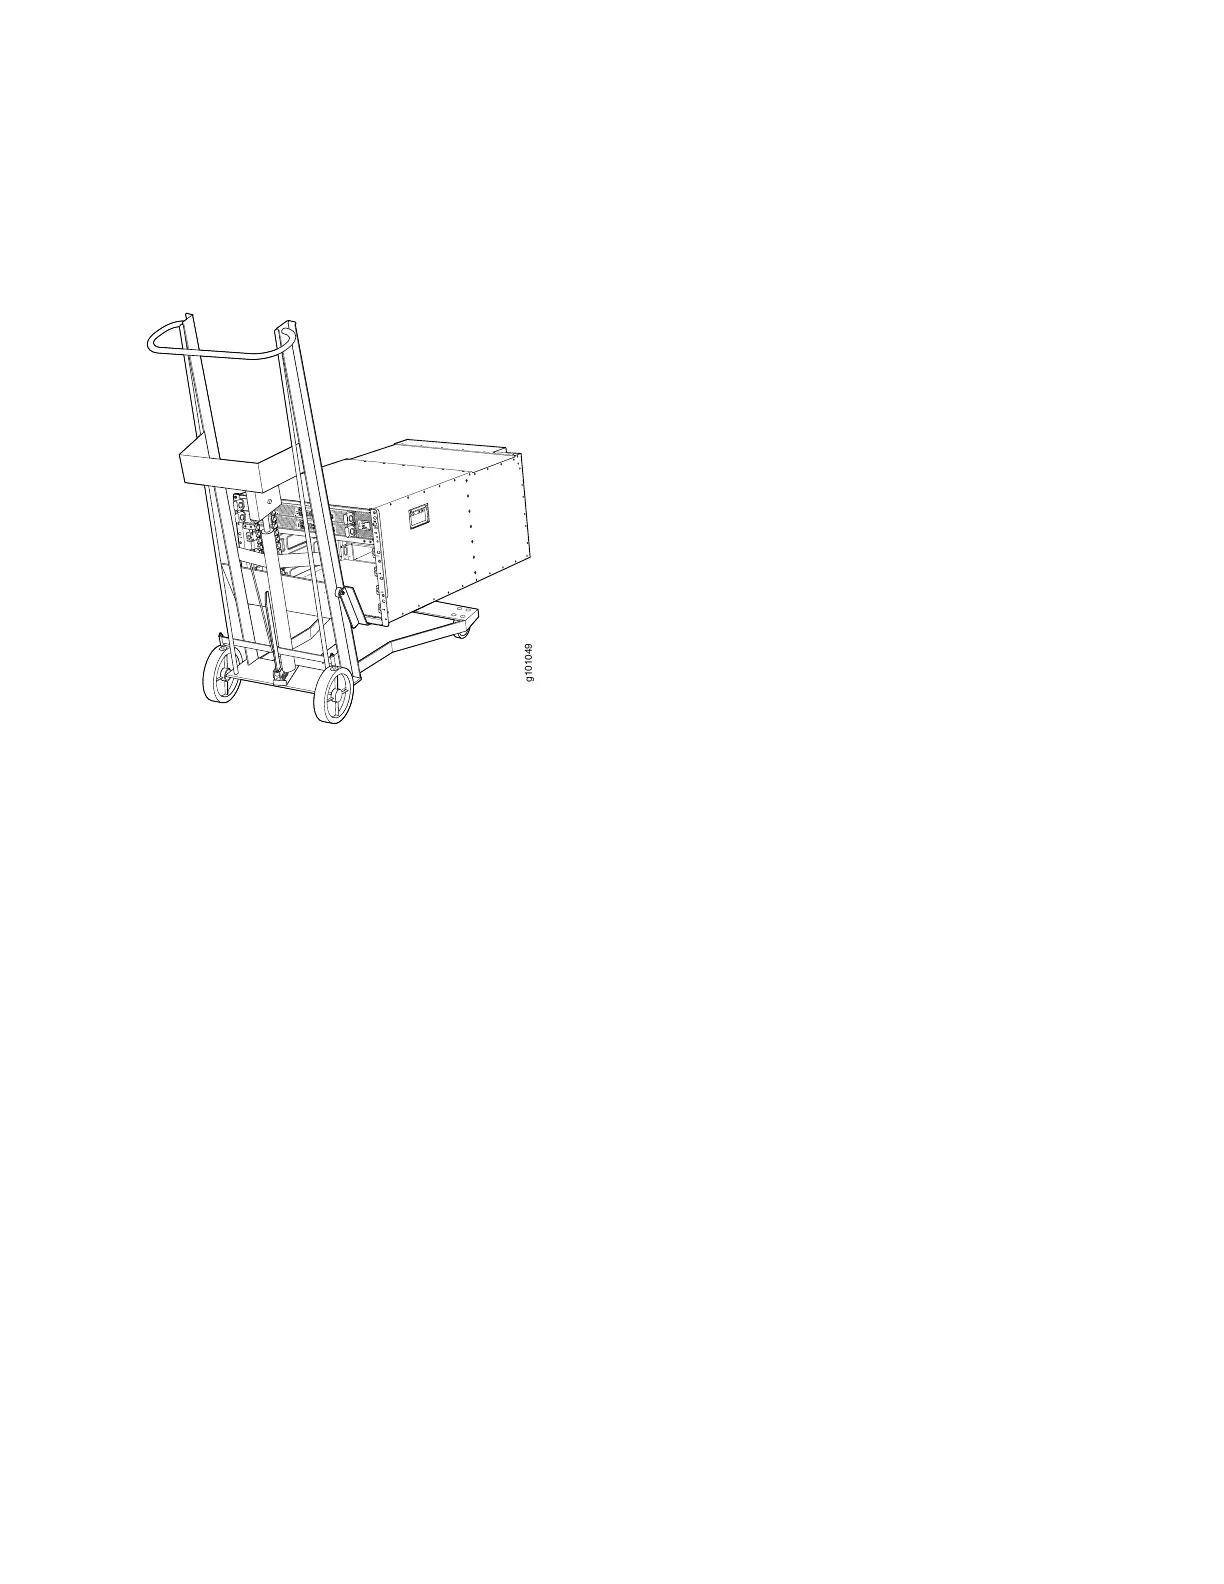
2. Load the router onto the lift, making sure it rests securely on the lift platform.
g101049
MGMT
LINK
DISK1
DISK2
OFF
RESET
BITS-0
BITS-1
PWR
STS
MASTER
CONSOLE
XGE-1
XGE-0
LINK
1PPS
10MHz
IN
OUT
ToD
BITS-0
BITS-1
MGMT
LINK
DISK1
DISK2
OFF
RESET
BITS-0
BITS-1
PWR
STS
MASTER
CONSOLE
XGE-1
XGE-0
LINK
1PPS
10MHz
IN
OUT
ToD
BITS-0
BITS-1
3. Carefully slide the chassis onto the shelf until the chassis flanges contact the rack rails.
4. Starting at the bottom, attach the chassis to the rack by installing eight mounting screws through the flange and rack
hole. Tighten the screws with the Phillips screwdriver.
5. Insert the safety restraint between the rear posts of the rack. It should rest on the top of the chassis and align with
the holes in the rack.
4