CAUTION: Have a licensed electrician aach the appropriate grounding lug to the grounding cable that
you supply. Using a grounding cable with an incorrectly aached lug can damage the switch.
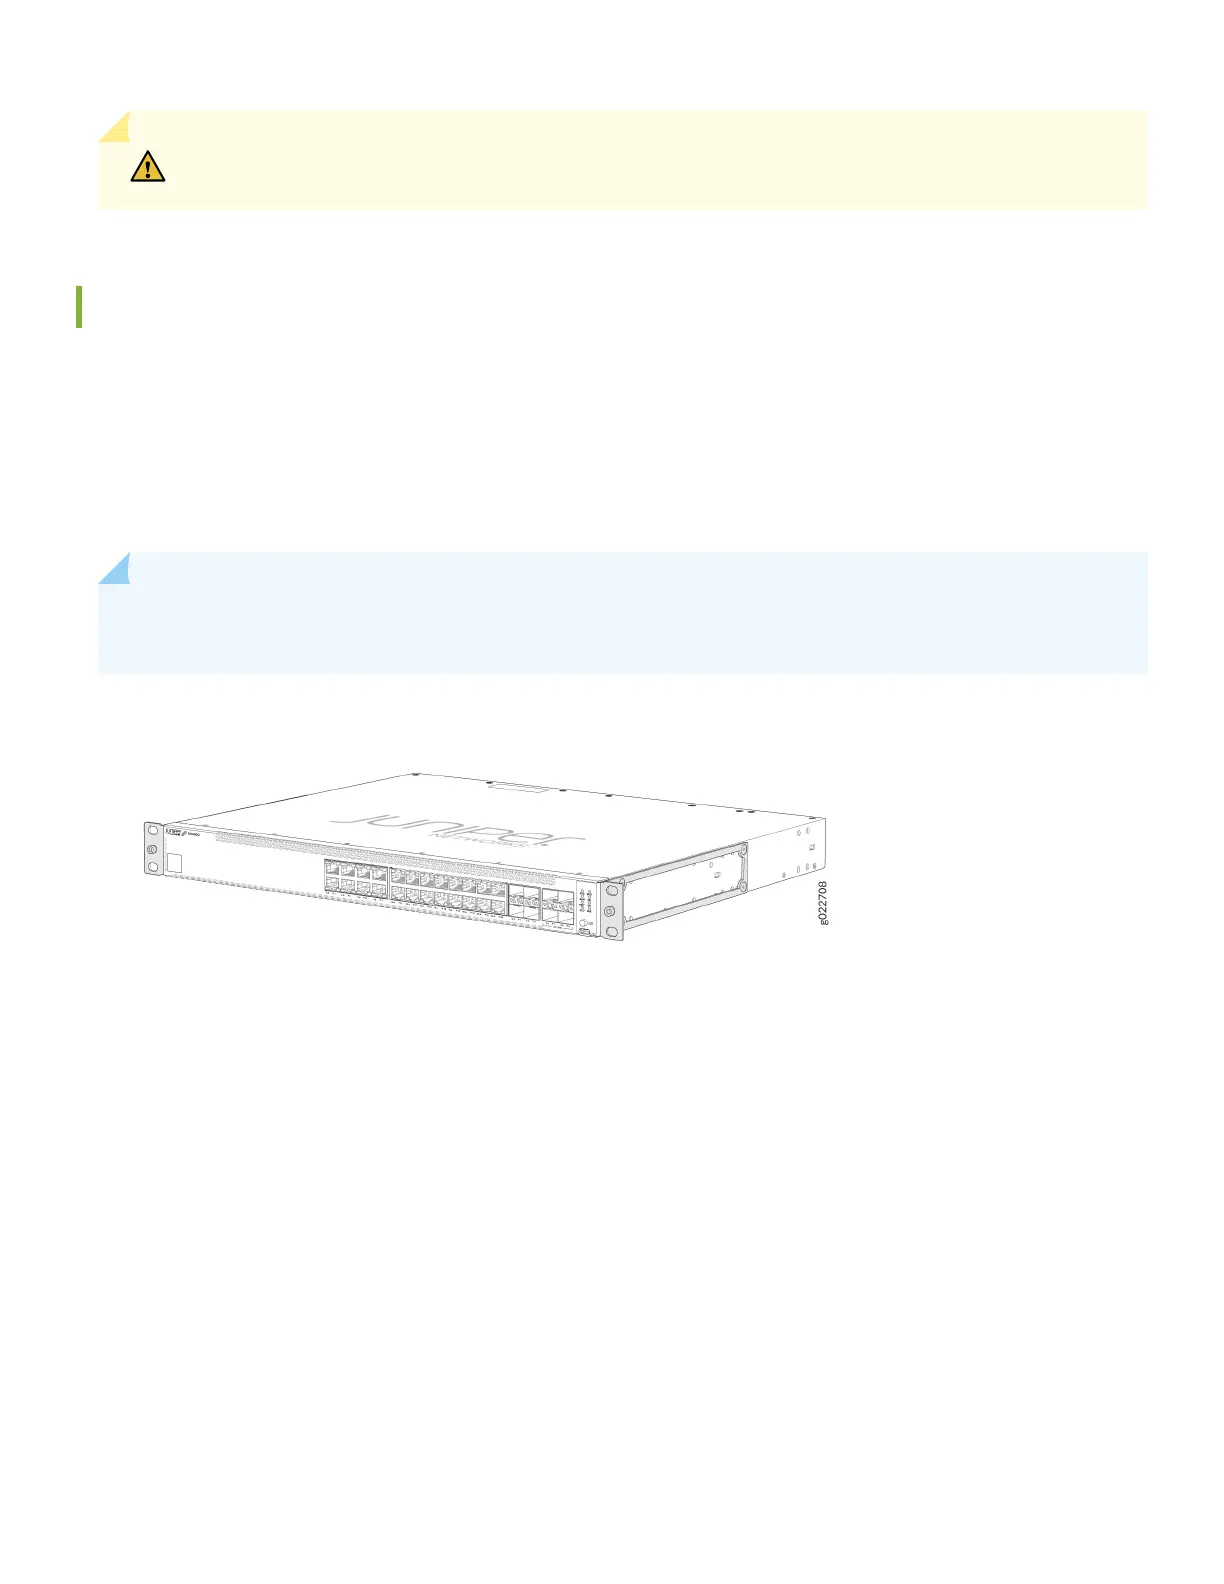
Install the EX4100 and EX4100-F Switch in a Rack
Before you start the installaon, ensure to review the General Safety Guidelines and Warnings. Also, have someone
available to help you secure the switch to the rack.
You can install the EX4100 and EX4100-F switch on a desktop or other level surface, in a two-post or four-post rack, or
on a wall. The mounng kit that ships in the box has the brackets you need to install the switch in a two-post rack. We’ll
walk you through how to install the switch in a two-post rack.
NOTE: If you want to install the switch in a four-post rack or on the wall , you’ll need to order separate mounng
kits. The four-post rack mount kit also has brackets for mounng the switch in a recessed posion in the rack.
1. Place the switch on a at, stable surface.
2. Aach an ESD grounding strap to your bare wrist, and connect the strap to the ESD grounding point on the switch.
3. Li the switch and posion it in the rack. Posion the switch so that the AIR IN labels on the fan modules are facing
the cold aisle or the AIR OUT labels on the fan modules are facing the hot aisle. Line up the boom hole in each
mounng bracket with a hole in each rack post, ensuring that the switch is level.
6