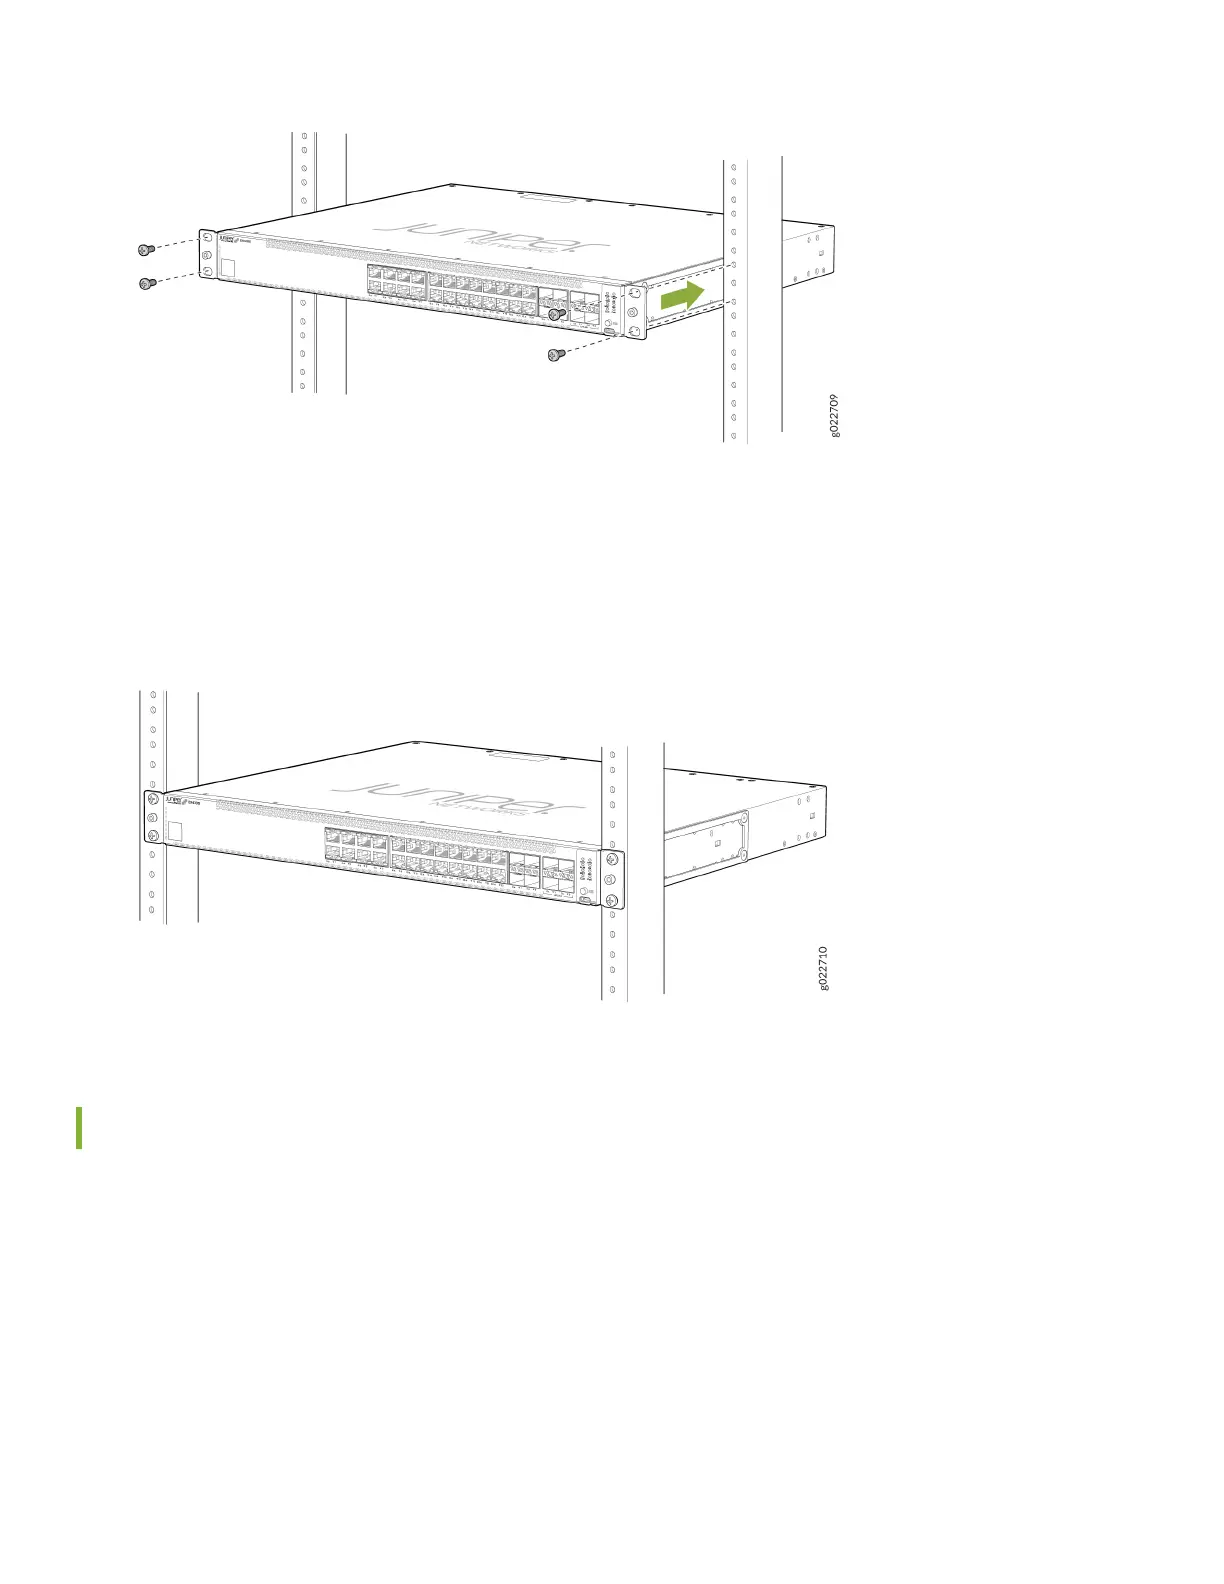
4. While you’re holding the switch in place, have a second person insert and ghten the rack mount screws to secure
the mounng brackets to the rack posts. Tighten the screws in the two boom holes rst, and then ghten the
screws in the two top holes.
5. Check that the mounng brackets on each side of the rack are lined up with each other.
Power On
Now you’re ready to connect the EX4100 and EX4100-F switch to a dedicated AC power source. The switch comes
with the AC power cord for your geographic locaon.
Here's how to connect the switch to AC power:
1. Aach an ESD grounding strap to your bare wrist, and connect the strap to the ESD grounding point on the switch.
2. Connect one end of the grounding cable to a proper earth ground, such as the rack .
3. Place the grounding lug (that's aached to the grounding cable) over the protecve earthing terminal on the rear
panel as shown in the following gures.
EX4100-24P, EX4100-24T, EX4100-48P, and EX4100-48T switch models
7