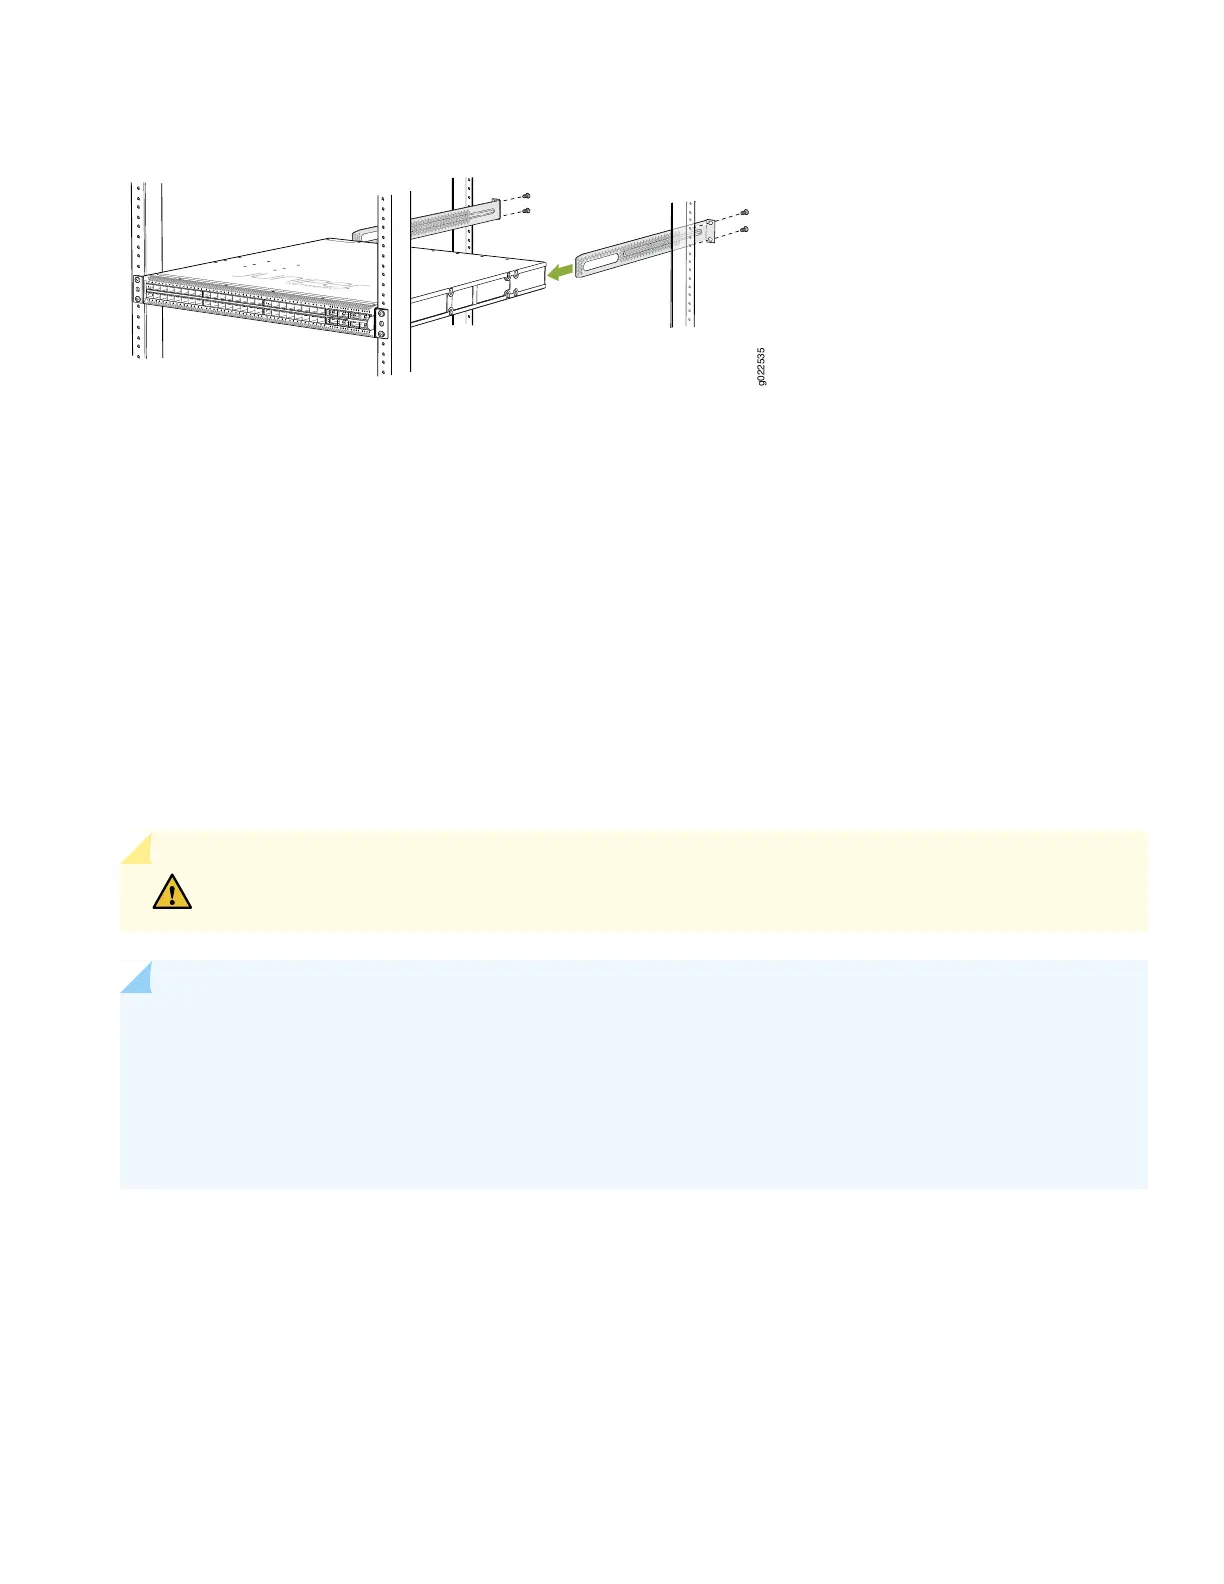
Figure 6: Connecting the Rear-Mounting Brackets to the EX4650 Switch
9. Secure the rear-mounting brackets to the rear posts by using the screws appropriate for your rack.
10. Ensure that the chassis is level by verifying that all the screws on the front posts of the rack are aligned with the screws
on the rear posts of the rack.
Part 4: Connect Power to the Switch
Depending on the model, you can use either AC or DC power supplies. The power supplies install in the slots on the rear
panel.
CAUTION: Do not mix AC and DC power supplies in the same switch.
NOTE: Grounding is required for models that use DC power supplies and recommended for models that use
AC power supplies. An AC-powered switch gets additional grounding when you connect the power supply in
the switch to a grounded AC power source outlet by using the power cord.
Before you connect power to the switch, wrap and fasten one end of an ESD wrist strap around your bare wrist,
and connect the other end of the strap to the ESD point on the switch.
7