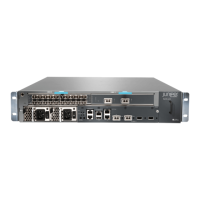
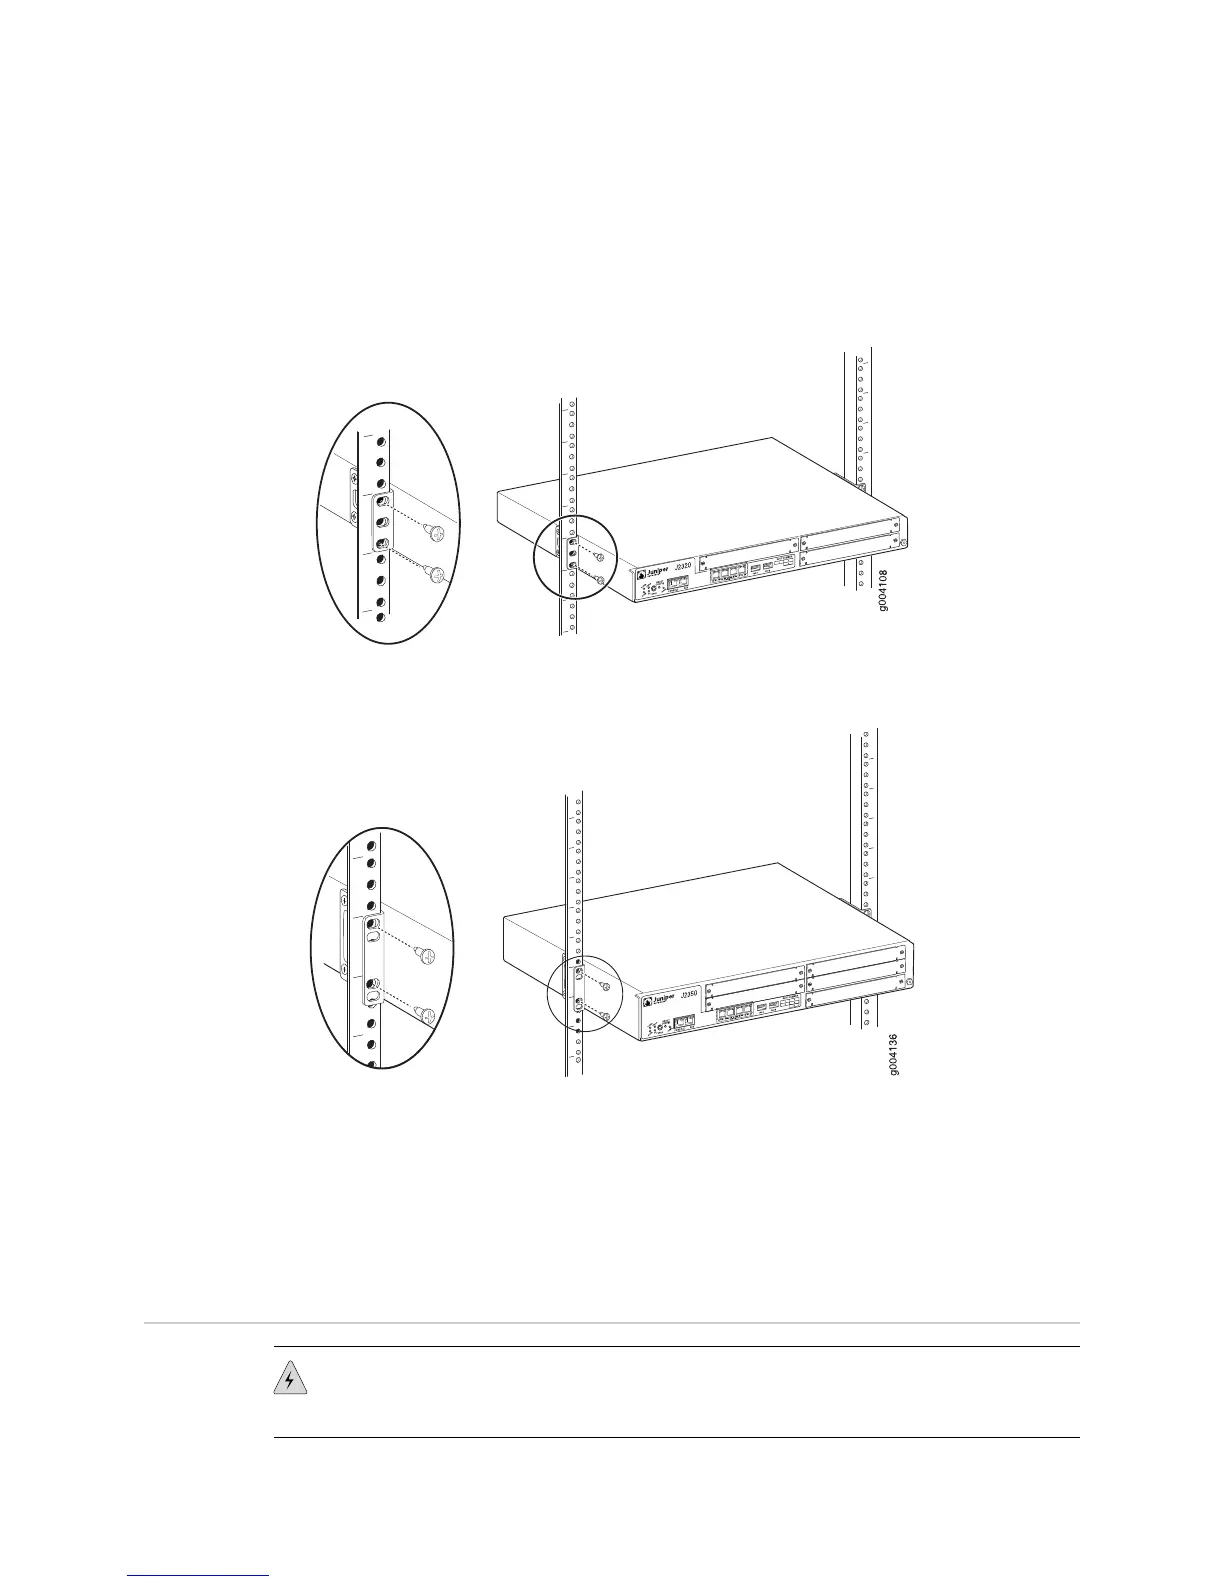
3. Align the top hole in each mounting bracket with a hole in each rack rail as shown
in Figure 56 on page 120 and Figure 57 on page 120, making sure the chassis is
level.
Figure 56: Hanging a J2320 Router in a Rack
Figure 57: Hanging a J2350 Router in a Rack
4. Have a second person install a mounting screw into each of the two aligned
holes. With a number 2 Phillips screwdriver, tighten the screws.
5. Verify that the mounting screw on one side of the rack is aligned with the
mounting screw on the opposite side and that the router is level.
6. Install the second screw in each mounting bracket.
Installing J4350 and J6350 Routers
WARNING: DC-powered Services Routers are intended for installation only in a
restricted access location.
120 ■ Installing J4350 and J6350 Routers
J2320, J2350, J4350, and J6350 Services Router Getting Started Guide
 Loading...