Power On
Now that you’ve installed your MX10004 in the rack and grounded the chassis, you’re ready to connect it to power.
The MX10004 supports AC, DC, high-voltage alternang current (HVAC), and high-voltage direct current (HVDC). In
this guide, we show you how to connect AC power. For DC, HVAC, and HVDC installaons, see MX10004 Universal
Roung Plaorm Hardware Guide.
1. Wrap and fasten one end of the ESD grounding strap around your bare wrist, and connect the other end to one of
the ESD grounding points on the router.
2. Turn o the power switch on the power supply.
3. If the power source outlet has a power switch, turn it o.
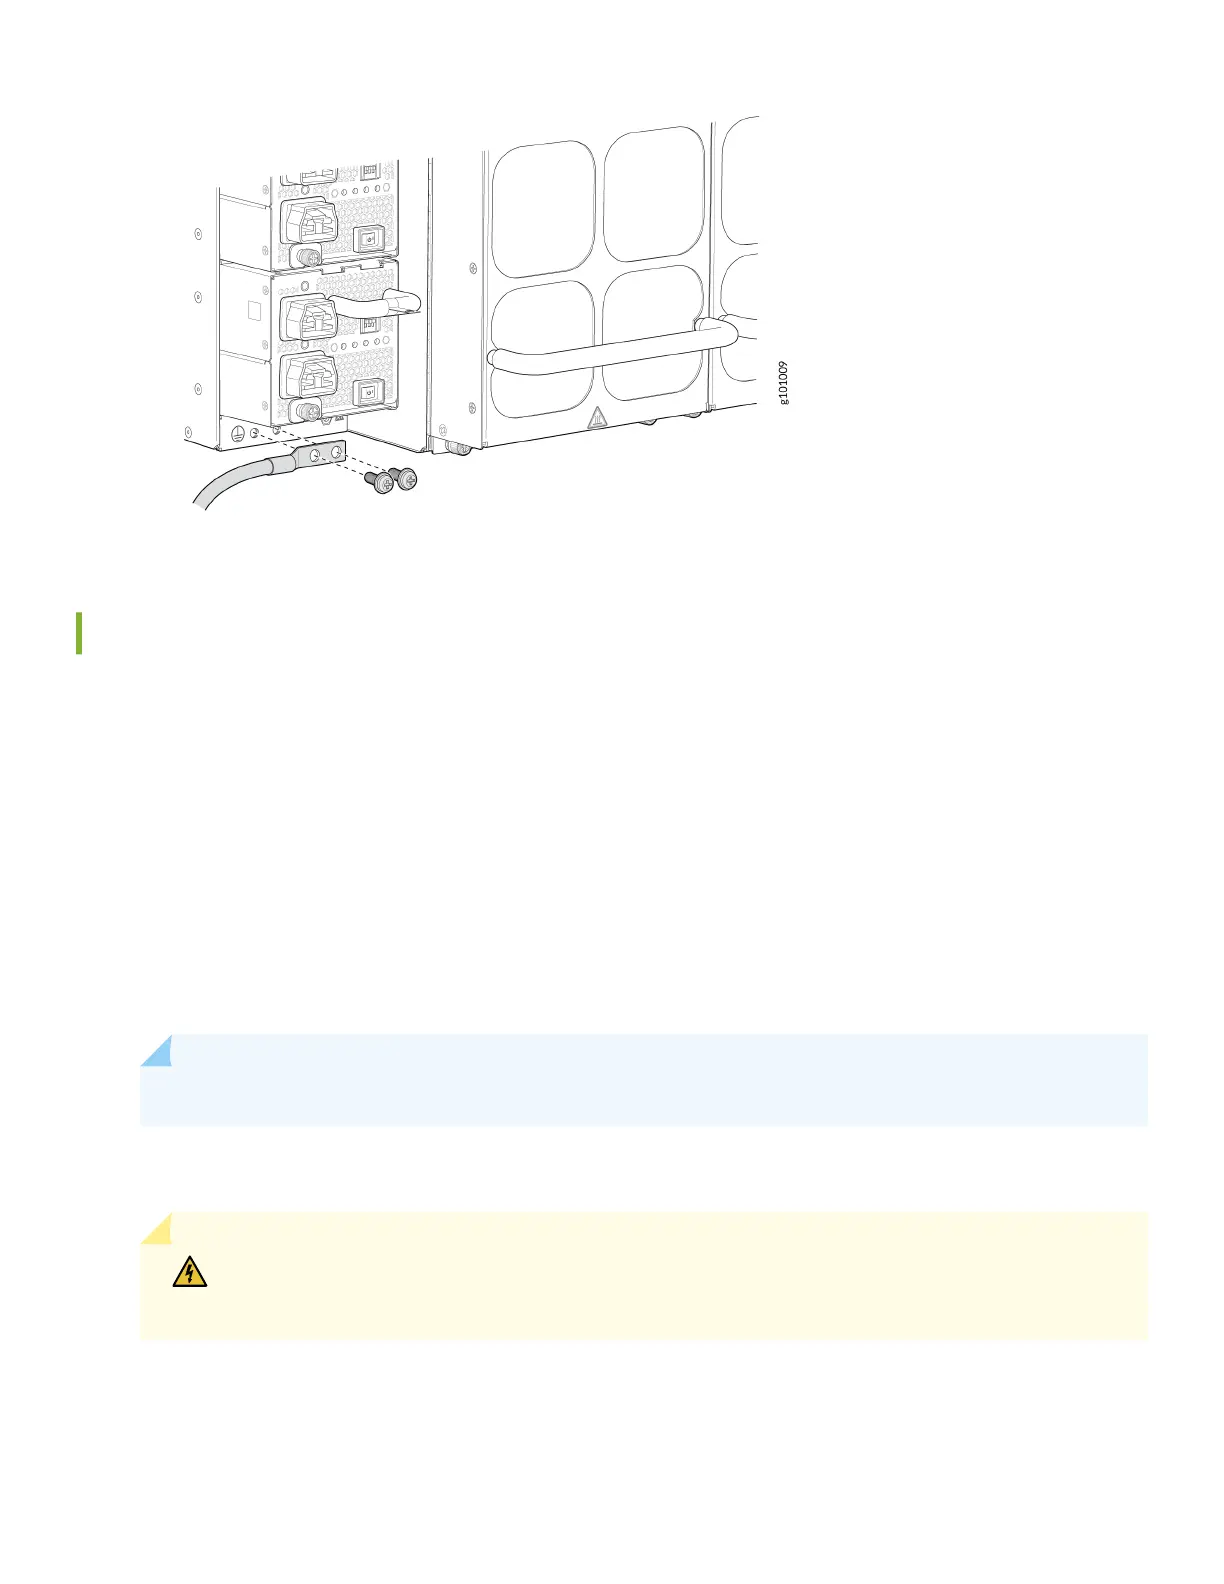
4. Aach each AC power supply to a dedicated power source.
NOTE: If you need power source redundancy, you can aach each power cable to separate power sources.
5. For each AC power cable, insert the end of the cable with the Anderson connector into the power supply. The
connector snaps and locks the cable into posion.
WARNING: Ensure that the power cord does not block access to router components or drape
where people can trip on it.
6. Set the three DIP switches on the power supply to indicate whether one or both power feeds are used, and to
indicate the amperage of the feeds. Together, these switches determine if the chassis operates at 3,000 W, 5,000
W, or 5,500 W. If you're using both power feeds, set switch 1 and switch 2 to the on (|) posion. Power is shared. If
you’re not using power source redundancy, set the unused source to the o (O) posion. The LED turns red and
indicates an error if a power source input is not in use and the DIP switch is on (|).
7