wire into the grounding point or input terminal, and tighten the screw (see
Table 5 on page 50 for approved AC wire gauge).
NOTE: The terminal connections have either slotted screws or hex screws.
Use a 1/4-in. slotted screwdriver for the slotted screws. Use a 5/32-in.
(4 mm) Allen wrench for the 5/16-in. hex screws.
NOTE: The three-phase delta AC PDM must be installed and secured in
the chassis before connecting the power input cables. If the PDM must
be removed, both input power cables must be uninstalled and removed
from the PDM before the PDM can be removed from the chassis. The
MX2020 chassis is not sensitive to phase rotation sequence—either
clockwise or counterclockwise will operate correctly.
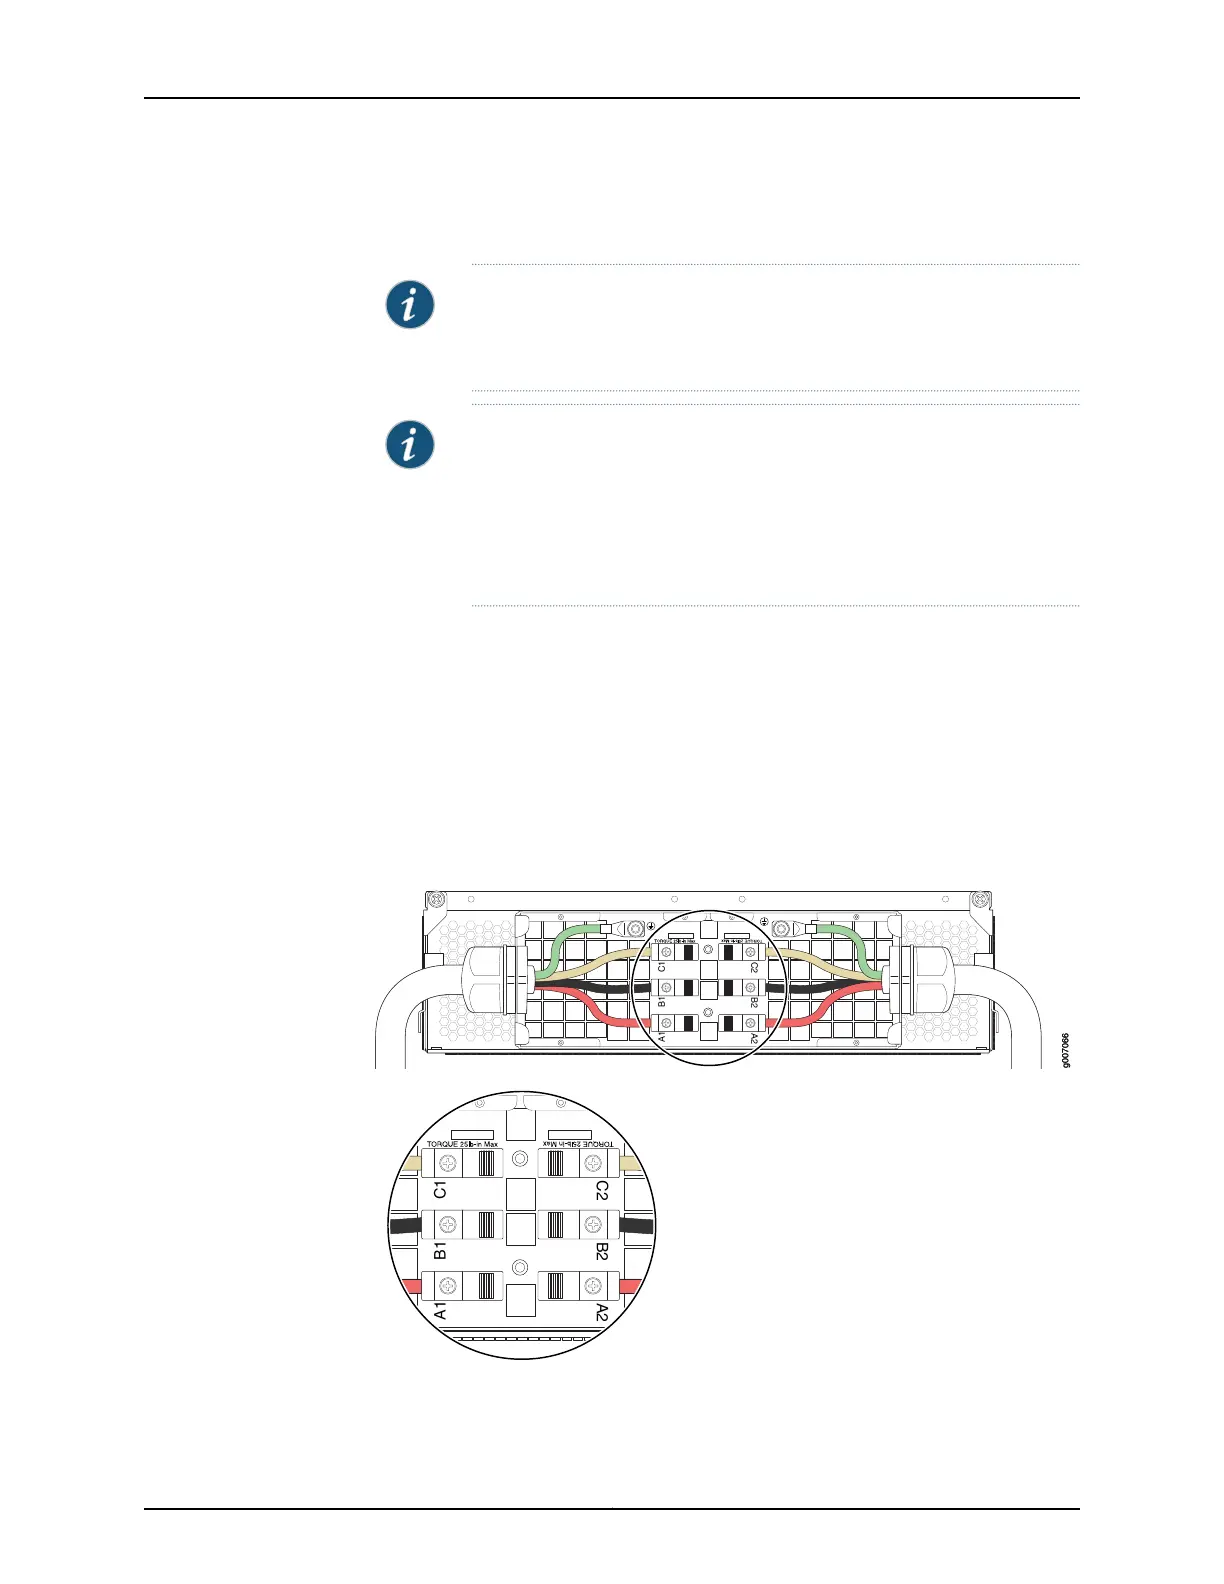
To connect wires to the terminal block that serves six PSMs:
a. Insert the grounding wire into the grounding point labeled GND.
b. Insert the wire labeled L1 into the input terminal labeled A1.
c. Insert the wire labeled L2 into the input terminal labeled B1.
d. Insert the wire labeled L3 into the input terminal labeled C1.
Figure 32: Connecting Power to a Three-Phase Delta AC Power Distribution
Module
g007066g007066
C1B1A1
C2
B2
A2
C1B1A1
C2 B2 A2
Copyright © 2015, Juniper Networks, Inc.48
MX2020 3D Universal Edge Router Quick Start
 Loading...


