Make sure you have someone available to help you do the installation. You will need to provide your own rack mount
screws and a number two Phillips (+) screwdriver.
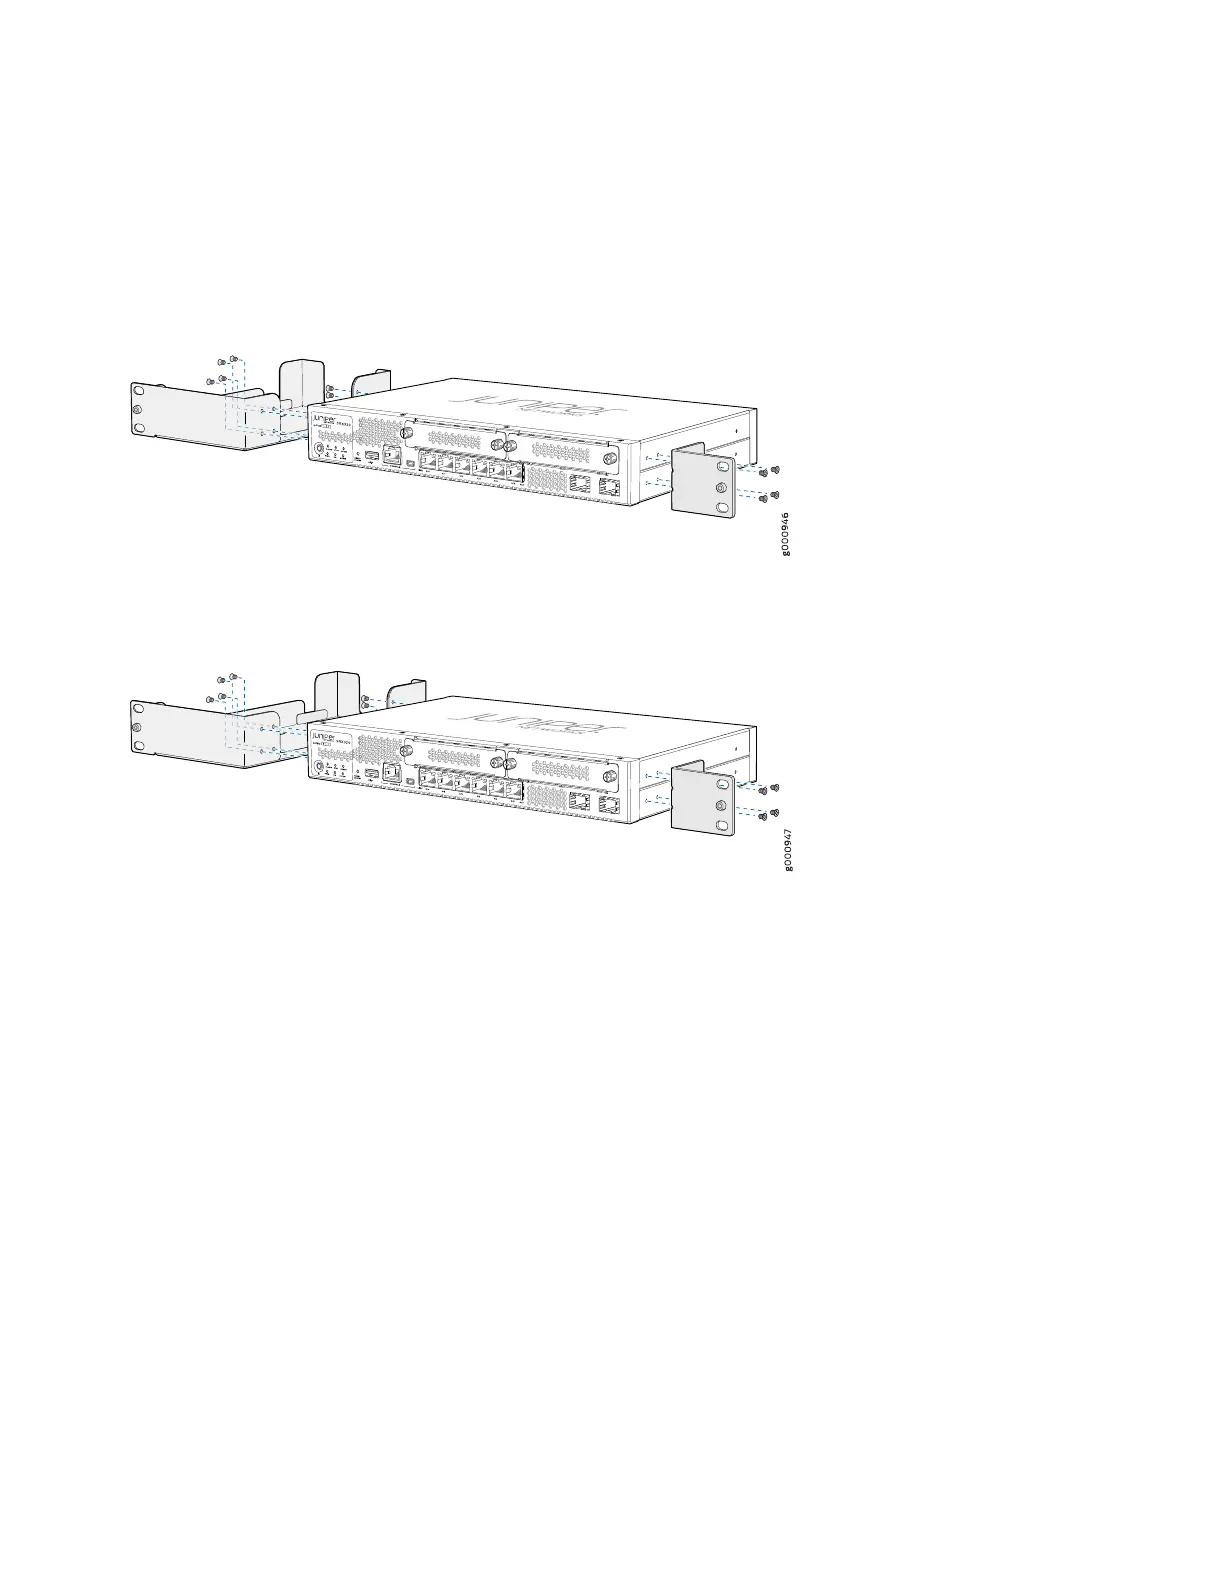
1. Position a mounting bracket on each side of the chassis. Use a number 2 Phillips (+) screwdriver to install the screws
that secure the mounting brackets and power supply adapter tray to the chassis.
Figure 3: Securing the Mounting Brackets and Power Supply Adapter Tray (75 W Power Supply Adapter)
Figure 4: Securing the Mounting Brackets and Power Supply Adapter Tray (280 W Power Supply Adapter)
2. Place the power supply adapter in the tray.
3. Lift the SRX320 and position it in the rack. Line up the bottom hole in the mounting brackets with a hole in each rack
rail, making sure the SRX320 is level.
4. While you’re holding the SRX320 in place, have a second person insert and tighten the rack mount screws to secure
the adapter tray and mounting brackets to the mounting rails. Make sure to tighten the screws in the two bottom holes
first and then tighten the screws in the two top holes next.
6