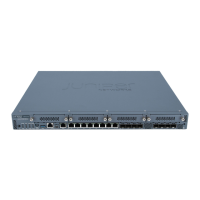
How to Set Up Your SRX300 Services Gateway
3
Connect the Grounding Cable (Optional)
1. Connect the grounding cable to a proper earth ground.
2. Place the grounding cable lug over the grounding point on the rear of the
chassis.
NOTE: A licensed electrician must attach a cable lug to the grounding
cable. A cable with an incorrectly attached lug can damage the device.
3. Secure the grounding cable lug to the grounding point with the screw. Apply
between 6 in.-lb (0.67 Nm) and 8 in.-lb (0.9 Nm) of torque to the screw.
735
Power On the Device
NOTE: Before connecting the device to the power supply, attach an ESD
strap to an ESD point and place the other end of the strap around your
bare wrist.
1. Plug the DC connector end of the power cable into the power connector on
the rear of the device.
736
2. Plug the AC adapter end of the power cable into an AC power outlet.
3. Turn on the power to the AC power receptacle.
4. Note the following LED indications. Wait until the STATUS LED is solid green
before proceeding to the next step.

 Loading...