How to Set Up Your SRX340 Services Gateway
7
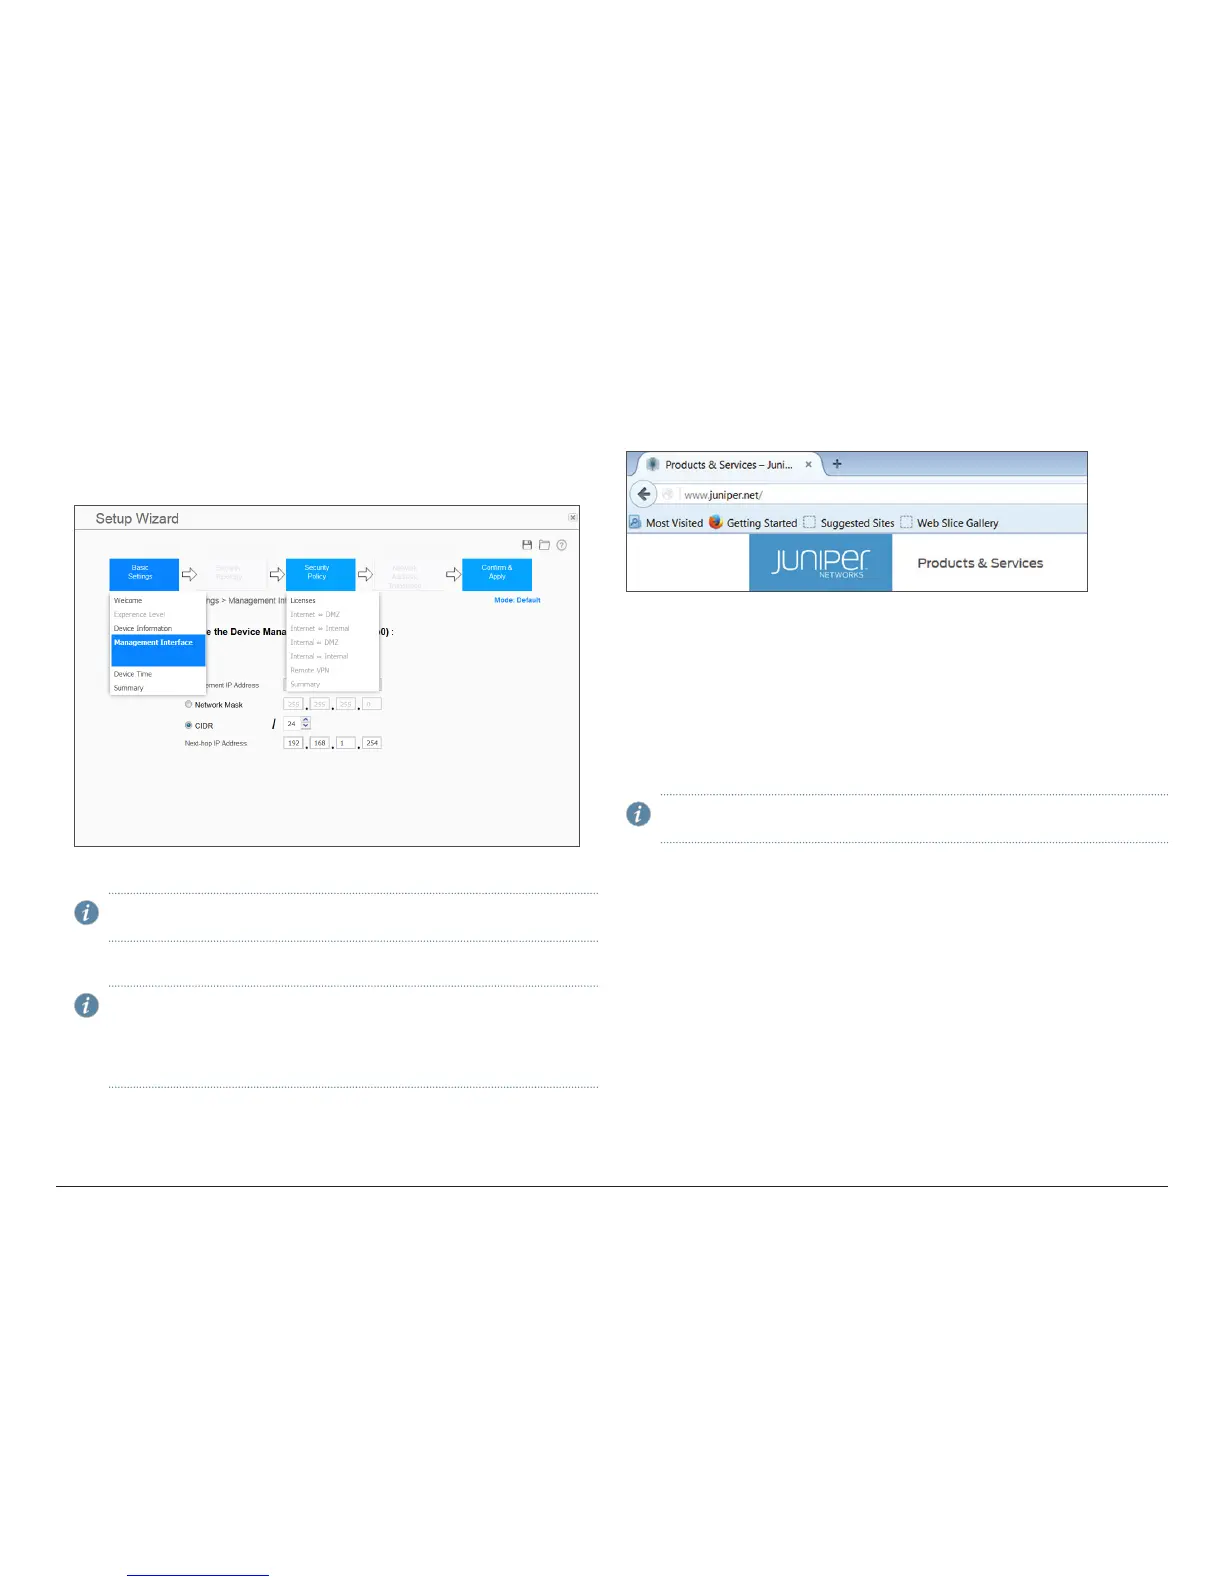
Configure the Device Using the Default Setup Mode
1. Connect port 0/0 to the ISP device to obtain a dynamic IP address.
2. Configure the basic settings – device name, root account information,
management interface, and system time.
3. Configure the security policy – licenses.
4. Review the settings.
NOTE: Verify that the internal zone IP and management interface IP are
on dierent networks.
5. Click Apply Settings. Click Done to complete the setup.
NOTE: Check the connectivity from the management device to the
SRX Series device. You might lose connectivity to the SRX Series device
if you have changed the management interface IP. Click the URL for
reconnection instructions on the Confirm & Apply page to reconnect,
if required.
You can also configure the services gateway using the CLI, by connecting to the
Console port. For details, see the SRX340 Services Gateway Hardware Guide.
Verify the Settings
Access http://www.juniper.net to ensure that you are connected to the Internet.
This connectivity ensures that you can pass trac through the services gateway.
If the page does not load, perform the following checks to see if you can identify
the problem:
• Verify your configuration settings, and ensure that you have applied the
con figuration.
• Check if the ISP-supplied device connecting your SRX Series device to the
Internet is turned on and working properly. Try turning it o and on again.
After you complete these steps, the SRX Series device can pass trac from any
trust port to the untrust port.
NOTE: With this step, you have successfully completed the initial
configuration, and your SRX340 Services Gateway is ready for use.