http://www.jurop.it
e-mail: info@jurop.it
Checking lubrification
• Check the correct operation of the system / lubrication circuit.
If the pump is running without lubrication, the
internal components may quickly damaged due to
overheating. Stop the vacuum pump and check the
oil level and the lubricating pump.
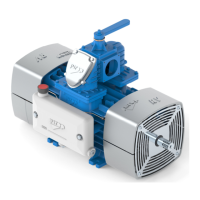
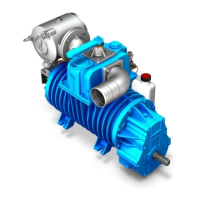
Checking the rear mounted oil tank level
• Do not run the pump with oil level under the minimum level: that may
lead to dry functioning and cause serious damages. See Fig. 6.1.
Pic. 6.1
• Tank capacity: 4l.
• Use pure fresh oil.
Do not re-use the exhausted oil gathered on the
bottom of the exhaust silencer.
Checking the vanes wear
• Unscrew the vanes wear check-plug on the front flange. See Fig.
6.2.
• Turn the shaft by hand until vanes appearance.
• Vanes usually slip on seat bottom due to gravity. Check their right
entry in the seat.
Pic. 6.2
• Insert a Ø 5 mm stick until it touches the rotor and then mark (see
Fig. 6.3).
• Turn the rotor slowly until the stick touches the vane in idle
position in its seat. The vanes slide to the bottom of the seat due to
gravity: check they really do and mark again on the stick.
• Repeat the same procedure for all the vanes. If wear exceeds 10
mm: replace the vanes as soon as possible.
• Maximum acceptable wear: 12 mm. Immediately replace: vanes
are likely to break down.
• Replace all the pump vanes at the same time.
Replace the vanes when their wear exceeds 12
mm (L – L min): they may break. Replace all
vanes at the same time.
• Replace the cap after the measurement.
Pic. 6.3
6.2. Extraordinary maintenance
• Before starting any extraordinary maintenance operation, be sure
the pump stands still and follow the safety prescriptions as described in
Cap. “Safety and accident prevention”.
Adjusting the 4-way valve
• For pumps equipped with handle for manual operation or actuator.
• Adjust the screws to avoid the valve blocking in its seat (see Fig. 6.4).
Attention: do not exceed with the adjustment:
possible vacuum loss
Pic. 6.4
 Loading...