18
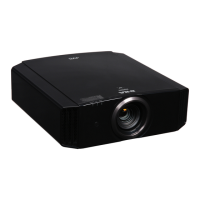
12 Check “Use the following IP address:”. Enter the values in the
right screen illustration to “IP address”, “Subnet Mask” and
“Default Gateway”. Check “Use the following DNS server
addresses:” to enter the values in below illustration to “Preferred
DNS server:”.
=> Click “OK”, and then close all the windows by clicking the “x”
button.
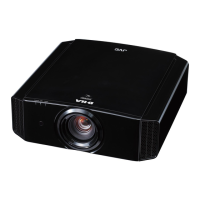
13 Turn on the projector.
Select “MENU” => “Function” => “Communication
Terminal” accordingly, and set to “LAN”.
Select “MENU” => “Function” => “Network”, and proceed to 14).
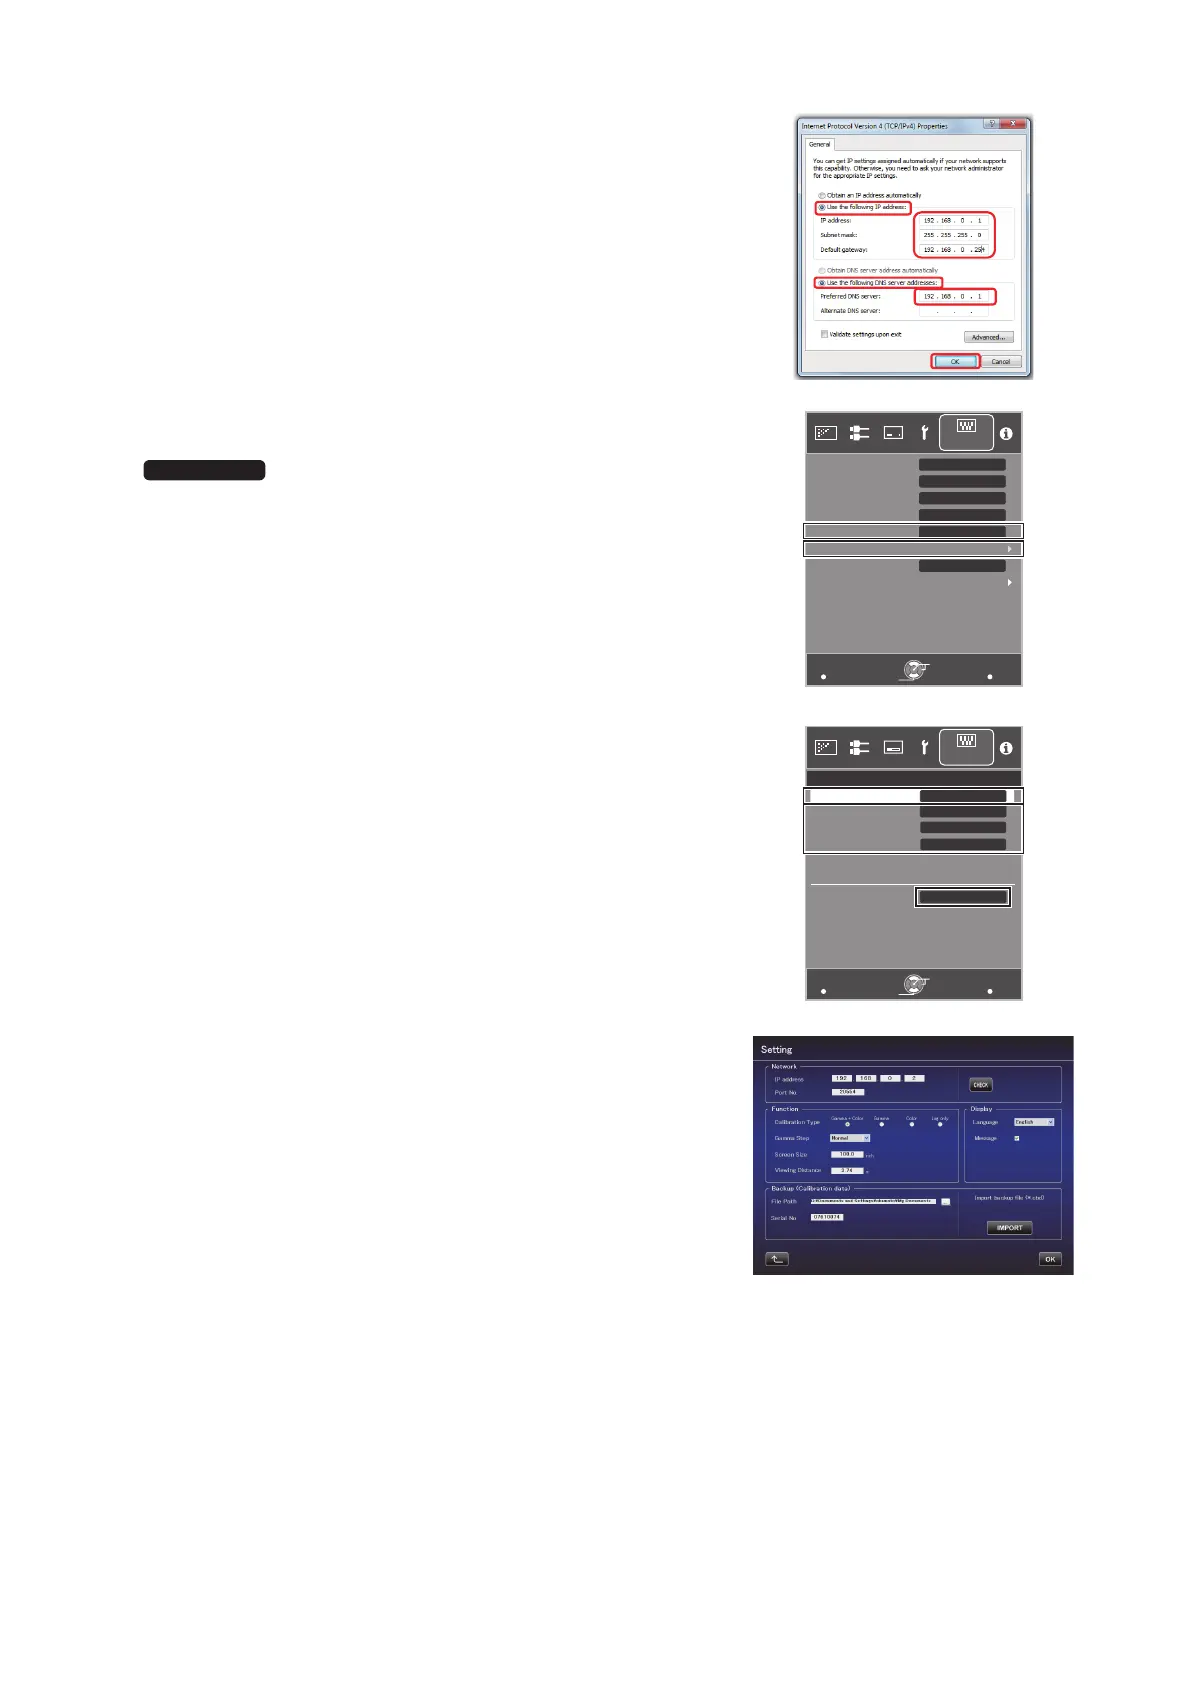
14 Set “DHCP Client” to “Off”.
Enter the values in below illustration to “IP Address”, “Subnet
Mask” and “Default Gateway”.
After choosing “SET”, select “YES” in “Apply network setting?”
15 Start the Calibration Software on your PC, and select “Setting” on
the right side of the screen.
Enter the values in the right illustration to “IP address”.
Click “CHECK”. If the “OK” button on the right corner is displayed,
complete the setting by clicking “OK”.
The specifications of this product is subject to change without prior notice.
MENU
BACK
LAN
A
Back
Operate
Select
Exit
Function
Lamp Reset
Remote Code
Communication Terminal
Off
ECO Mode
Off
Off
Off
High Altitude Mode
Network
Off Timer
Trigger
X95R/X75R
MENU
BACK
Back
Operate
Select
Exit
Function
>
MAC Address :
AA-BB-CC-DD-EE-FF
Default Gateway
Subnet Mask
192.168.0.2
255.255.255.0
192.168.0.254
Set
IP Address
Off
DHCP Client
Network
JVC_PCS_manual.fm 18 ページ 2014年7月29日 火曜日 午後6時50分
 Loading...