Masterpage:Right+
EN 71
Filename [DR-MV1SE_09Editing.fm]
Page 71 March 11, 2004 8:41 pm
EDITING
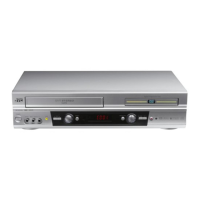
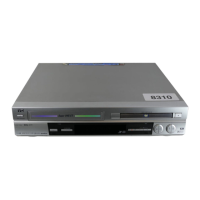
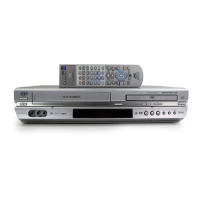
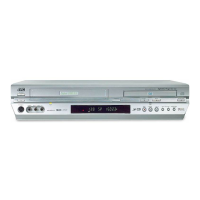
You can use your unit as the source player or as the recording
deck.
NOTE:
When using another recorder as the recording deck, refer to its
instruction manual.
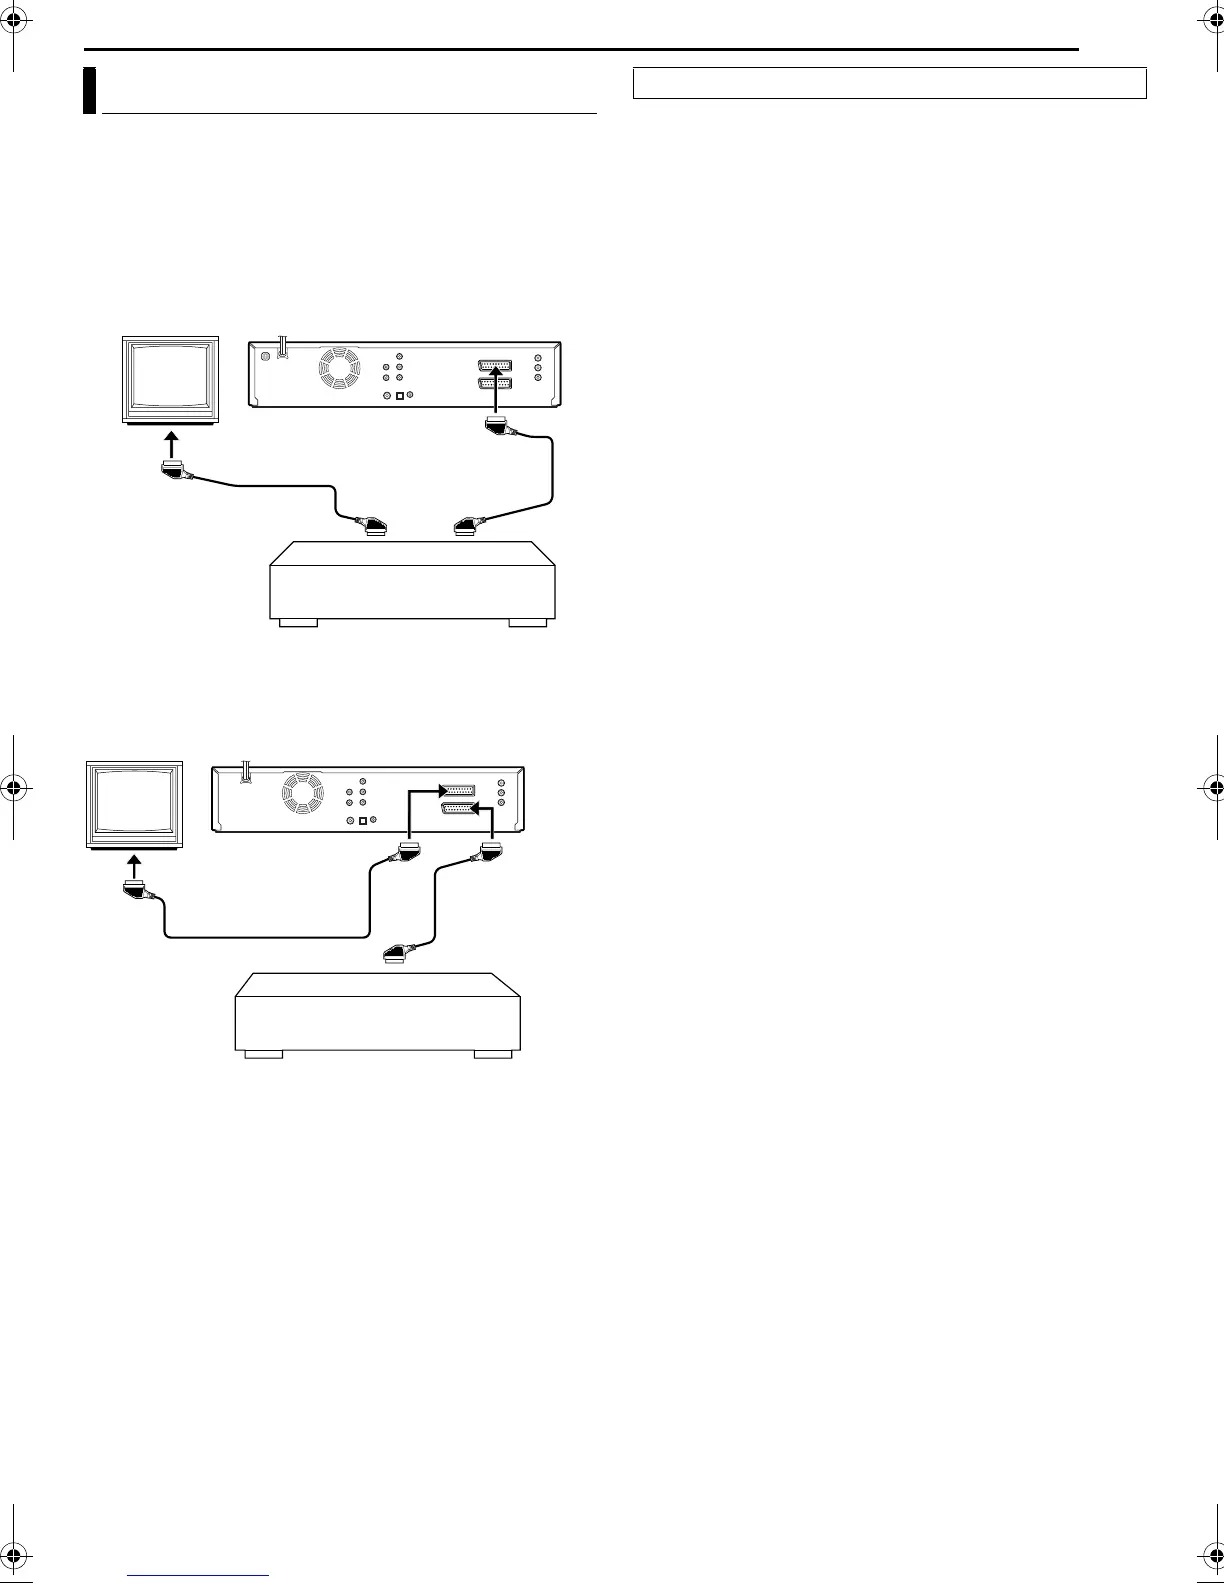
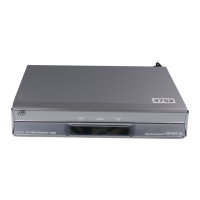
1 Connect the player’s 21-pin SCART connector to the unit’s 21-
pin SCART connector as illustrated.
A When using your unit as the source player:
— connect its L-1 IN/OUT connector to the recording deck.
B When using your unit as the recording deck:
— connect its L-1 IN/OUT or L-2 IN/DECODER connector to
the source player.
● If another recorder is compatible with the Y/C signal (DVD deck only):
— when using your unit as the source player, set “L-1 OUTPUT” to
“SCART S-VIDEO”. (墌 pg. 72)
— when using your unit as the recording deck, set “L-2 SELECT” to
“S-VIDEO”. (墌 pg. 72)
2 Press VCR/DVD repeatedly to select the recording deck.
3 Press PR +/– to select “L-1” for the L-1 IN/OUT connector, or
“L-2” for the L-2 IN/DECODER connector, depending on the
connector being used when using this unit as the recording deck.
For DVD deck
● When using the L-1 IN/OUT connector, set “L-1 OUTPUT” to
“VIDEO” or “S-VIDEO”. (
墌 pg. 72)
● When using the L-2 IN/DECODER connector, set “L-2 SELECT” to
“VIDEO” or “S-VIDEO”. (
墌 pg. 72)
4 Press REC MODE repeatedly to set the recording mode.
5 Engage the Play mode of the source player.
6 Engage the Record mode of the recording deck.
7 Stop recording on the recording deck, then stop playback on the
source player.
NOTES:
● All necessary cables can be obtained from your dealer.
● For Y/C signal input/output, be sure to use a 21-pin SCART cable
that is compatible with the Y/C signal.
● When you use this unit as the source player for editing, be sure to set
“SUPERIMPOSE” or “O.S.D.” to “OFF” before starting. (墌 pg. 79, 80)
● If you are using another recorder with S-Video and Audio output
connectors, connect its S-Video and Audio output connectors to this
unit’s S-VIDEO and AUDIO input connectors on the front panel.
Then, set the unit’s input mode to “F-1” in step 3, and set “F-1 INPUT”
to “S-VIDEO”. (墌 pg. 73) (DVD deck only)
Edit To Or From Another Recorder
2
Player
Your unit
Another recorder
Recorder
TV receiver
A When using your unit as the source player:
21-pin SCART cable
(not provided)
21-pin SCART cable
(provided)
Recorder
Your unit
Another recorder
Player
TV receiver
B When using your unit as the recording deck:
21-pin SCART cable
(not provided)
21-pin SCART cable
(provided)
Slide the TV/CABLE/SAT/DVD switch to DVD.
DR-MV1SE_09Editing.fm Page 71 Thursday, March 11, 2004 8:41 PM