Masterpage:Right0
EN 89
Filename [DR-MV1SE_10Subsidiary.fm]
Page 89 March 11, 2004 7:27 pm
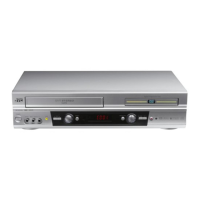
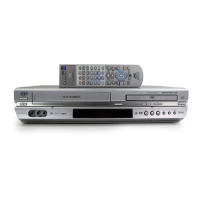
TROUBLESHOOTING
Before requesting service for a problem, use this chart and see if
you can solve the trouble yourself. Small problems are often easily
solved, and this can save you the trouble of sending your unit off
for repair.
General
● The AC power plug is disconnected from the AC outlet.
]Connect the AC power plug to the AC outlet securely. (墌 pg. 16)
]Remove the batteries, wait for 5 minutes or more, then load the
butteries again.
● The setting of the remote control code is inappropriate.
]Set the same remote control code (1, 2, 3, or 4) on both the unit
and the remote control. (墌 pg. 74)
● The batteries are discharged.
]Replace the dead batteries with new ones.
● The source (another video recorder, camcorder) has not been
properly connected.
]Confirm that the source is properly connected.
● All necessary power switches have not been turned on.
]Confirm that all units’ power switches are turned on.
● The setting of the input channel position is inappropriate.
]Select the input channel position (“F-1”, “L-1”, or “L-2”) that
corresponds to the input terminal connected to the external
equipment. (墌 pg. 71)
● The record safety tab has been removed when dubbing to the
cassette.
]Using adhesive tape, cover the hole where the tab was removed.
]Set “SUPERIMPOSE” or “O.S.D.” to “OFF”. (墌 pg. 79, 80)
● There are cases when the operation is prohibited on the disc.
● Lightning or static electricity may cause malfunction of the unit.
]Press 1 to turn the power off, then press the button again to
turn the power on.
Playback (DVD Deck)
● The DVD deck is not selected.
]Press VCR/DVD repeatedly so that the DVD lamp lights up on
the unit.
● The TV is not set to the AV mode.
]Set the TV to its AV mode.
● When interlace scanned programme is played back, progressive
scan mode is selected.
]Press and hold PROGRESSIVE SCAN until disappears from
the front display panel.
● The disc is loaded upside down.
]Place the disc on the disc tray with the playback surface facing
downward. (墌 pg. 9)
● A disc not being compatible with the unit is loaded.
]Load a playable disc on the unit. (墌 pg. 6)
● A dirty disc is loaded.
]Clean the disc. (墌 pg. 10)
● Defective disc is loaded.
]Replace the warped or scratched disc with a normal one.
]Images are blurred or distorted at the point where the playback
speed changes and this is not a malfunction of the unit.
]Playback does not start for approximately 30 seconds after
recording is stopped and this is not a malfunction of the unit.
● The Parental Lock is engaged and the disc is rated higher than
the set level.
]Release the Parental Lock temporarily or change the set level.
(墌 pg. 39)
No power is supplied to the unit.
The remote control does not work properly.
Dubbing from the external equipment is not possible.
The on-screen display superimposed on the programme played
back/received on this unit is recorded when you dub the
programme to an external recording equipment.
The unit does not operate.
The DVD deck can not be operated.
Images do not appear on the TV screen.
Playback dose not start or stop immediately after playback is
started by pressing .
On the front display panel, “NO DISC” appears.
Images are blurred or distorted when you start High-Speed
Search.
Playback does not start.
Playback does not start when you select a title or a chapter.
DR-MV1SE_00.book Page 89 Thursday, March 11, 2004 7:28 PM