EN 11
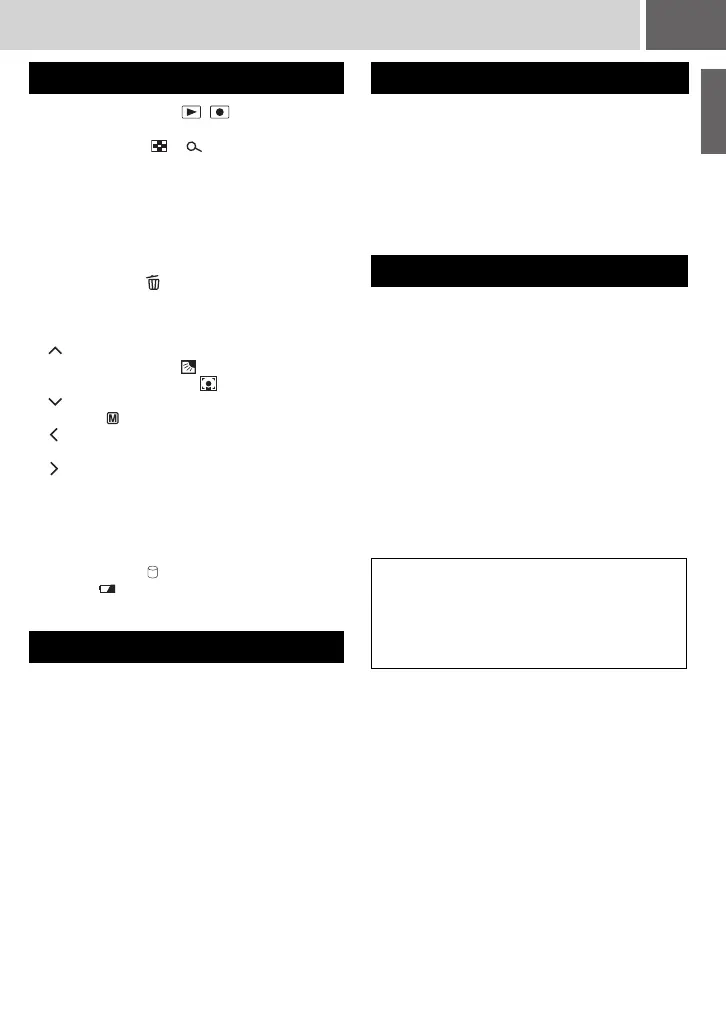
a Power Switch [OFF, , ] (墌 pg. 12)
b Lock Button (墌 pg. 12)
c Zoom Lever [W /T ] (墌 pg. 18)
Speaker Volume Control [–VOL+] (墌 pg. 26)
d Light Button [LIGHT] (墌 pg. 18)/Information
Button [INFO] (墌 pg. 37)
e Mode Switch [MODE] (墌 pg. 16, 20, 26, 30)
f Auto/Manual Mode Button [AUTO]
(墌 pg. 22)
g Menu Button [MENU] (墌 pg. 50)
h Delete Button [ ] (墌 pg. 19)
i Recording Start/Stop Button [REC/SNAP]
(墌 pg. 16, 20)
j Control Lever
: Reverse Skip (墌 pg. 27)/Up/Backlight
Compensation [ ] (墌 pg. 25)/Spot
Exposure Control [ ] (墌 pg. 25)
:Forward Skip (墌 pg. 27)/Down/Manual
Set [ ] (墌 pg. 22)
: Reverse Search [
3
] (墌 pg. 27)/Left/
Nightscope [NIGHT] (墌 pg. 25)
: Forward Search [
5
] (墌 pg. 27)/Right/
Switch Screen Size (16:9/4:3) [16:9]
(墌 pg. 18)
Press down: Play/Pause (49)
(墌 pg. 26, 30)
k Index Button [INDEX] (墌 pg. 28)/Remaining
Space Button [ ] (墌 pg. 19)/Data Battery
Button [ ] (墌 pg. 14)
l Battery Release Button [BATT.] (墌 pg. 12)
The connectors are located beneath the covers.
M S-Video Output Connector [S] (墌 pg. 32)
N Audio/Video Output Connector [AV]
O USB (Universal Serial Bus) Connector
(墌 SOFTWARE INSTALLATION AND USB
CONNECTION GUIDE)
P DC Input Connector [DC] (墌 pg. 12)
Q Power/Charge Lamp [POWER/CHARGE]
(墌 pg. 12)
R Access Lamp [ACCESS] (Lights up or blinks
when you access files. Do not turn off the
power or remove the battery pack/AC
adapter while accessing files.)
S Auto Lamp [AUTO] (Lights up in Auto
recording mode.)
T Reset Button [RESET] (墌 pg. 56)
U Speaker (墌 pg. 26)
V Battery Pack Mount (墌 pg. 12)
W Camera Sensor
Remote Sensor (墌 pg. 33)
X Lens
Y Stereo Microphone
a LED Light (墌 pg. 18, 21)
b Grip Strap (墌 pg. 14)
c SD Card Cover [OPEN] (墌 pg. 15)
d Stud Hole (墌 pg. 14)
e Tripod Mounting Socket (墌 pg. 14)
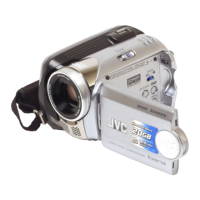
Controls
Connectors
Indicators
Other Parts
TTENTION:
● Be careful not to cover W, X, Y and Z during
shooting.
● Carrying or holding the camera by the LCD
monitor can result in dropping the unit, or in a
malfunction.
GETTING STARTED
M6E3PAL.book Page 11 Friday, June 2, 2006 4:56 PM

 Loading...