30 EN
SNAP MODE –
FULL
MUL T I –
4
MUL T I –
9
PIN–UP
FRAME
FOR RECORDING
(cont.)
Snapshot
This feature lets you record still images that look like
photographs onto a tape.
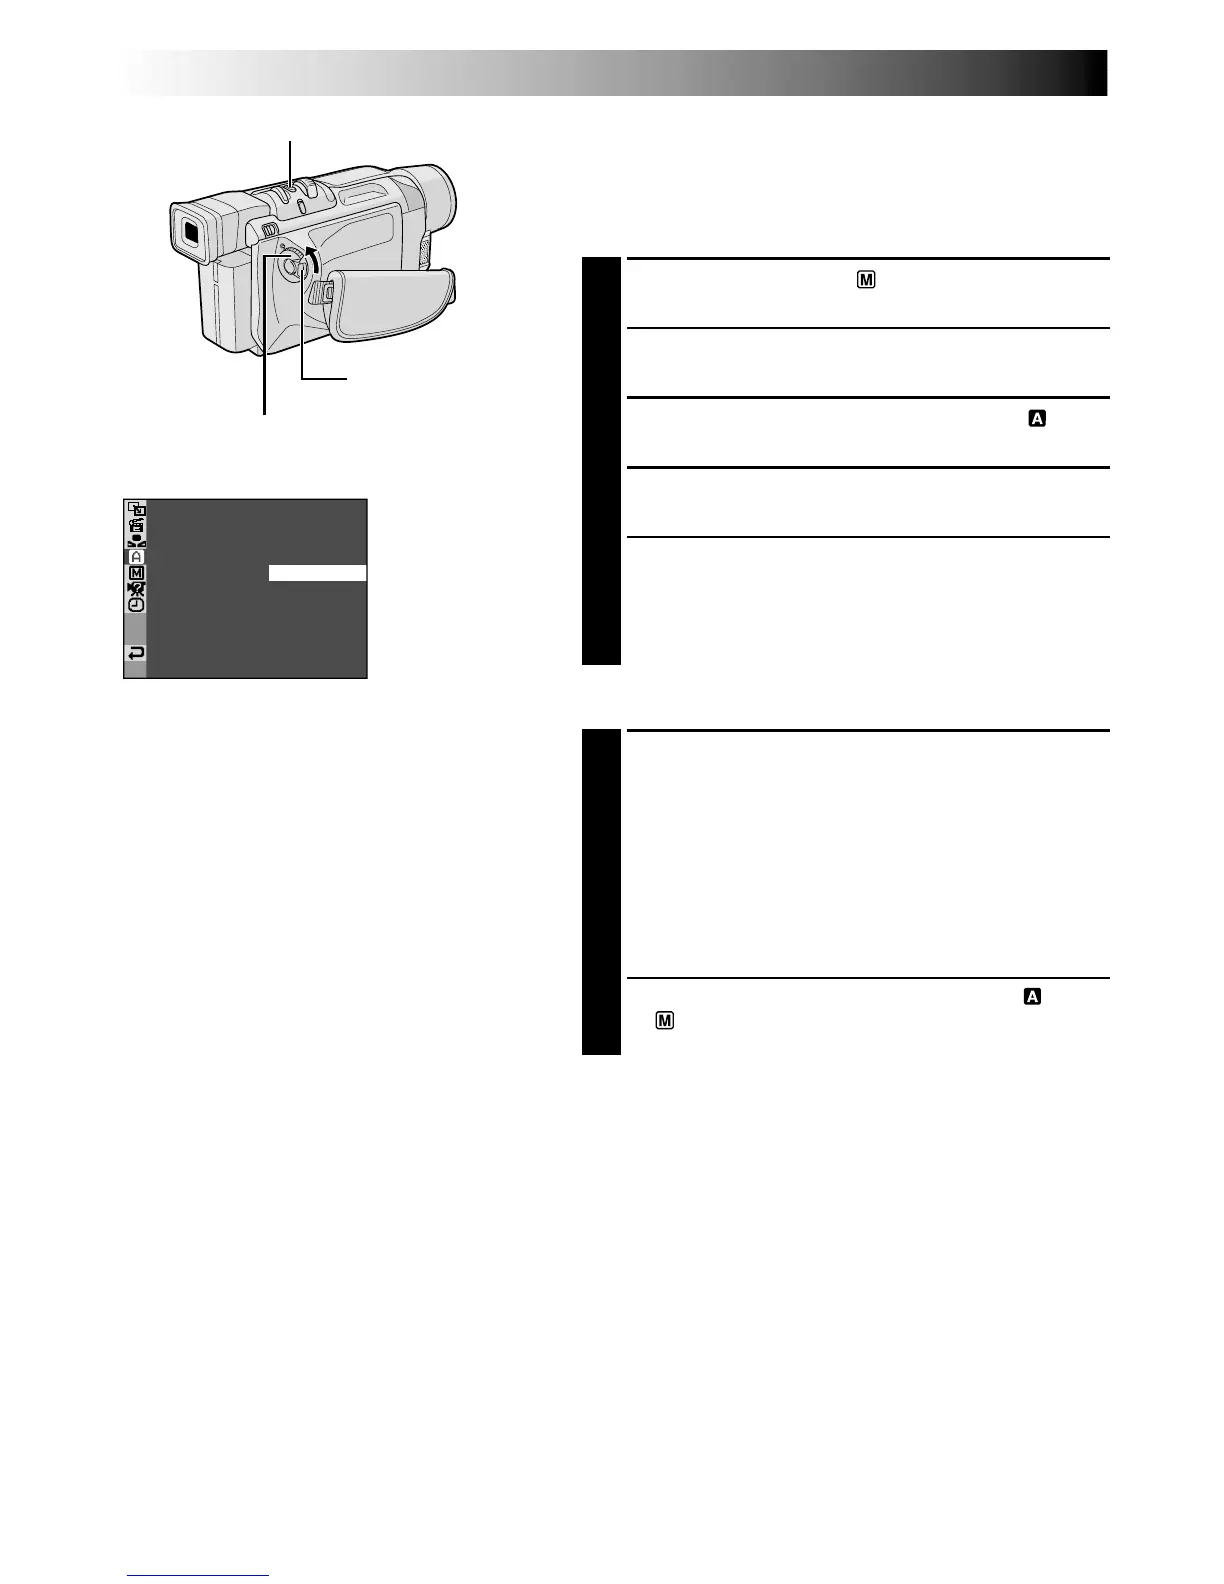
SNAPSHOT MODE SELECTION
1
Set the Power Switch to “ ” while pressing down
the Lock Button located on the switch.
2
Press the MENU/BRIGHT wheel in. The Menu
Screen appears.
3
Rotate the MENU/BRIGHT wheel to select “
CAMERA”. Press it and the CAMERA Menu appears.
4
Rotate the MENU/BRIGHT wheel to select “SNAP
MODE”, then press it.
5
Rotate the MENU/BRIGHT wheel to select the
desired Snapshot mode (墌 pg. 31), then press it.
Rotate the MENU/BRIGHT wheel to select
“
1
RETURN” and press it twice. The Menu Screen
closes.
SNAPSHOT RECORDING
1
Press SNAPSHOT.
If you press during Record-Standby . . .
.... “PHOTO” appears and a still image will be
recorded for approx. 6 seconds, then the
camcorder re-enters the Record-Standby mode.
If you press during Recording . . .
.... “PHOTO” appears and a still image will be
recorded for approx. 6 seconds, then the normal
recording resumes.
•Regardless of the Power Switch position (“ ” or
“ ”), Snapshot recording takes place using the
selected Snapshot mode.
Motor Drive Mode
Keeping SNAPSHOT pressed provides an effect similar to
serial photography. (Interval between still images: approx.
1 second)
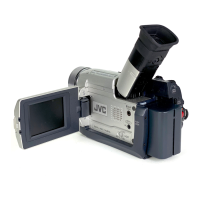
Power Switch
SNAPSHOT Button
Lock Button
Display
Menu Screen
 Loading...