K
Kenneth SandersSep 8, 2025
Why can't I select “F-AUX” or “R-AUX” on my JVC KD-R326 Car Receiver?
- LLisa CastilloSep 8, 2025
If “F-AUX” or “R-AUX” cannot be selected on your JVC Car Receiver, check the = setting.
 Loading...
Why can't I select “F-AUX” or “R-AUX” on my JVC KD-R326 Car Receiver?
If “F-AUX” or “R-AUX” cannot be selected on your JVC Car Receiver, check the = setting.
Why can't I select “AM” on my JVC KD-R326 Car Receiver?
If “AM” cannot be selected on your JVC Car Receiver, check the = setting.
Why does “READING” keep flashing on the display of my JVC Car Receiver?
If “READING” keeps flashing on the display of your JVC Car Receiver, a longer readout time is required. Avoid using too many hierarchical levels and folders.
Why don't tracks play in the order I want on my JVC Car Receiver?
If tracks do not play back in the order you intended on your JVC Car Receiver, the playback order is determined when the files are recorded.
Why is the elapsed playing time incorrect on my JVC KD-R326 Car Receiver?
If the elapsed playing time is not correct on your JVC Car Receiver, this sometimes occurs during playback and is caused by how the tracks are recorded on the disc.
Why are the characters displaying incorrectly on my JVC Car Receiver?
If the correct characters are not displayed (e.g., album name) on your JVC Car Receiver, the unit can only display letters (uppercase), numbers, and a limited number of symbols.
| Brand | JVC |
|---|---|
| Model | KD-R326 |
| Category | Car Receiver |
| Language | English |
Identifies the product as Class 1 laser for safety compliance.
Warns users against opening the unit to avoid damage or injury.
Alerts about potential laser radiation when the unit is open.
Refers to external caution labels for laser product safety.
Instructions for resetting the unit to its default settings.
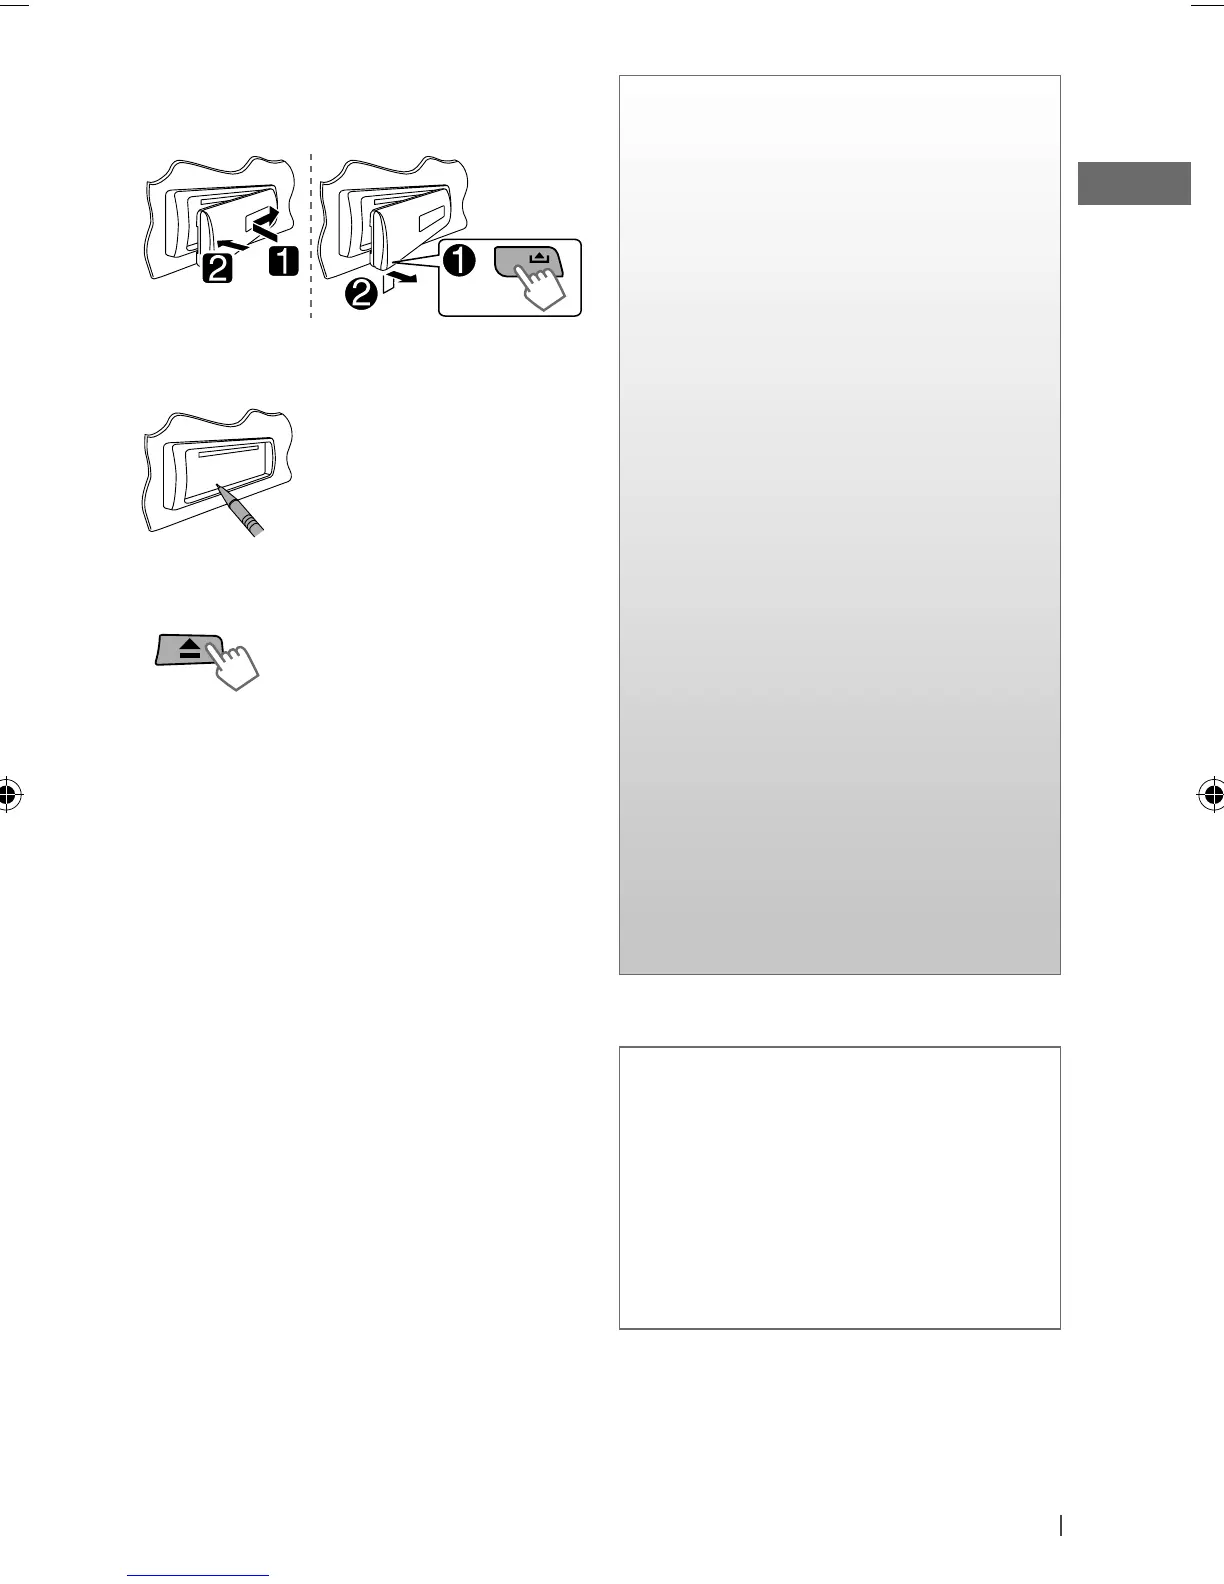
Procedure for manually ejecting a disc if automatic ejection fails.
Guidance on cleaning the unit's panel using a dry cloth.
Instructions for cleaning the connector pins on the unit and panel.
Steps for replacing the battery in the remote control unit.
Lists incompatible disc types and conditions for playback.
Provides guidelines for proper disc handling and care.
Tips to enhance the quality of FM radio reception.
How to manually store favorite radio stations.
Using SSM to automatically find and store strong FM stations.
Method for choosing a previously stored radio station.
How to cycle through different display modes for radio information.
Procedures for pausing, stopping, and removing discs.
How to navigate and select specific tracks or folders on a disc.
Using the list feature to find and play tracks or folders.
Options for repeat, random, and other playback behaviors.
How to view different track or disc information on the display.
Guide to playing audio from external devices via auxiliary inputs.
How to save custom audio settings as a user preset.
Setting for the display demonstration mode.
Setting for the unit's clock display.
Common issues and solutions not specific to audio modes.
Troubleshooting tips for radio reception and selection.
Solutions for problems related to disc reading and playback.
Issues and fixes specific to digital media playback.
Steps required before using Bluetooth devices, including pairing.
How to make calls, receive calls, and use voice dialing with a Bluetooth phone.
Instructions for playing music from a Bluetooth audio device.
Technical details of the unit's audio amplification capabilities.
Technical specifications for the FM and AM radio tuner.
Technical details regarding the CD playback functionality.
General specifications including power, dimensions, and operating conditions.
Guide for installing the unit into the dashboard.
Instructions for mounting the unit directly without a mounting sleeve.
Steps on how to safely detach the unit from the dashboard.
Recommended wiring configurations for optimal setup.
How to connect external Bluetooth devices or audio players.