INITIAL SETTINGS
Initial setup
When you power on the unit for the first time or
reset the unit, the initial setting screen appears.
• You can also change the settings on the
<Settings> screen. (Page54)
1 Perform the initial settings.
<Language>
(Page56)
Select the text language
used for on-screen
information.
• Set <GUI Language>
to display the operation
buttons and menu
items in the selected
language ([Local]) or
English.
<R-CAM Interrupt>
(Page56)
Select [ON] when
connecting the rear view
camera.
<User Customize>
(Page51)
Change the display
design.
<Demonstration>
(Page55)
Activate or deactivate the
display demonstration.
2 Finish the procedure.
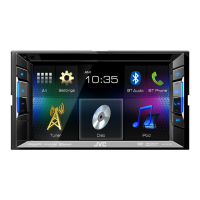
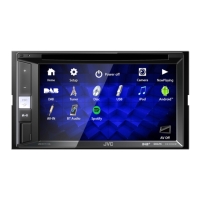
The Home screen is displayed.
• [AV Off] is selected initially. Select the
playback source. (Page 8)
Calendar/Clock settings
1 Display the Home screen.
On the monitor panel:
2 Display the <Settings> screen.
3 Display the <Calendar Setting> screen.
4 Select the time display format (1), then set
the calendar and the clock time (2).
• Press [Set] to set the second to “00”.
5 Finish the procedure.
• Date is displayed on the Home screen when the
Home screen design below is selected on the
<User Customize> screen. (Page51)

 Loading...