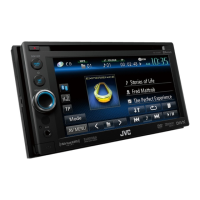
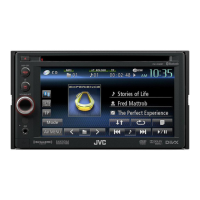
VideoVideo
Touching the operation keys performs the following
actions:
[Top] Displays the top menu (DVD).
[Menu] Displays the disc menu (DVD).
[Return] Returns to the previous screen.
[Enter] Confirms the selection.
[Highlight] Switches to the direct disc menu
selection mode. Touch the target
item to select.
• The menu screen disappears when
no operation is done for 5 seconds.
[
]
Returns to the playback screen.
[Angle] Selects the view angle.
[Subtitle] Selects the subtitle type.
[Audio] Selects the audio type.
[
J] [K] [H] [I]
Selects an item.
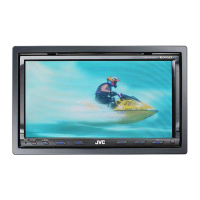
Adjusting the picture
1 Display the pop-up short-cut menu.
2 Display the picture adjustment screen.
On the pop-up short-cut menu, touch as follows:
3 Adjust the picture.
<Backlight> Adjusts the brightness of the
backlight. (−4 to +4)
<Contrast> Adjusts the contrast. (−4 to +4)
<Brightness> Adjusts the brightness. (−4 to +4)
<Color>*1 Adjusts the color. (−4 to +4)
<Tint>*2 Adjusts the tint. (−4 to +4)
<Aspect> Selects the aspect ratio.
• Full: Changes the aspect ratio of
video and displays fully on the
screen.
• Normal: Displays the video in
the aspect ratio of 4:3.
• Auto*3:
– For discs: Video of 16:9 ratio is
displayed in the aspect ratio
of <Full> setting. Video of 4:3
ratio is displayed in the aspect
ratio of <Normal> setting.
– For USB: Displays the video
fully on vertical or horizontal
with no ratio change.
• Adjustable items are different depending on the
current source.
• You can perform this function only when you have
applied the parking brake.
*1 Adjustable only during playback.
*2 Available only when the “AV-IN” or camera screen is displayed.
*3 Selectable only when video from a disc or USB device is played
back.
12 ENGLISH
ENKW-V2018TCKR.indb12ENKW-V2018TCKR.indb12 2017/12/049:412017/12/049:41

 Loading...