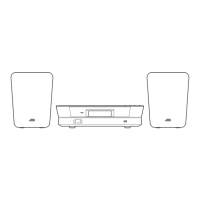
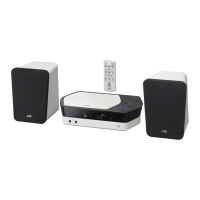
Direct Connection to the Main Unit
(Direct Wireless Connection)
1
Press the [A] button.
2
Press the [NETWORK] button.
3
Press the [Wi-Fi SET UP] button on the
remote control.
4
Press the [K / J] button to select “Wi-Fi
Setup”, and then press the [ENTER] button.
5
Press the [K / J] button to select “Direct”,
and then press the [ENTER] button.
0
Wait until the display shows “Direct Ready”
which takes about 40 seconds.
6
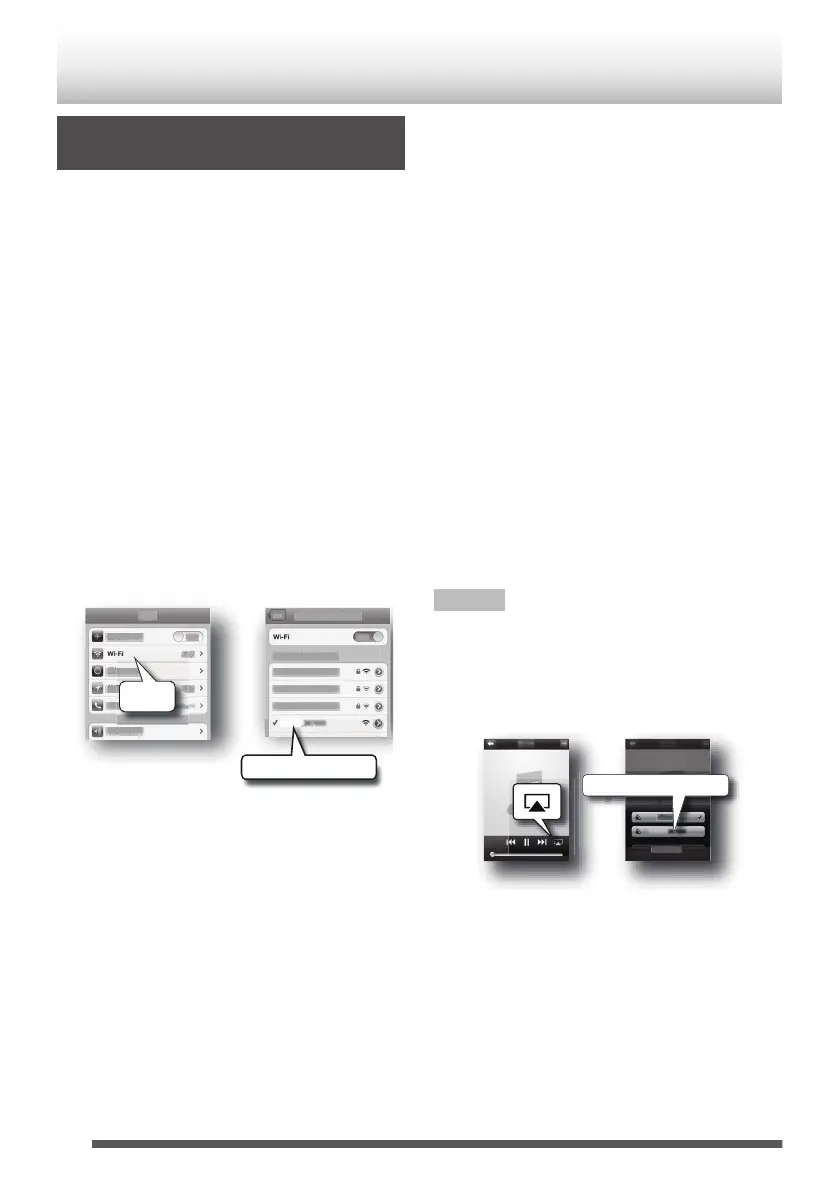
On iPod touch/iPhone/iPad, select “Wi-Fi”
from “Settings”, and then set to ON.
0
On the Android device, select “Wireless &
networks” in “Settings”, and then select “Wi-Fi
settings”.
0
On PC, open the screen for the wireless LAN
network setup.
.
0
If Wi-Fi is Off, set it to On.
0
Refer to the instruction manual of your device
for further detail.
7
Select “UX-N5_xxxxxx” from the list of
network.
0
“xxxxxx” is a model-specific number.
8
On iPod touch/iPhone/iPad, start a “Music”
application to display the “Now Playing”
screen.
0
On PC, start iTunes or Windows Media Player
12. Start DLNA compatible application on
other DLNA compatible devices.
0
Refer to the instruction manual of your device
for further detail.
9
Tap or click the AirPlay icon (M) to select
the speaker (UX-N5 xxxxxx).
0
When using DLNA application, specify the files
to play back, and select “UX-N5” as the audio
output device.
0
Operations may vary depending on the
applications you are using. Refer to the help
page of your application for further detail.
10
Play back music.
11
Press the [ENTER] button when “Press
ENTER to startstreaming” is displayed.
Audio is output from the speaker.
Note
0
When “Press ENTER to start streaming” is
displayed on the main unit, the main unit is waiting
for the playback to be started.
0
The last 6 digits xxxxxx is MAC ID. Details on
checking MAC ID, refer to p. 18.
.
14
 Loading...