62
English Editing MDs English
NOTE
• During editing, you can return to the previous step
by pressing . You can quit the editing opera-
tion by pressing .
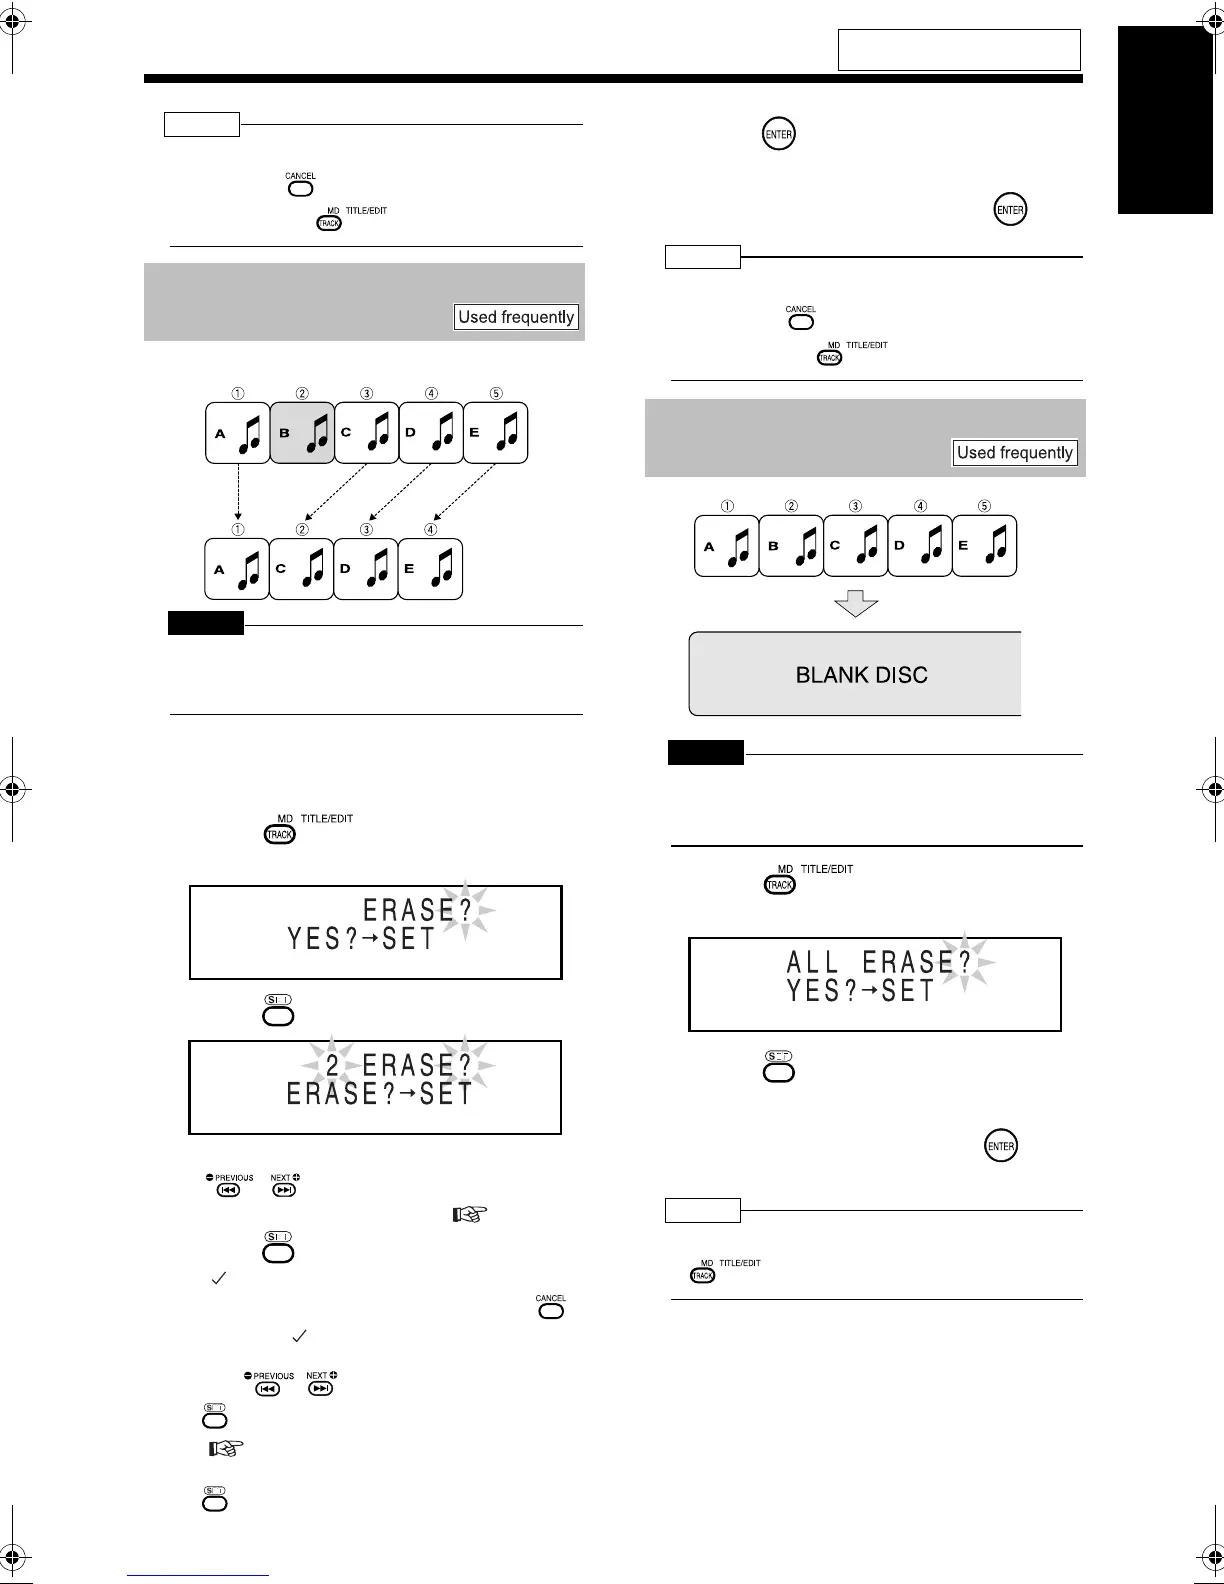
Example: Erasing tune B
CAUTION
• Once you erase a track, you cannot retrieve it.
Before erasing a track, confirm that you no longer
need it.
■ While the track you want to erase (track 2 in
the example shown above) is being played
back
1 Press repeatedly to
select "ERASE?".
2 Press .
• You can also select a track number with
, or the number buttons. Refer to
"Using the number buttons" ( page 16).
3 Press .
•
" " is added in front of the selected track number.
• When you select a wrong track, press
to delete
""
.
• You can select up to 15 tracks to be erased
with , or the number buttons, and
. Refer to "Using the number buttons"
( page 16).
• When you select the 16th track and press
, "MEMORY FULL" appears.
4 Press .
5 Confirm that you no longer need
the tracks, and then press .
NOTE
• During editing, you can return to the previous step
by pressing . You can quit the editing opera-
tion by pressing .
CAUTION
• Once you erase a track, you cannot retrieve it.
Before erasing a track, confirm that you no longer
need it.
1 Press repeatedly to
select "ALL ERASE?".
2 Press .
3 Confirm that you no longer need
all tracks, and then press .
NOTE
• You can quit the editing operation by pressing
.
For the locations of remote control
buttons, refer to page 58.
Erasing a Track (ERASE)
Erasing All Tracks
(ALL ERASE)
All tracks are erased.
UX-QD70[UB].book Page 62 Monday, August 8, 2005 8:16 PM
 Loading...