INSTALLATION GUIDE - REMOTE ACCESS CONTROLLER RAC 4 • PK3197_10_14
Before starting installation:
• Ensure all components ordered
and materials / tools required are
available.
• Ensure all cabling is available for
the peripherals / components being
installed.
IMPORTANT:
All installations & wiring of RAC 4
enclosure and peripherals must comply
with all applicable local building codes
and regulations.
CAUTION:
Do not connect power to the enclosure
until the end of the installation.
If installing the RAC 4 in an elevator cage
environment, or in proximity to any other
equipment that may generate high levels
of electromagnetic interference, follow
the installation requirements as indicated
in Annex C to prevent any operational
instability.
4.1 Pre-Installation Procedures
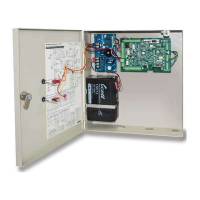
Step 1: Identify a secure location for
the RAC 4 enclosure
IMPORTANT:
• Access to the RAC 4 enclosure must be
restricted to authorized personnel.
• AC power must be available within 6 feet
(1.8 m) of the RAC 4 enclosure.
• The location temperature must be from
32°F to 120°F (0°C to 49°C) and sheltered
against weather hazards and dripping
water.
• The enclosure must be installed using
the hardware supplied.
Identify the location for the RAC 4 enclosure
based on the following:
• Enclosure should be mounted at a
workable height with clearance to
completely open the access door.
• The enclosure can be placed either
horizontally in the ceiling or vertically on
a concrete, wood, or plaster wall.
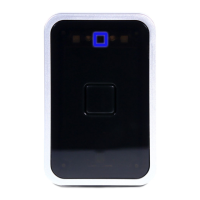
Step 2: Identify location(s) for card
reader and peripherals
Swipe, insert and extended range contactless
card readers must be placed within 500 feet
(150 m) from the RAC 4 enclosure, while
contactless card reader Model R79-1N1 must
be placed within 40 feet (12 m) of the reader
power source.
The card reader should be installed in an
obvious location at an ergonomic height near
the access door or elevator being controlled.
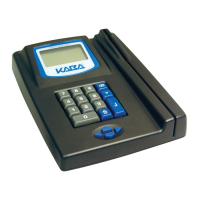
Swipe card reader:
The space to use the swipe reader must be
large enough to allow for adequate swipe
clearance.
Insert card reader:
The insert reader must be enclosed in the
elevator wall panel, so the location should be
in an area with workable access.
NOTE: The minimum depth required for
mounting of the insert card reader is
4.5”.
Contactless card reader:
The space to use the contactless reader
must be large enough to allow for adequate
clearance for the card being presented to the
reader.
Remaining peripherals:
Determine the location(s) required for any
other RAC 4 system peripherals (REX,
motion detector, etc) and ensure that all
required cabling is available as required in
following steps. Install as per manufacturer’s
instructions and route wires to the RAC 4
enclosure for connection to the controller
PCB.
Step 3: Set the desired access delay
The default factory setting for the delay on
access devices is 3 seconds. To change this
value configure the controller PCB dip switch
SW2 settings as per Annex A, Table 4.
Step 4: Install strain relief
One strain relief is provided in the hardware
bag to secure the wires leading into the
enclosure and to help prevent the possibility
of wire tampering.
1. Determine the routing needed for all wiring
of the RAC 4 card reader and peripherals,
and select the enclosure knock-out to be
removed for installation of the strain relief.
4.0 System Installation Overview
Page 8
!
!