Do you have a question about the Kaiser Baas mini PhotoScanner and is the answer not in the manual?
Lists auto-feed, auto-cropping, scan size, resolution, and storage options.
Press and hold the power button for 0.5 seconds. The green power indicator will blink and stay on.
Recommended for best results to eliminate de-focusing due to uneven surfaces.
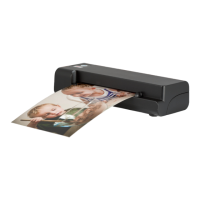
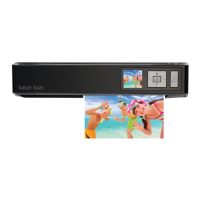
Place photo on left edge of feed slot and adjust guide lever to align with right side.
Gently push photo into feed slot and let go when it begins to feed.
Folders 'Photol'/'Photo2' created. Images named 'scan' with sequential numbers.
Press and hold power button for 2 seconds to turn off. Safely disconnect power and media.
Indicates the scanner is ready to use.
System initialising, busy scanning, or sensor cleaning in progress.
Paper jam. Press power button for 0.5s to back out document.
Memory card error. Remove card to clear error status.
Calibration failed.
Scan to PC failed. PC may be busy or unavailable.
Scanner is turned off or there is no power.
Install 'Scan To PC' software, connect scanner via USB, and turn on the scanner.
Select 'Scan To PC' or 'Memory Card' for saving. Images named 'scan' with sequential numbers.
Turn on scanner, feed roller cleaning tool through the feed slot.
With scanner off, slide sensor cleaning tool back and forth in output slot.
Check for scratches, dirt, or if scanner needs cleaning/calibration.
Press power button to back out the stuck photo/document.
Check SD card insertion, lock status, and file format (FAT/FAT32).
LED blinks when free space < 1MB. Delete files or use a different card.
Slight warmth is normal. Disconnect power if strange odors or excessive heat occur.
| Connectivity | USB |
|---|---|
| Power Source | USB powered |
| Color Depth | 24-bit |
| Output Formats | JPEG |
| Maximum Scan Size | 6x4 inches |
| Compatible Media | Photo paper, Documents |