Do you have a question about the KANSAI SPECIAL BLX2202PC and is the answer not in the manual?
Select the proper needle for fabric and thread based on type and size.
Check needle scarf orientation to the rear before correct installation.
Thread machine correctly to prevent skip stitching and thread breakage.
Set looper angle to 3° and clearance from looper point to extension line at 1.3mm.
Ensure looper point passes center of left needle, 0.5-1mm above eye.
Set looper point to needle bar center distance at 6mm at farthest right position.
Looper point 0.5-1mm above left needle eye; adjust needle bar height.
Set clearance between left needle and looper point at 0.2mm.
Adjust looper orbit for clearance with needles by moving eccentric A.
Adjust looper front-to-back movement for needle/looper clearance.
Adjust stitch length from 1.4 to 3.6mm using push button A and handwheel.
Adjust differential feed ratio (normal/reverse) using lever B for fabric feeding.
Detailed steps for adjusting cutting width using multiple screws.
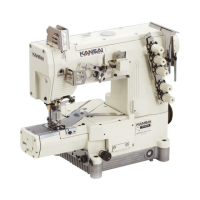
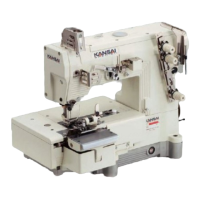
| Brand | KANSAI SPECIAL |
|---|---|
| Model | BLX2202PC |
| Category | Sewing Machine |
| Language | English |